Drag to See the Transformation
The same space, before and after. Slide the handle to reveal the change.
 After
After
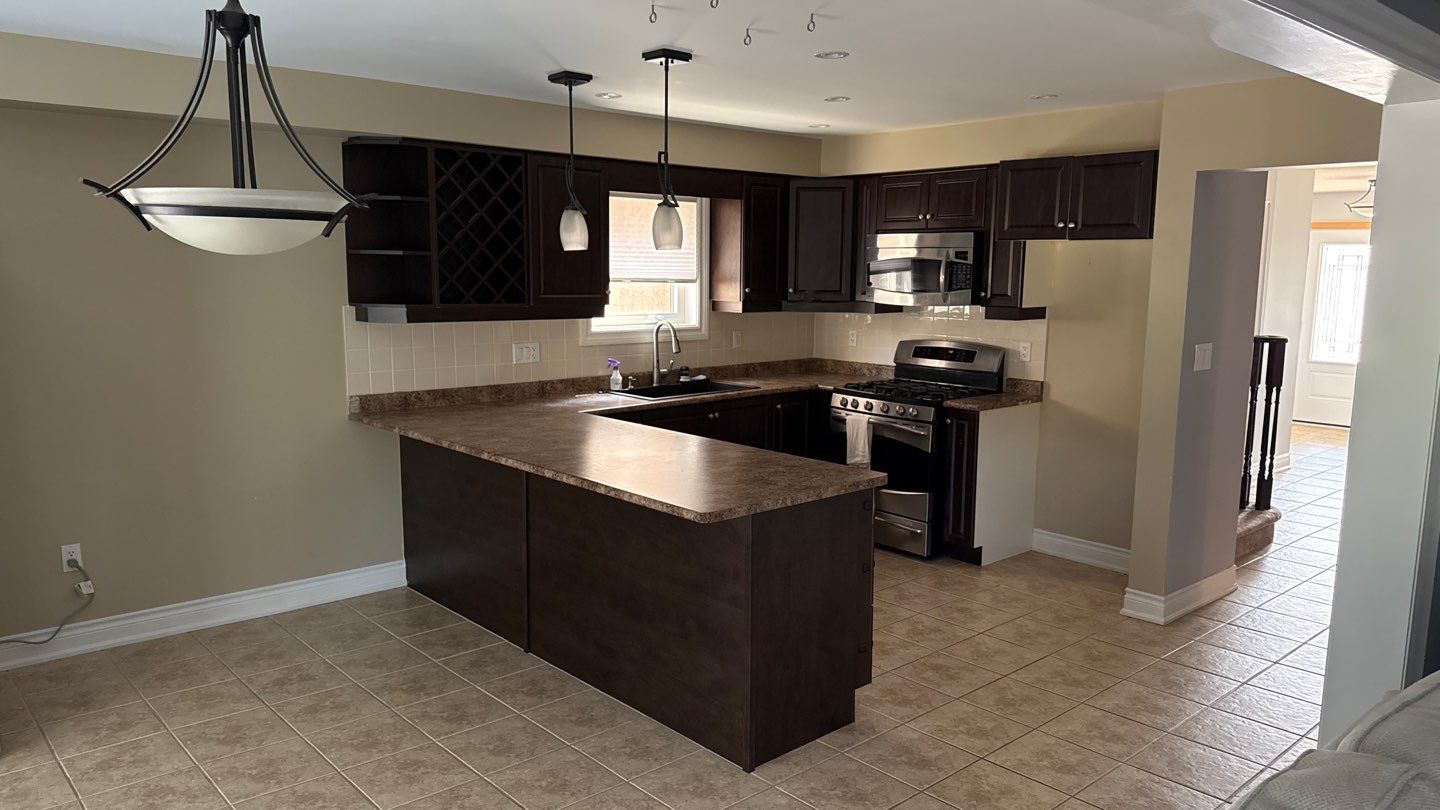
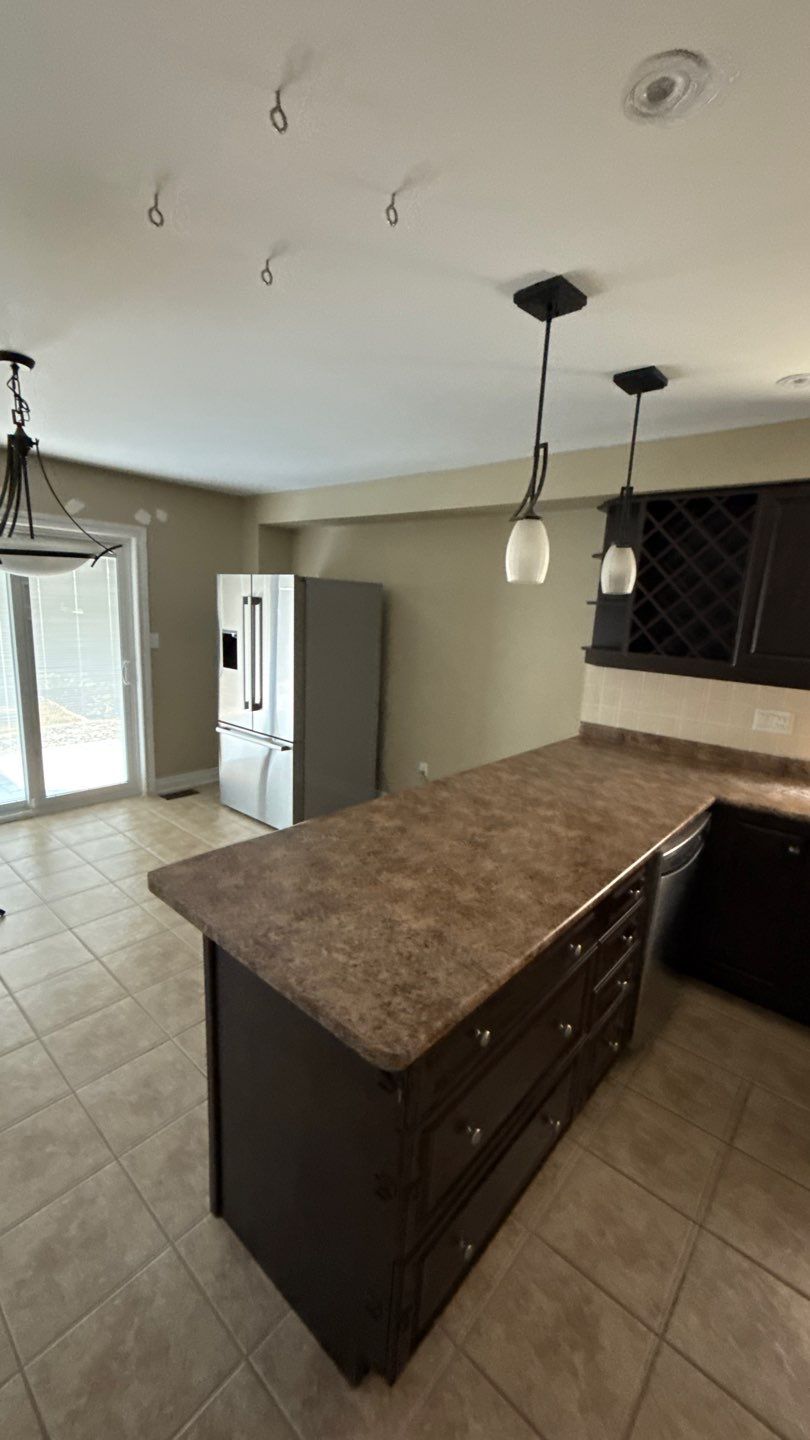
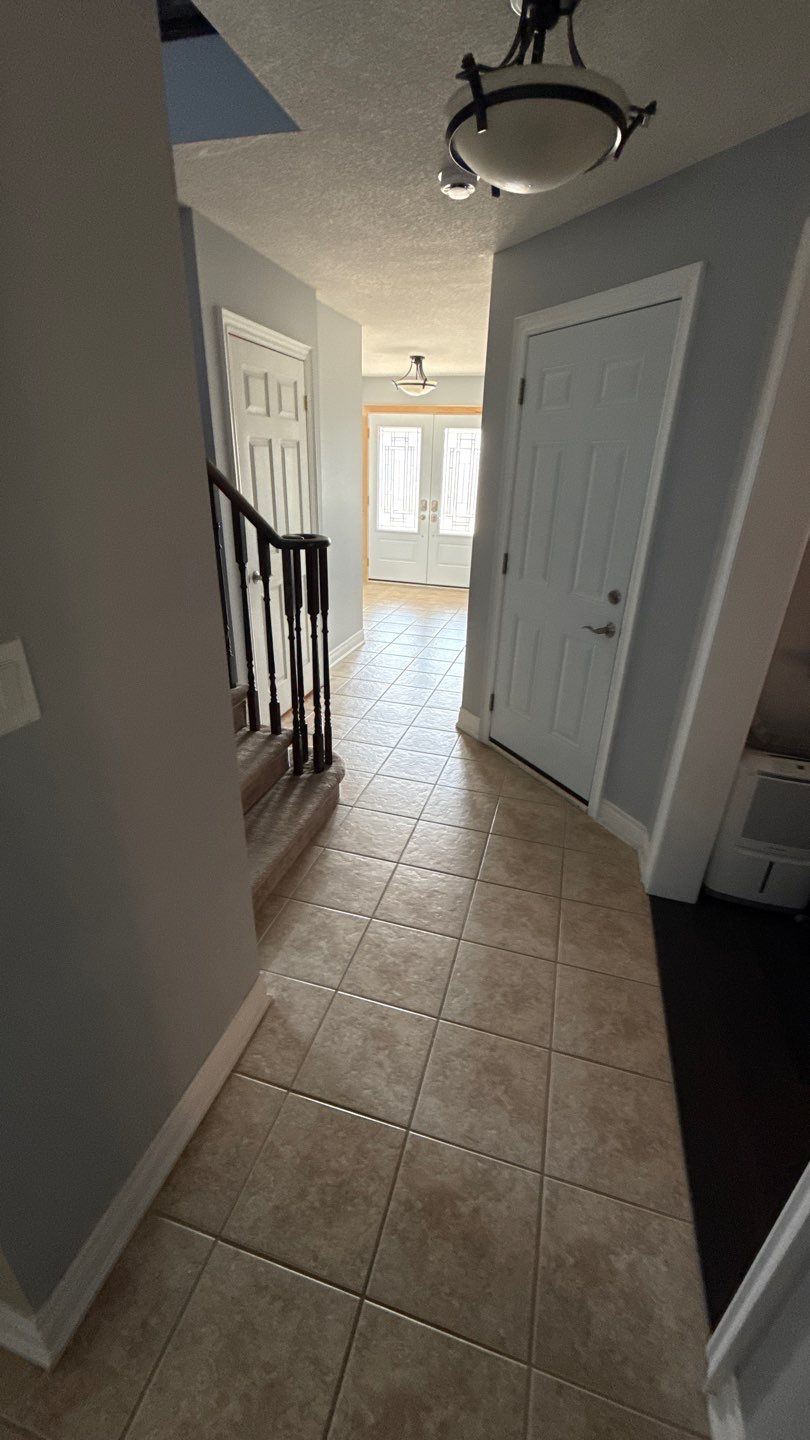
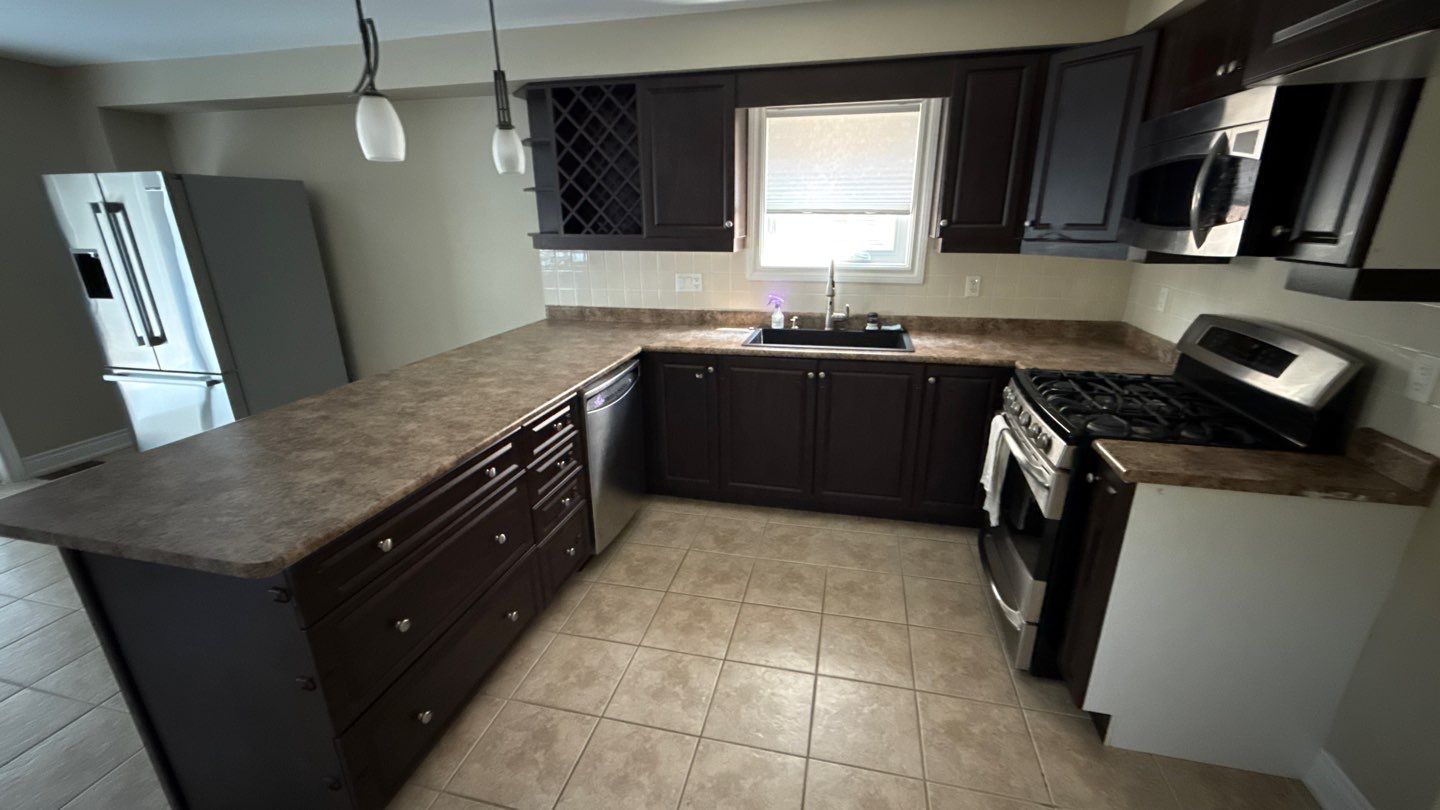
 Before
← Drag the slider →
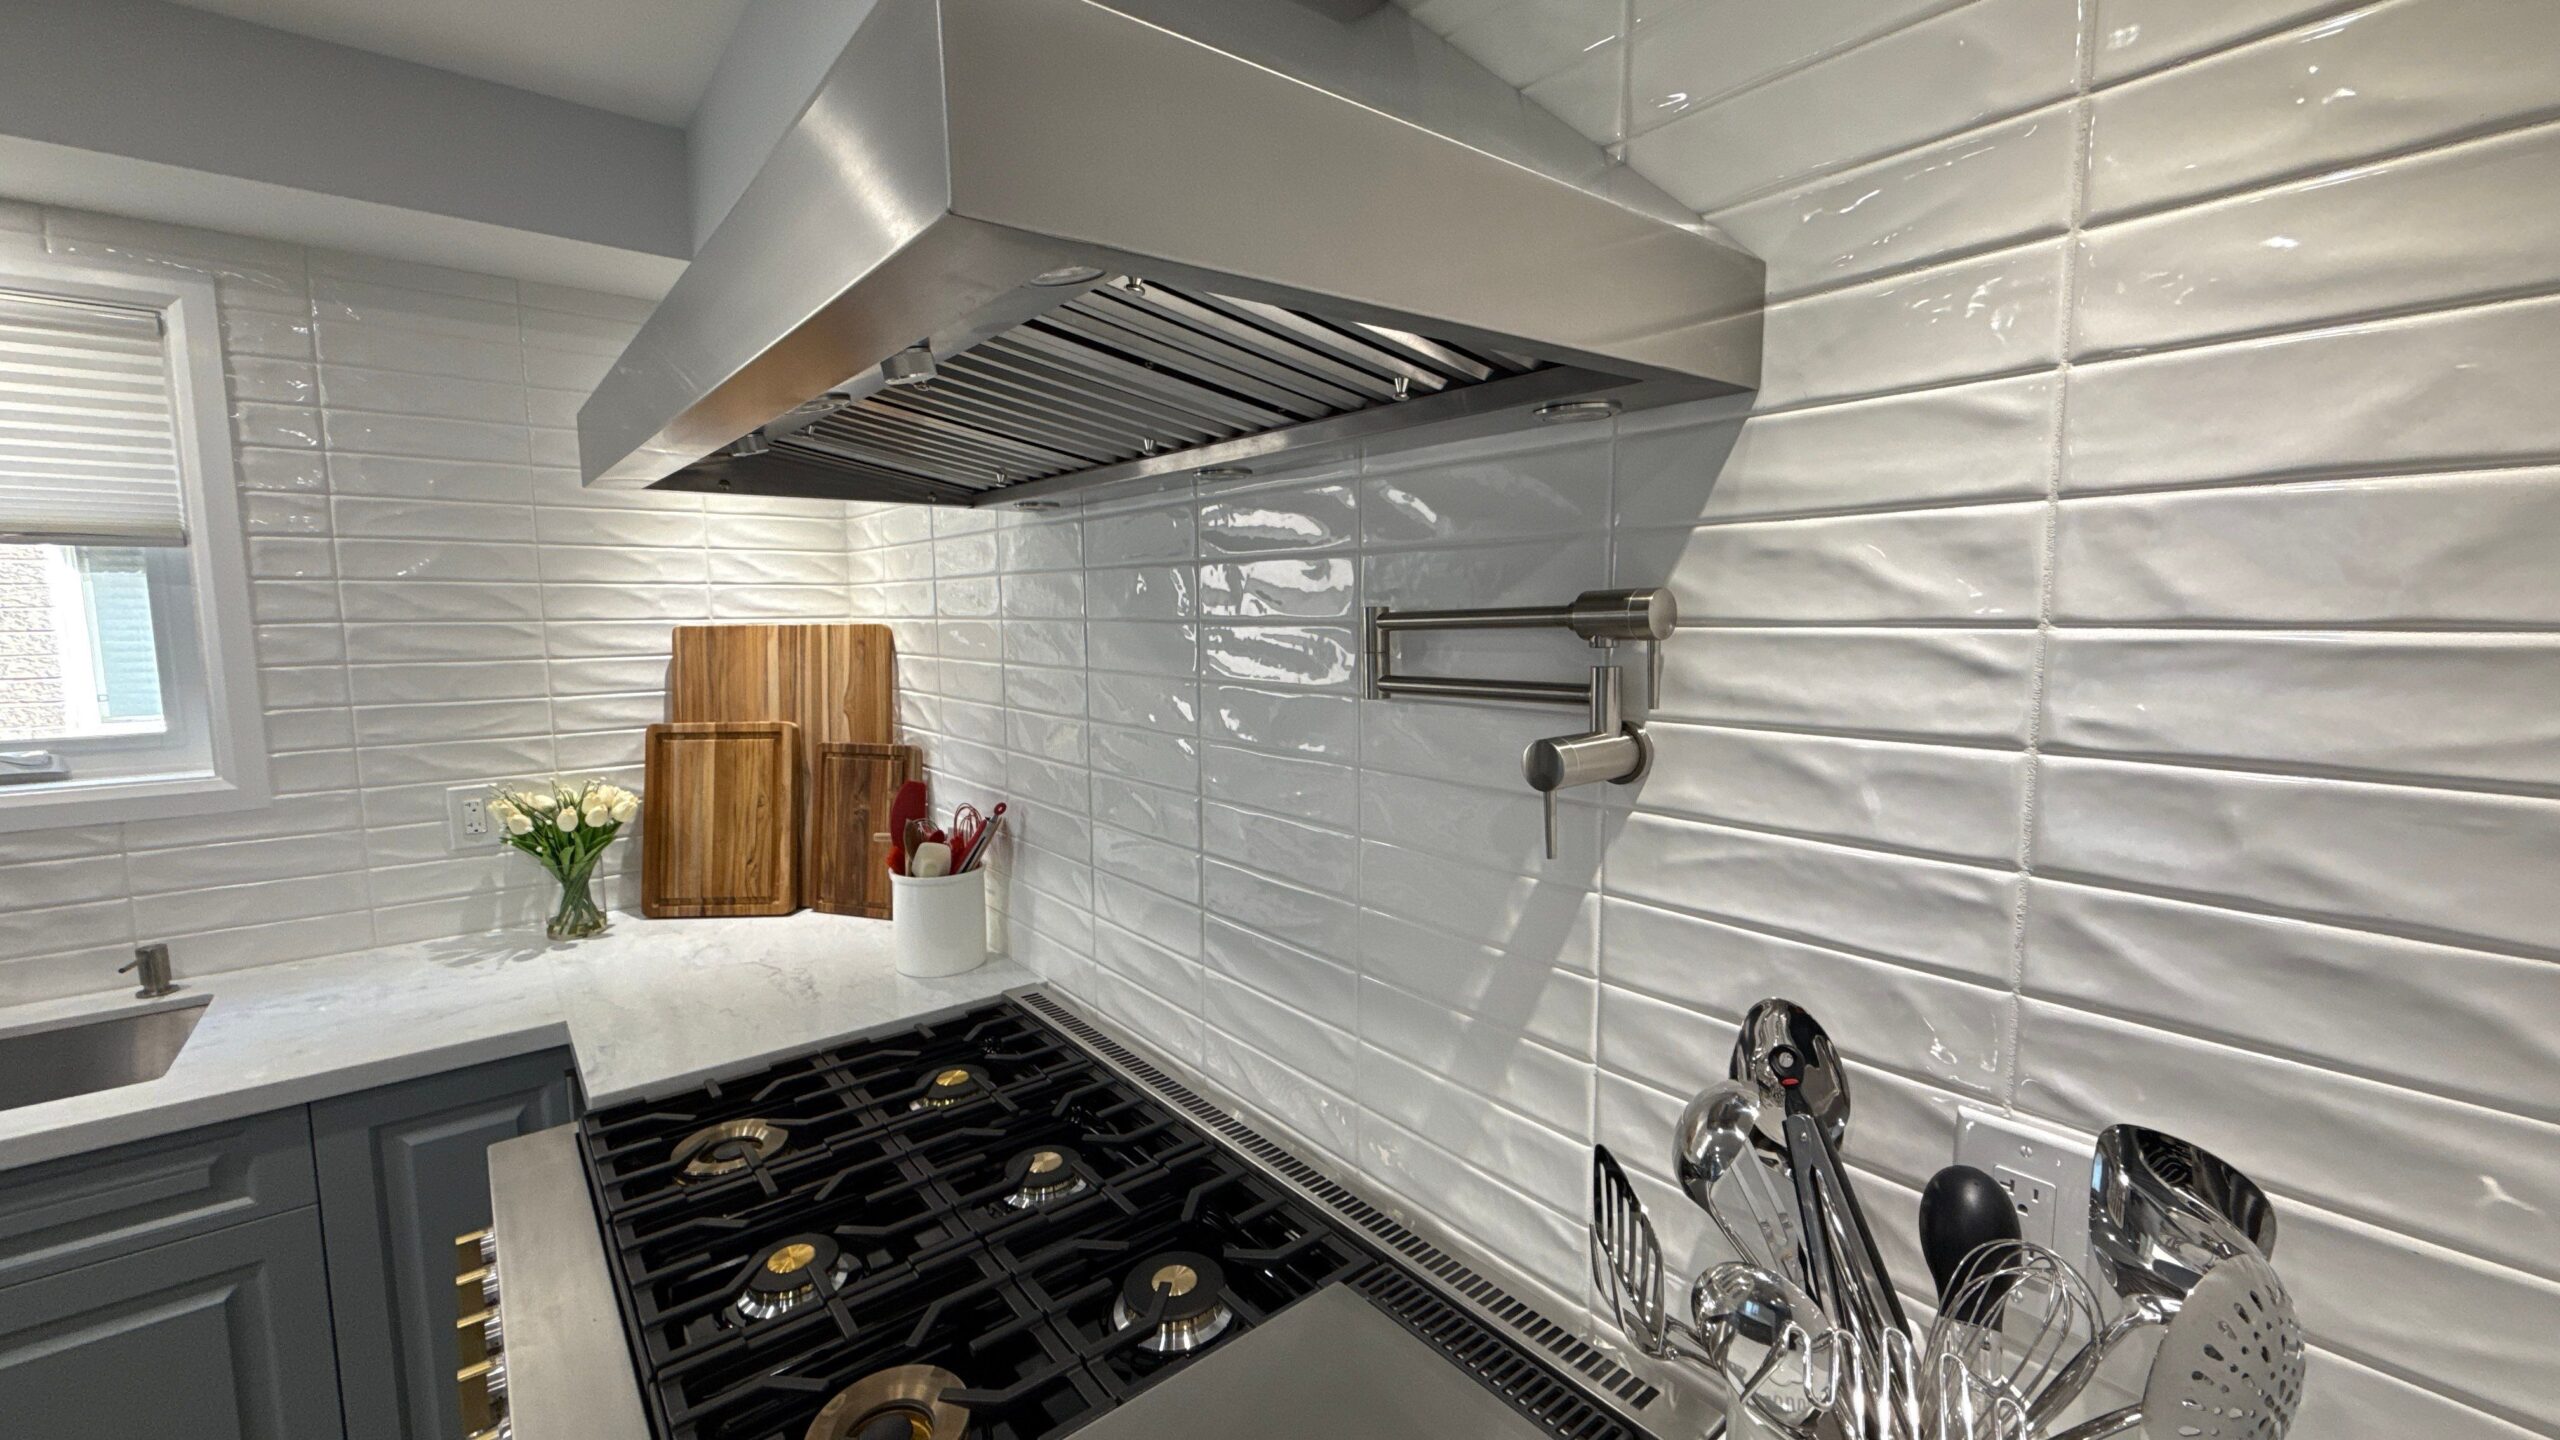
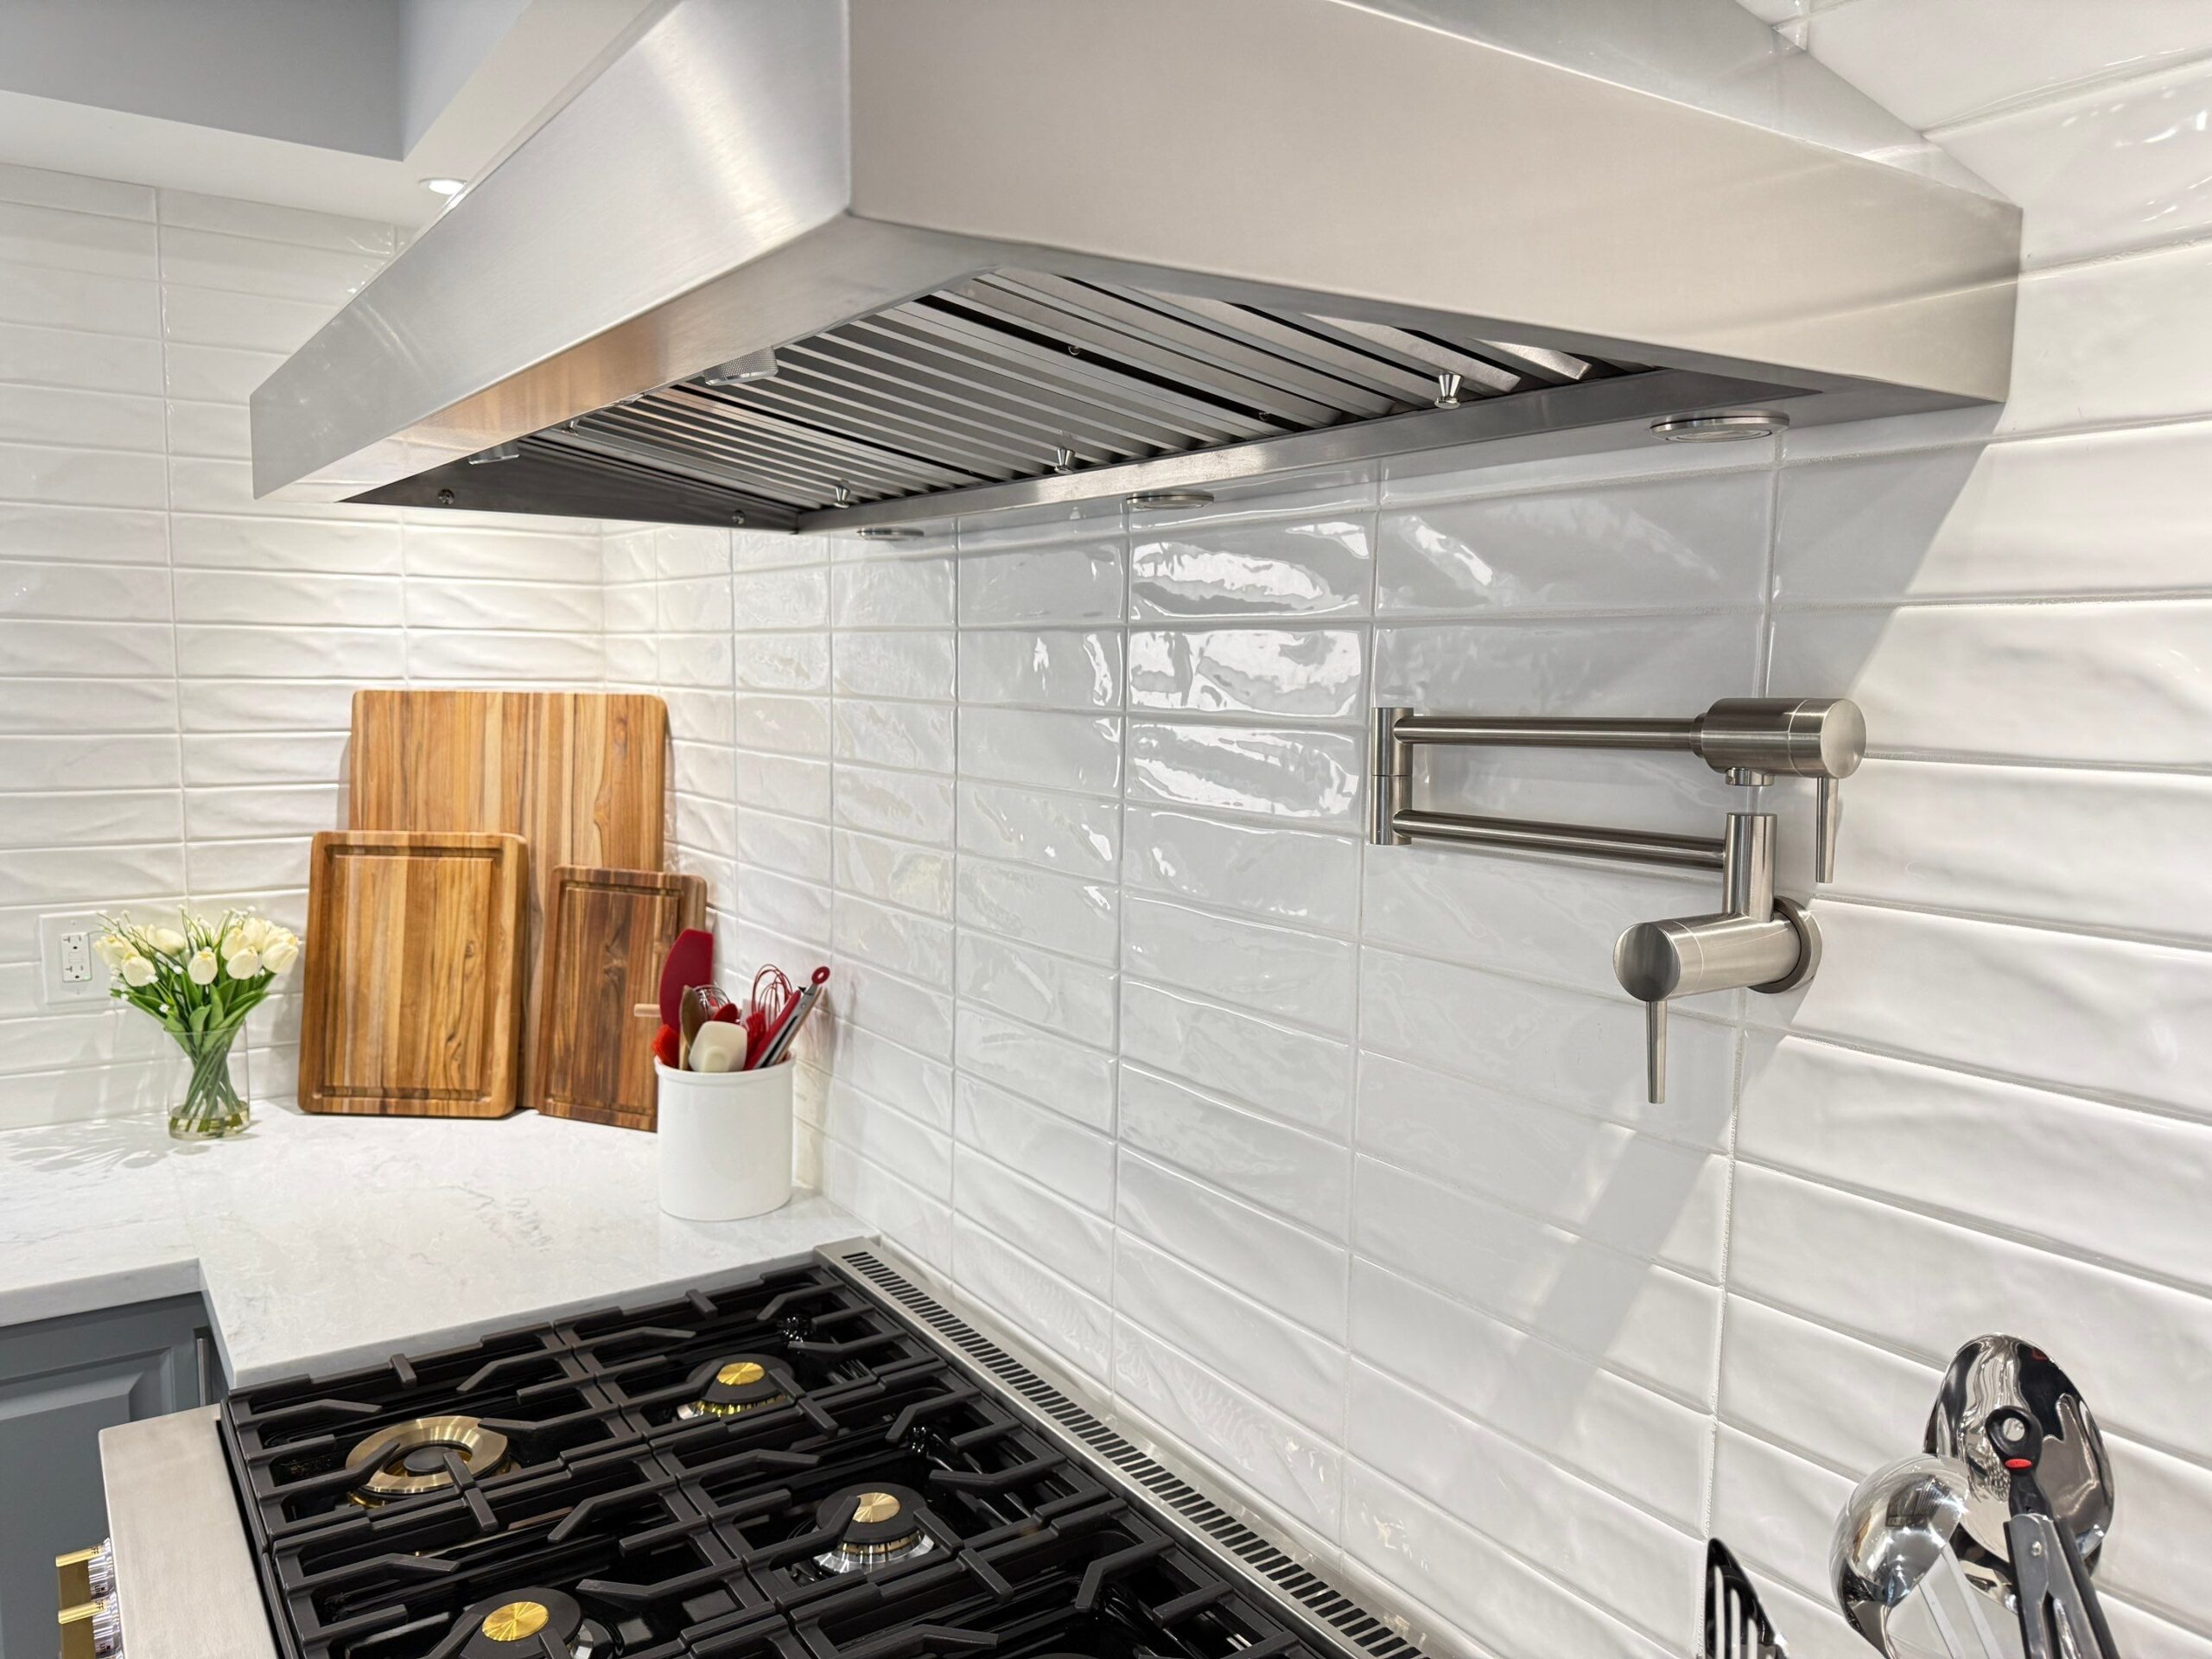
A Commercial Range Meant Real Ventilation
A serious kitchen needs serious air movement. Here's a challenge this job demanded, and how we handled it the right way instead of the easy way.
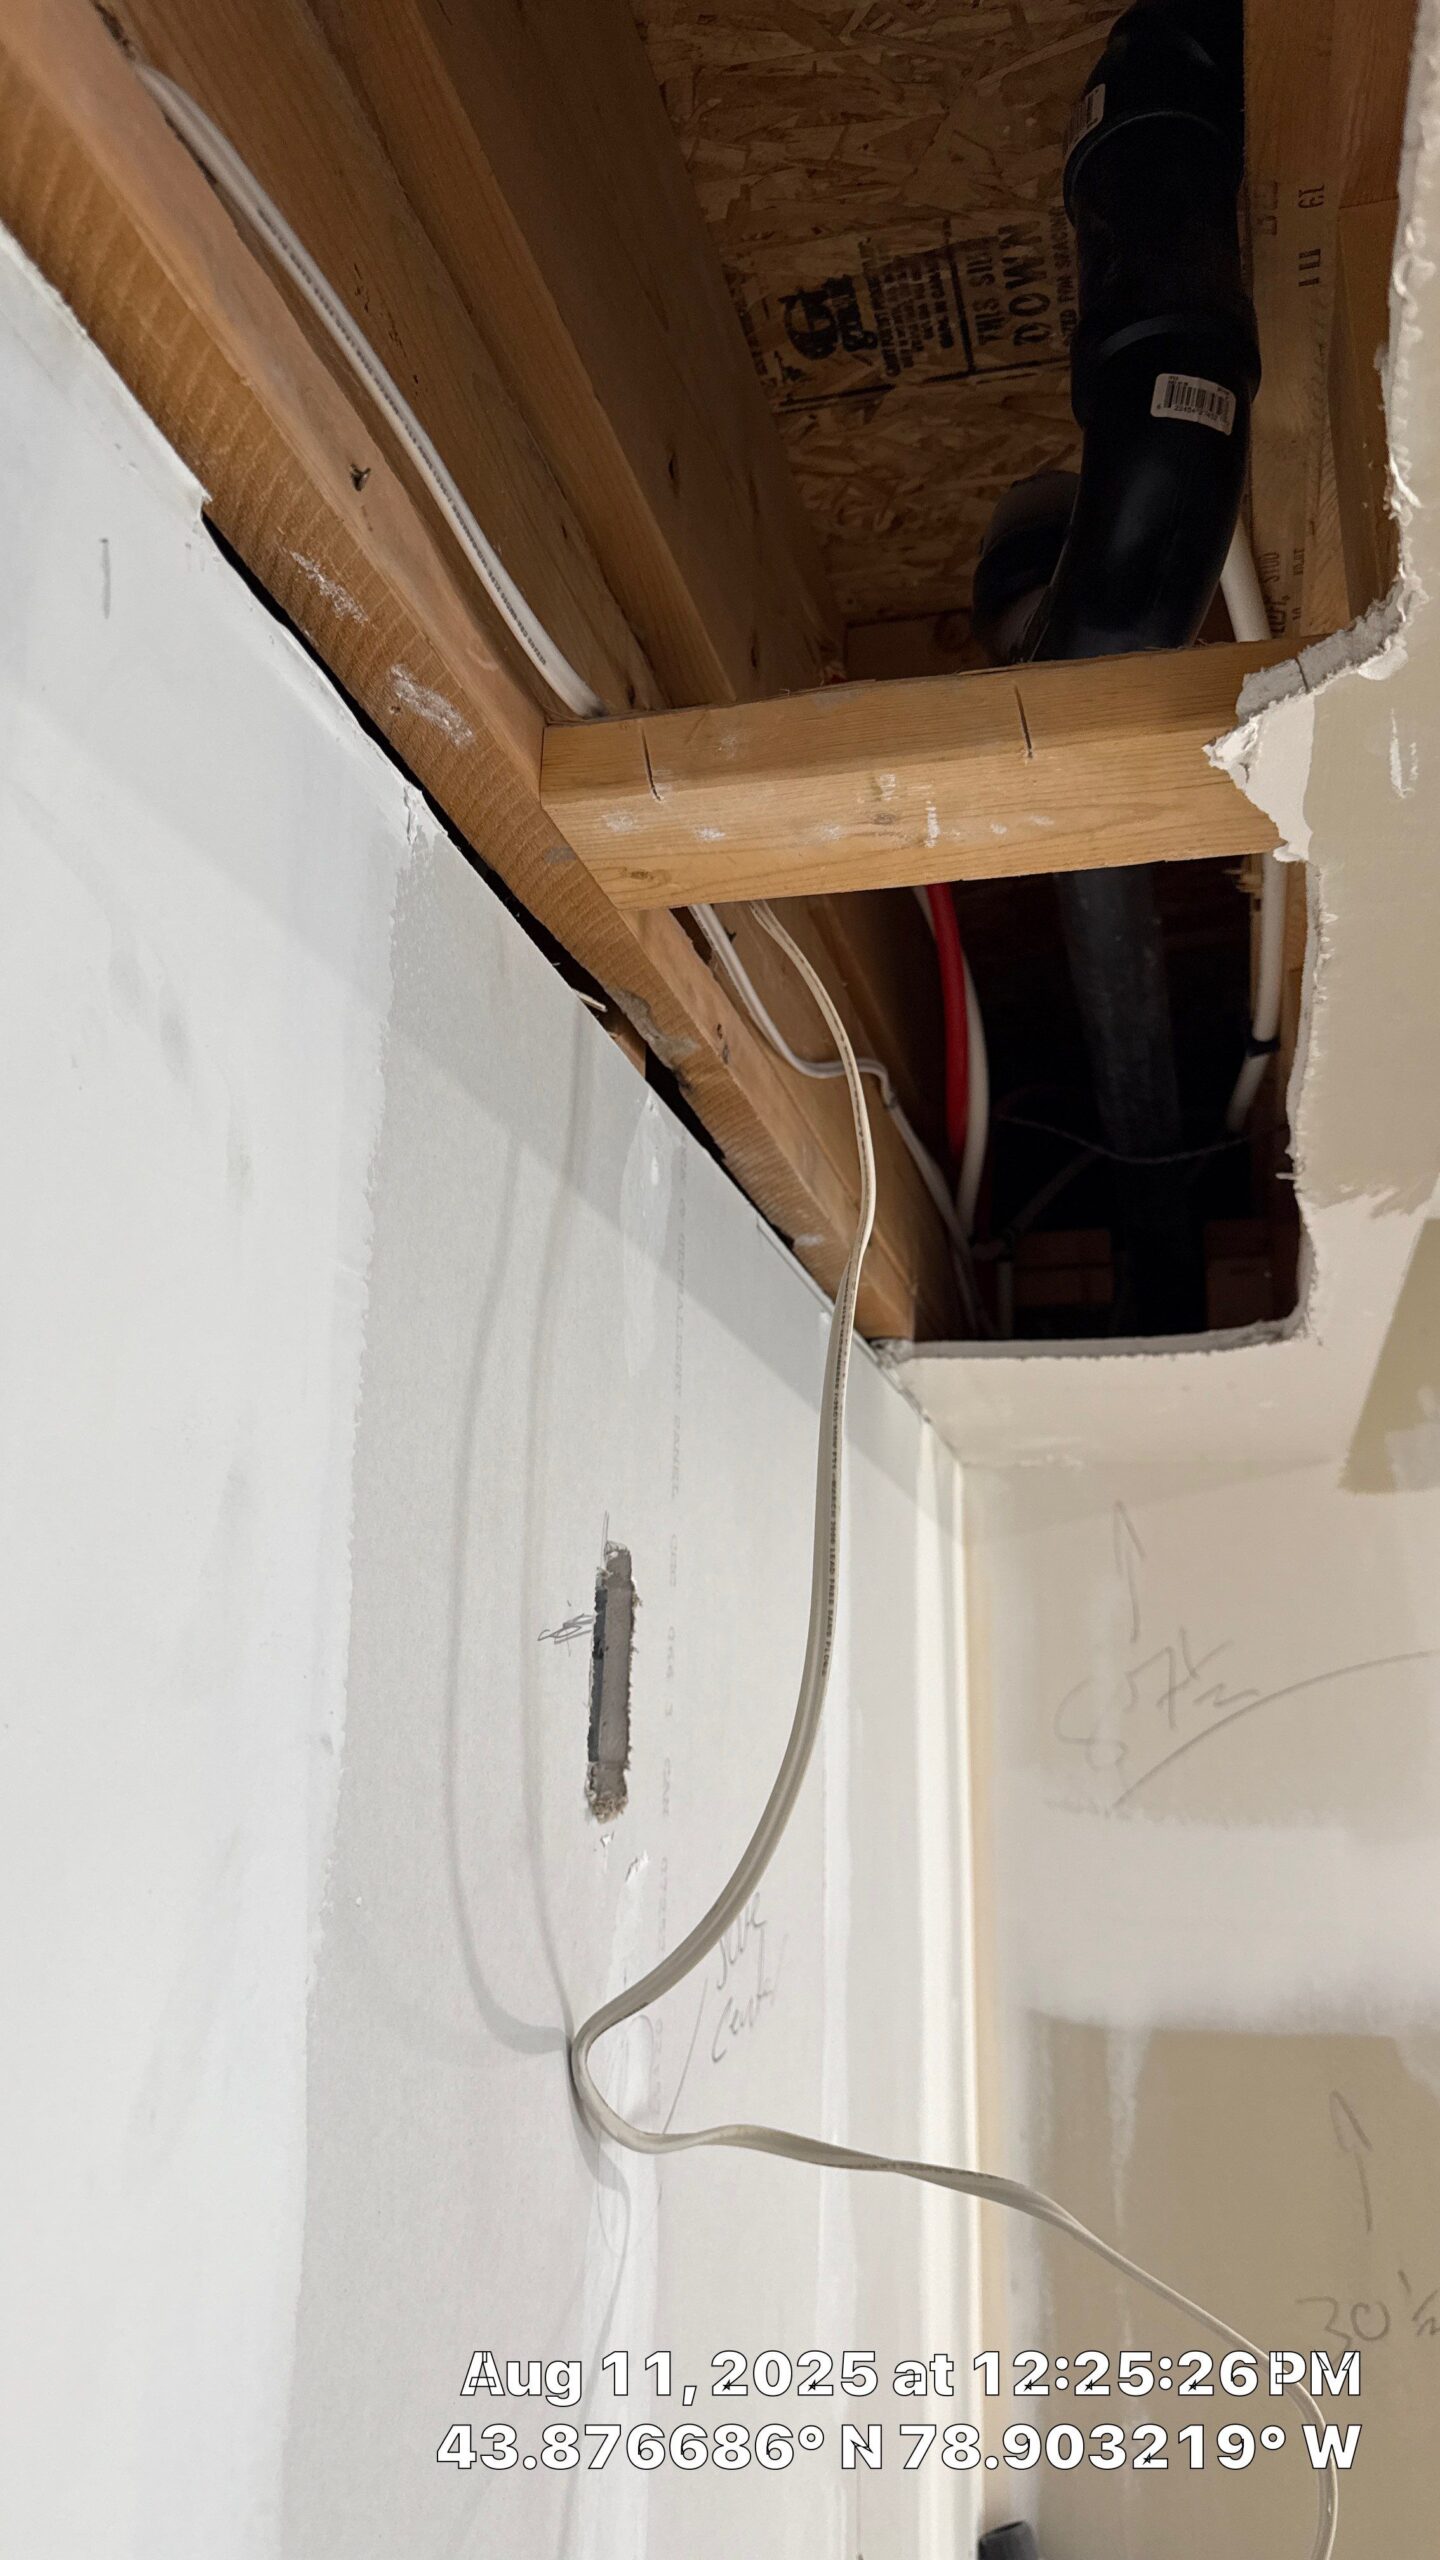
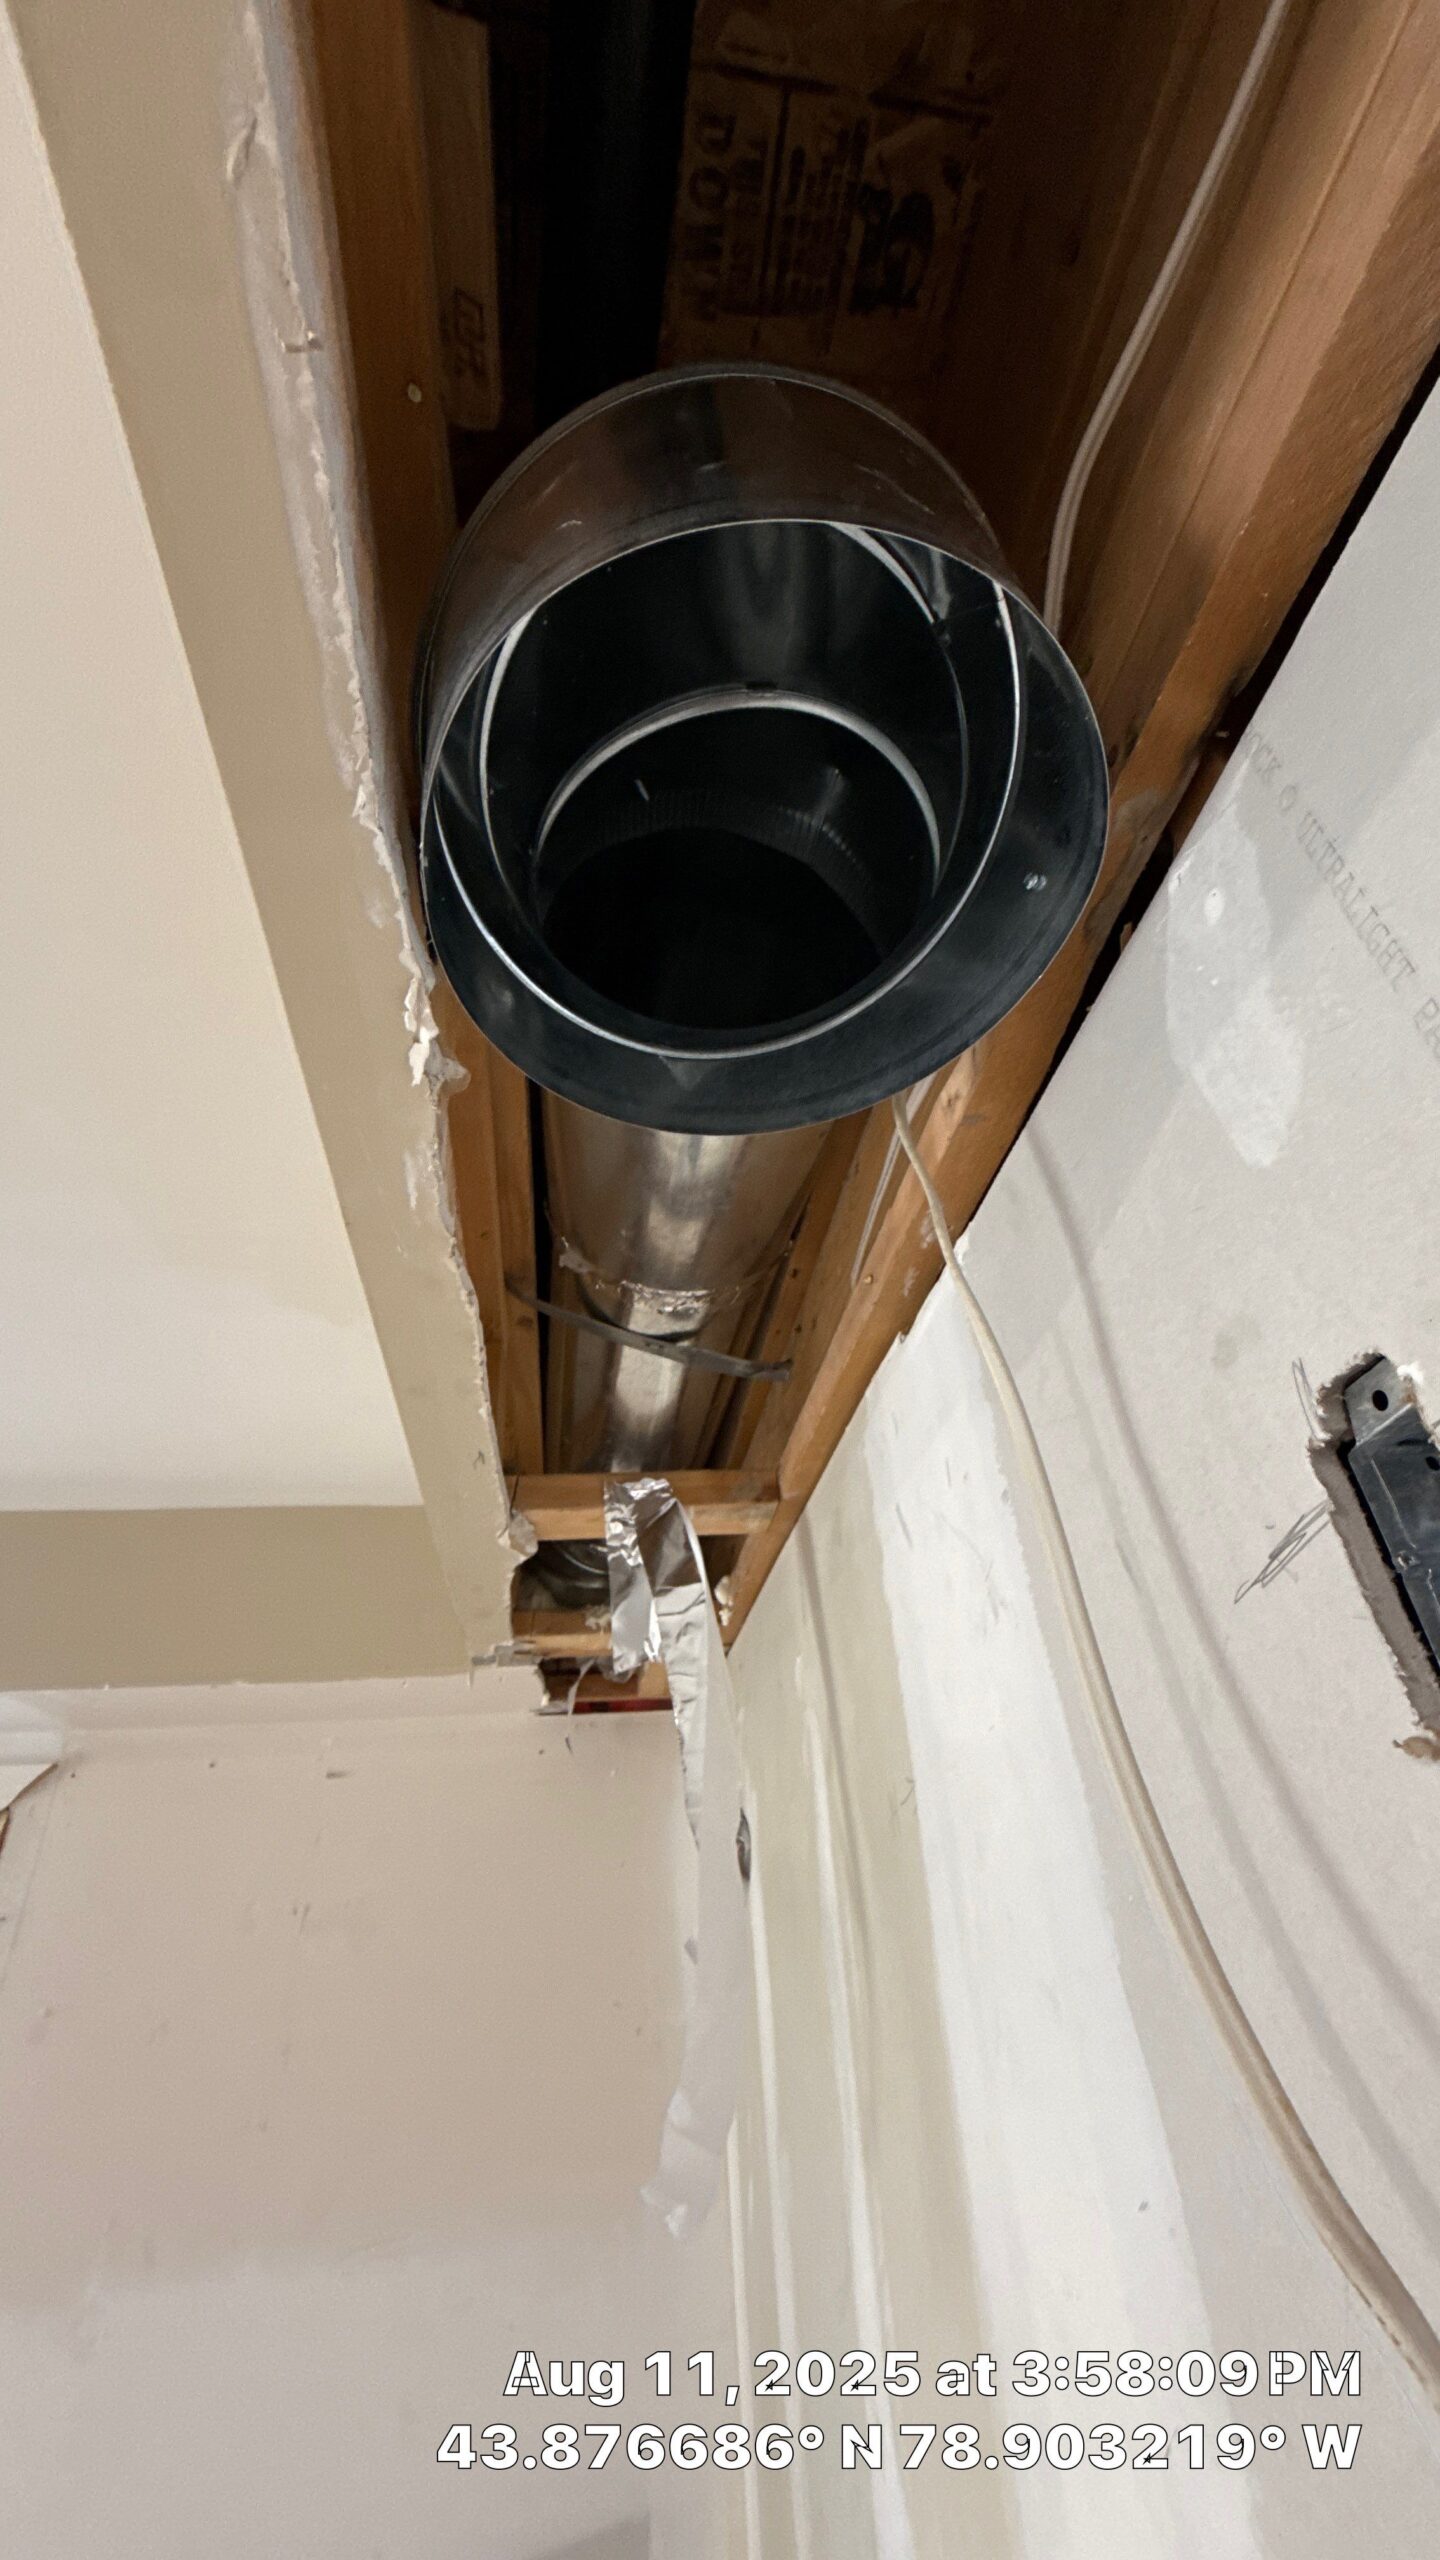
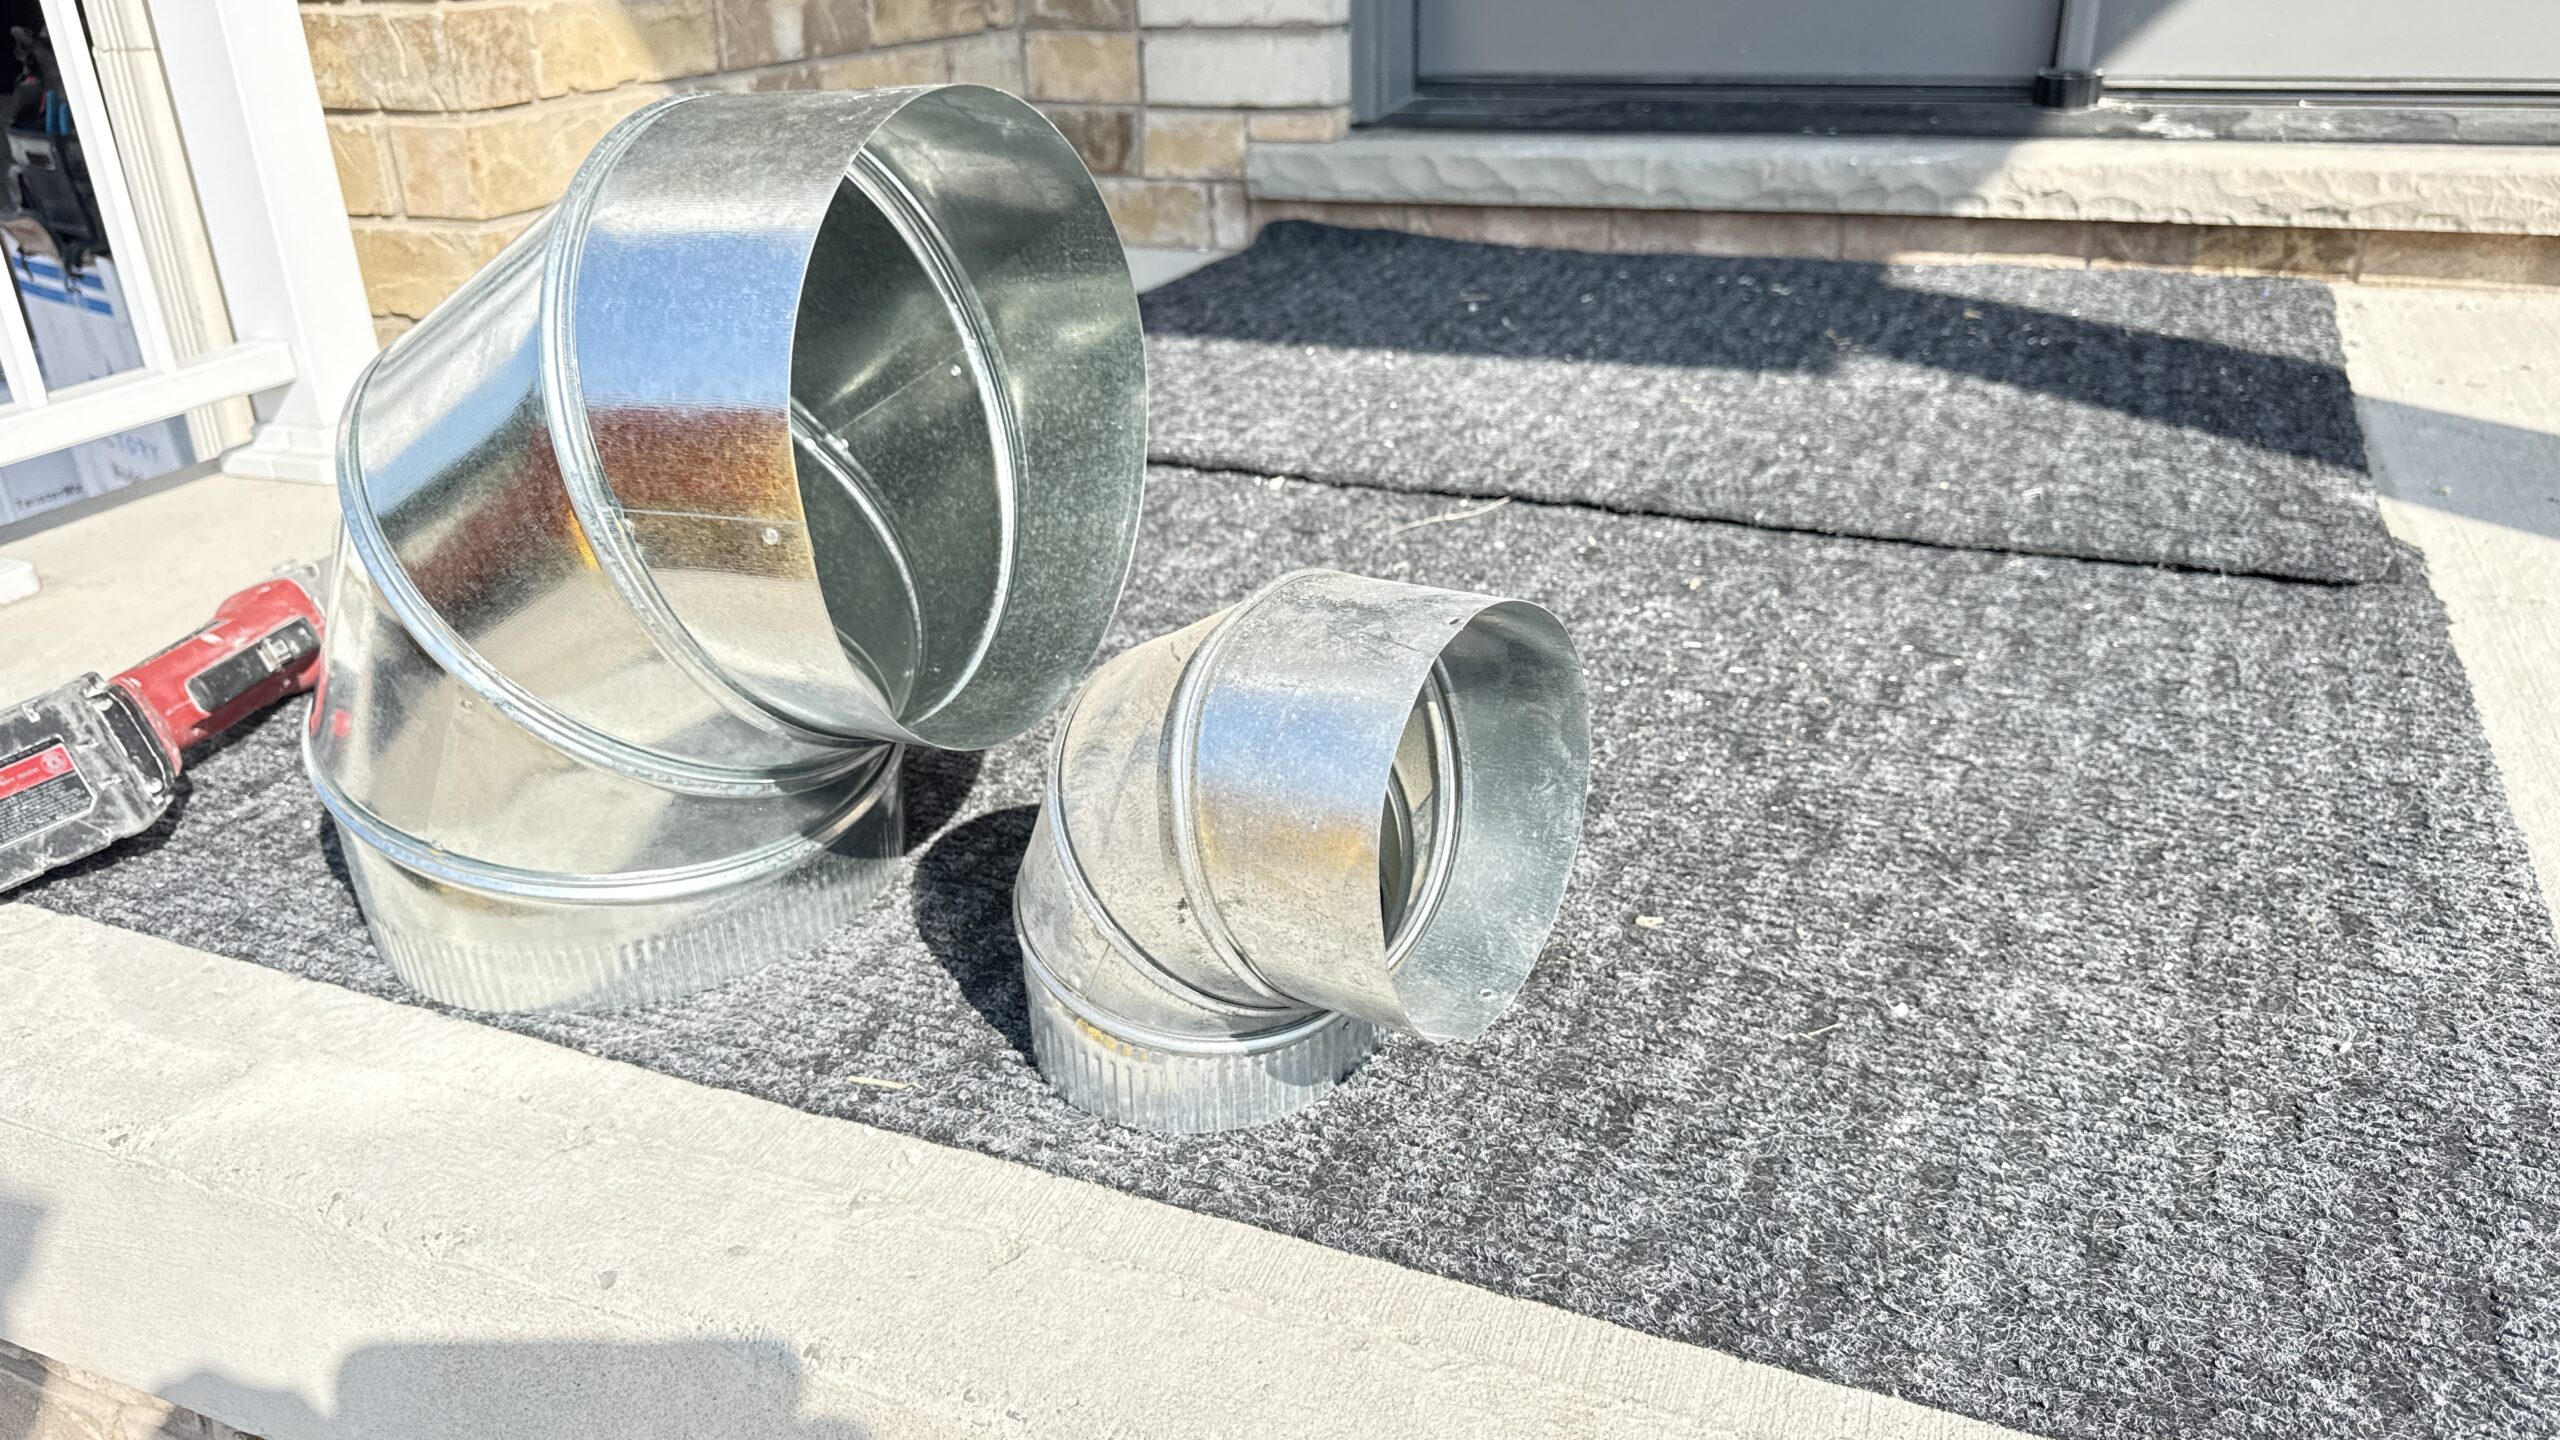
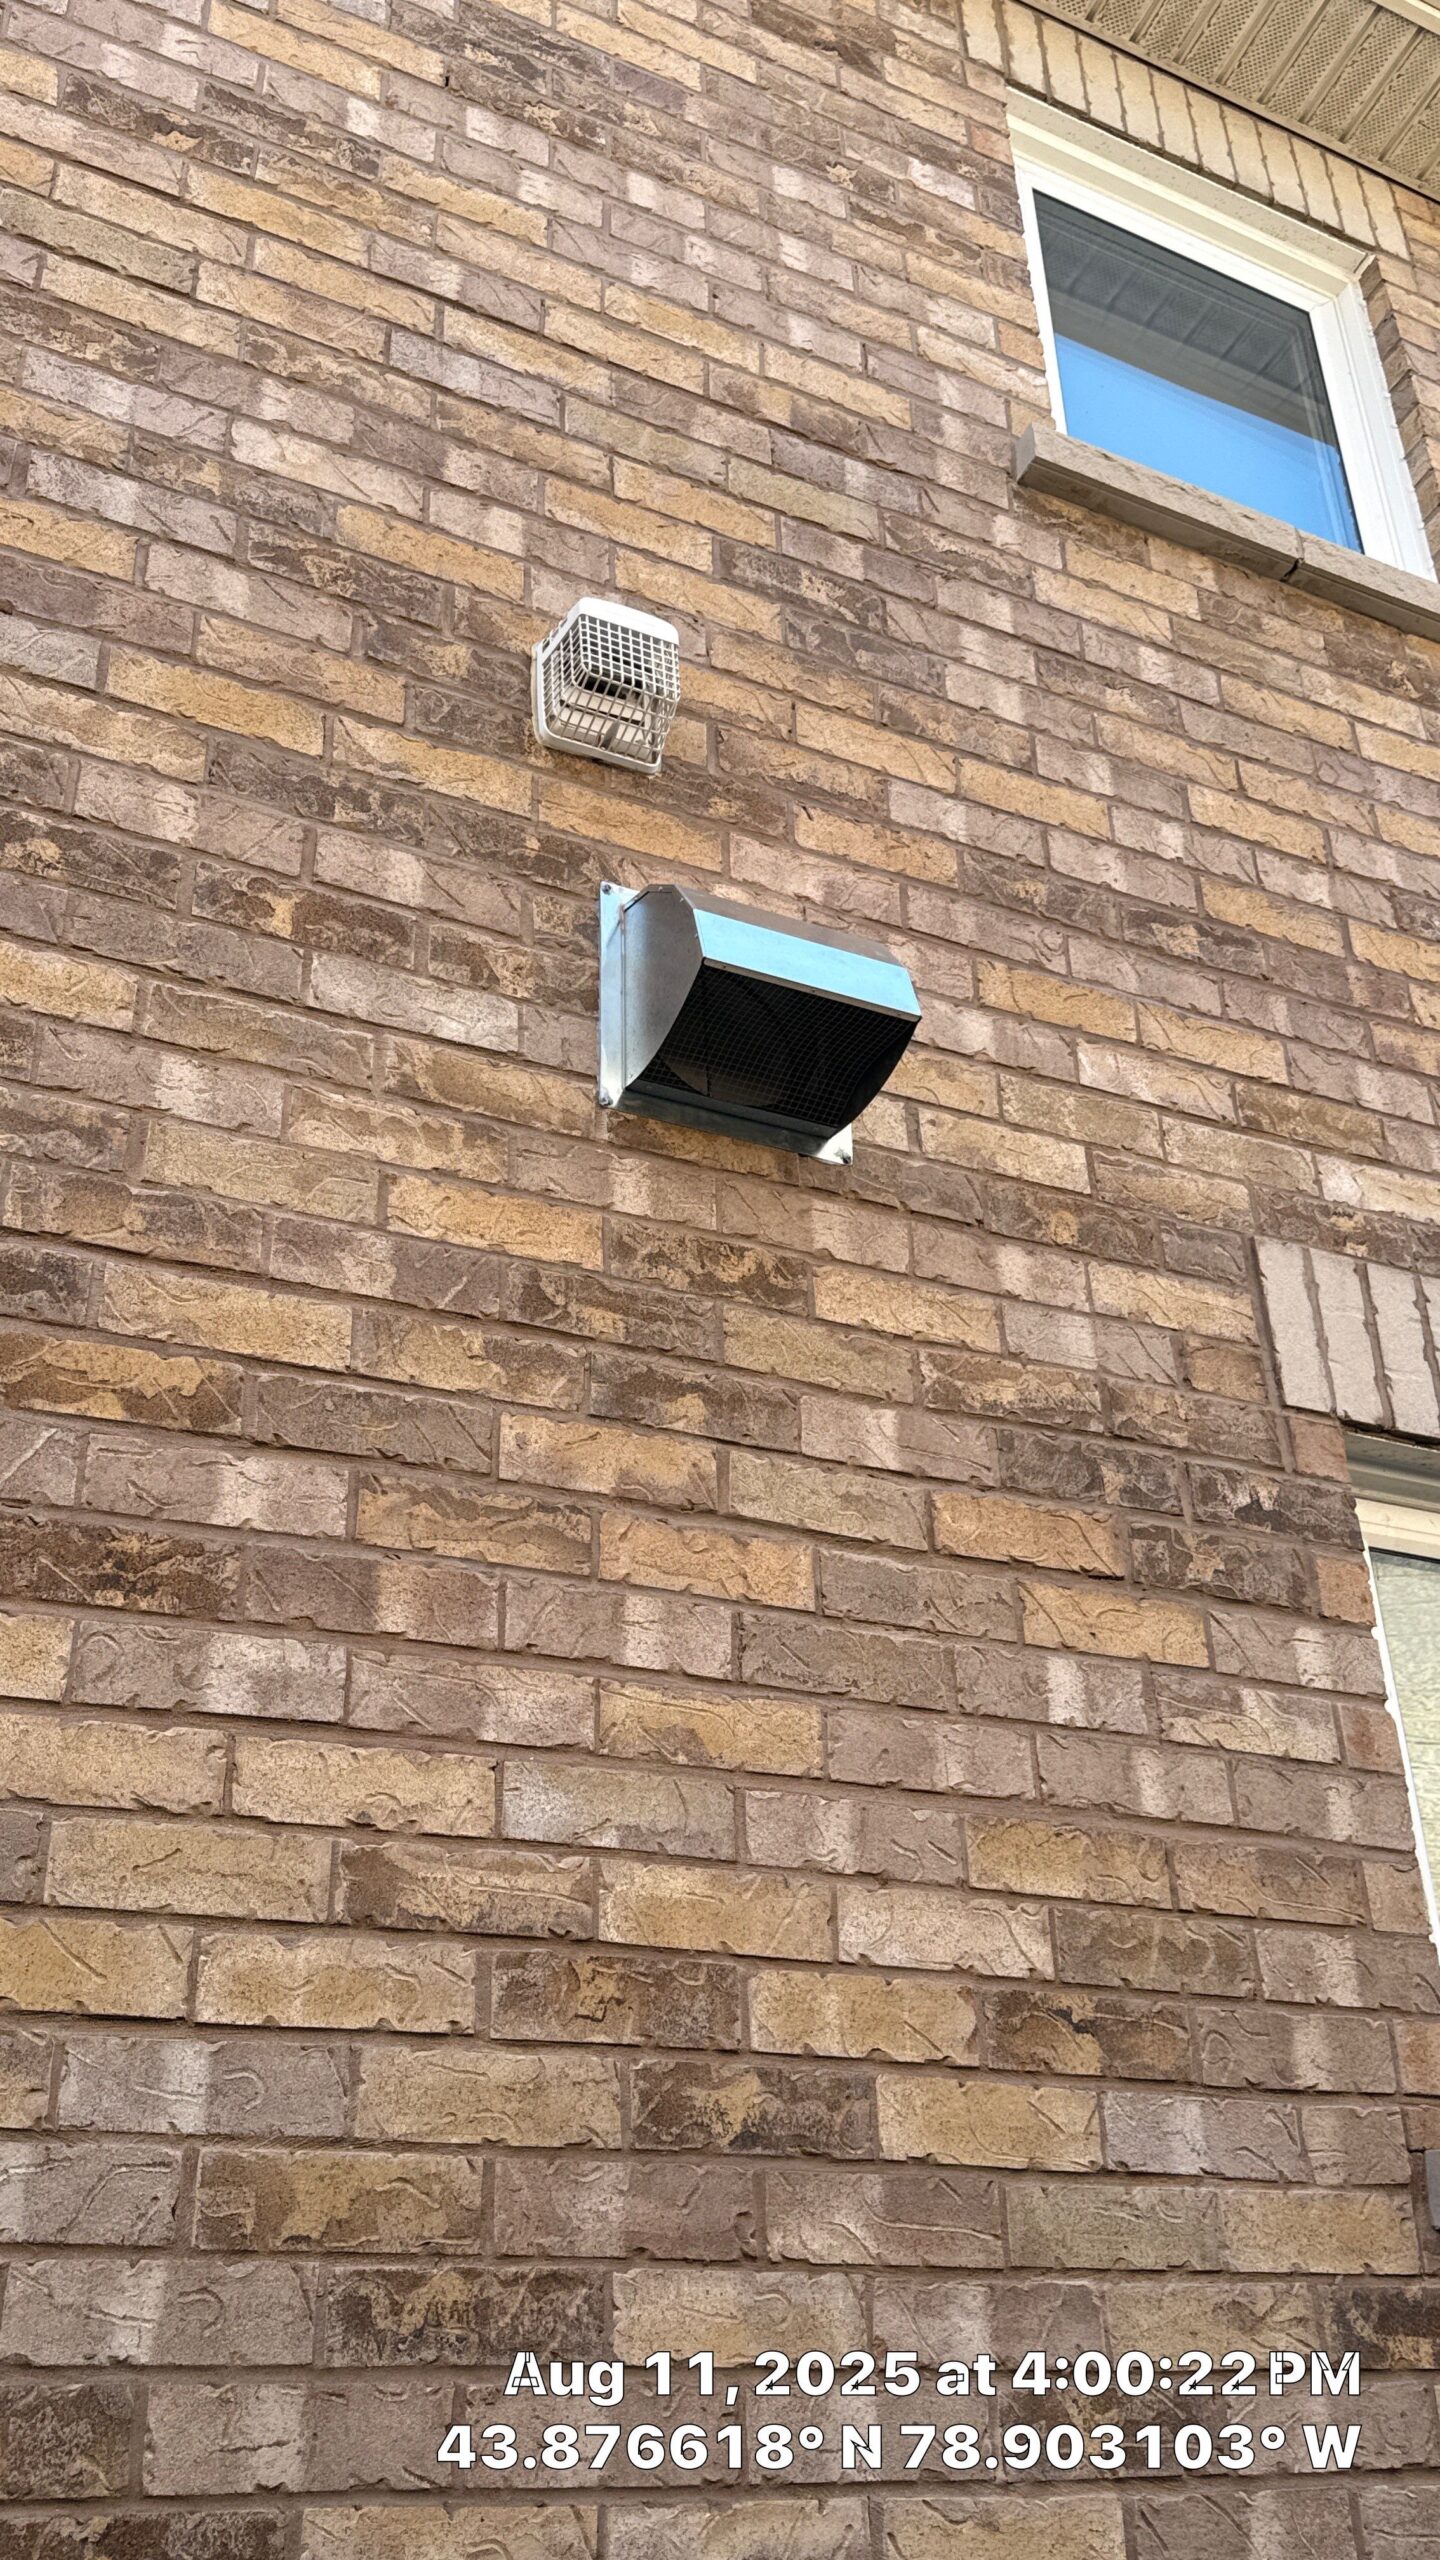
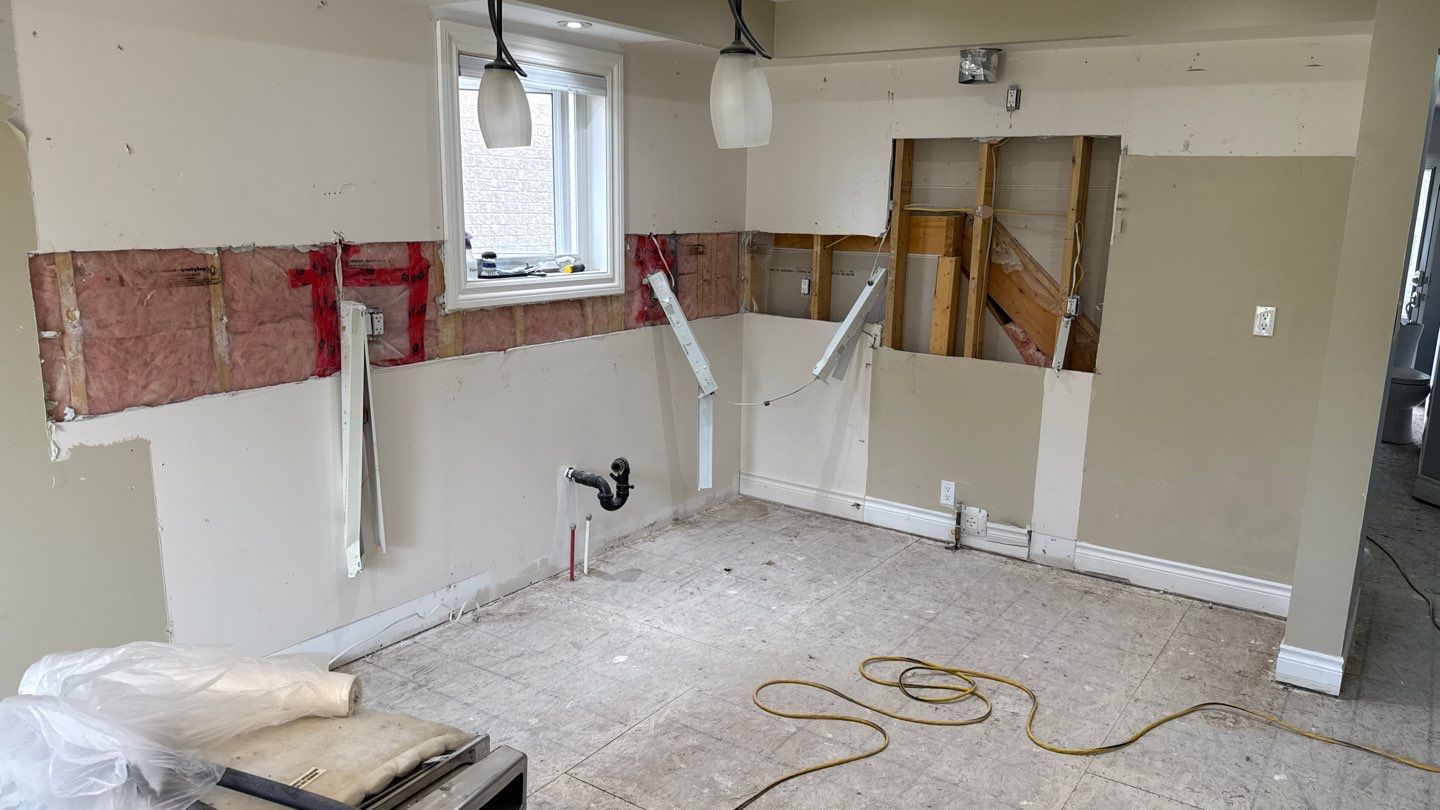
Running new 12" duct through a brick wall
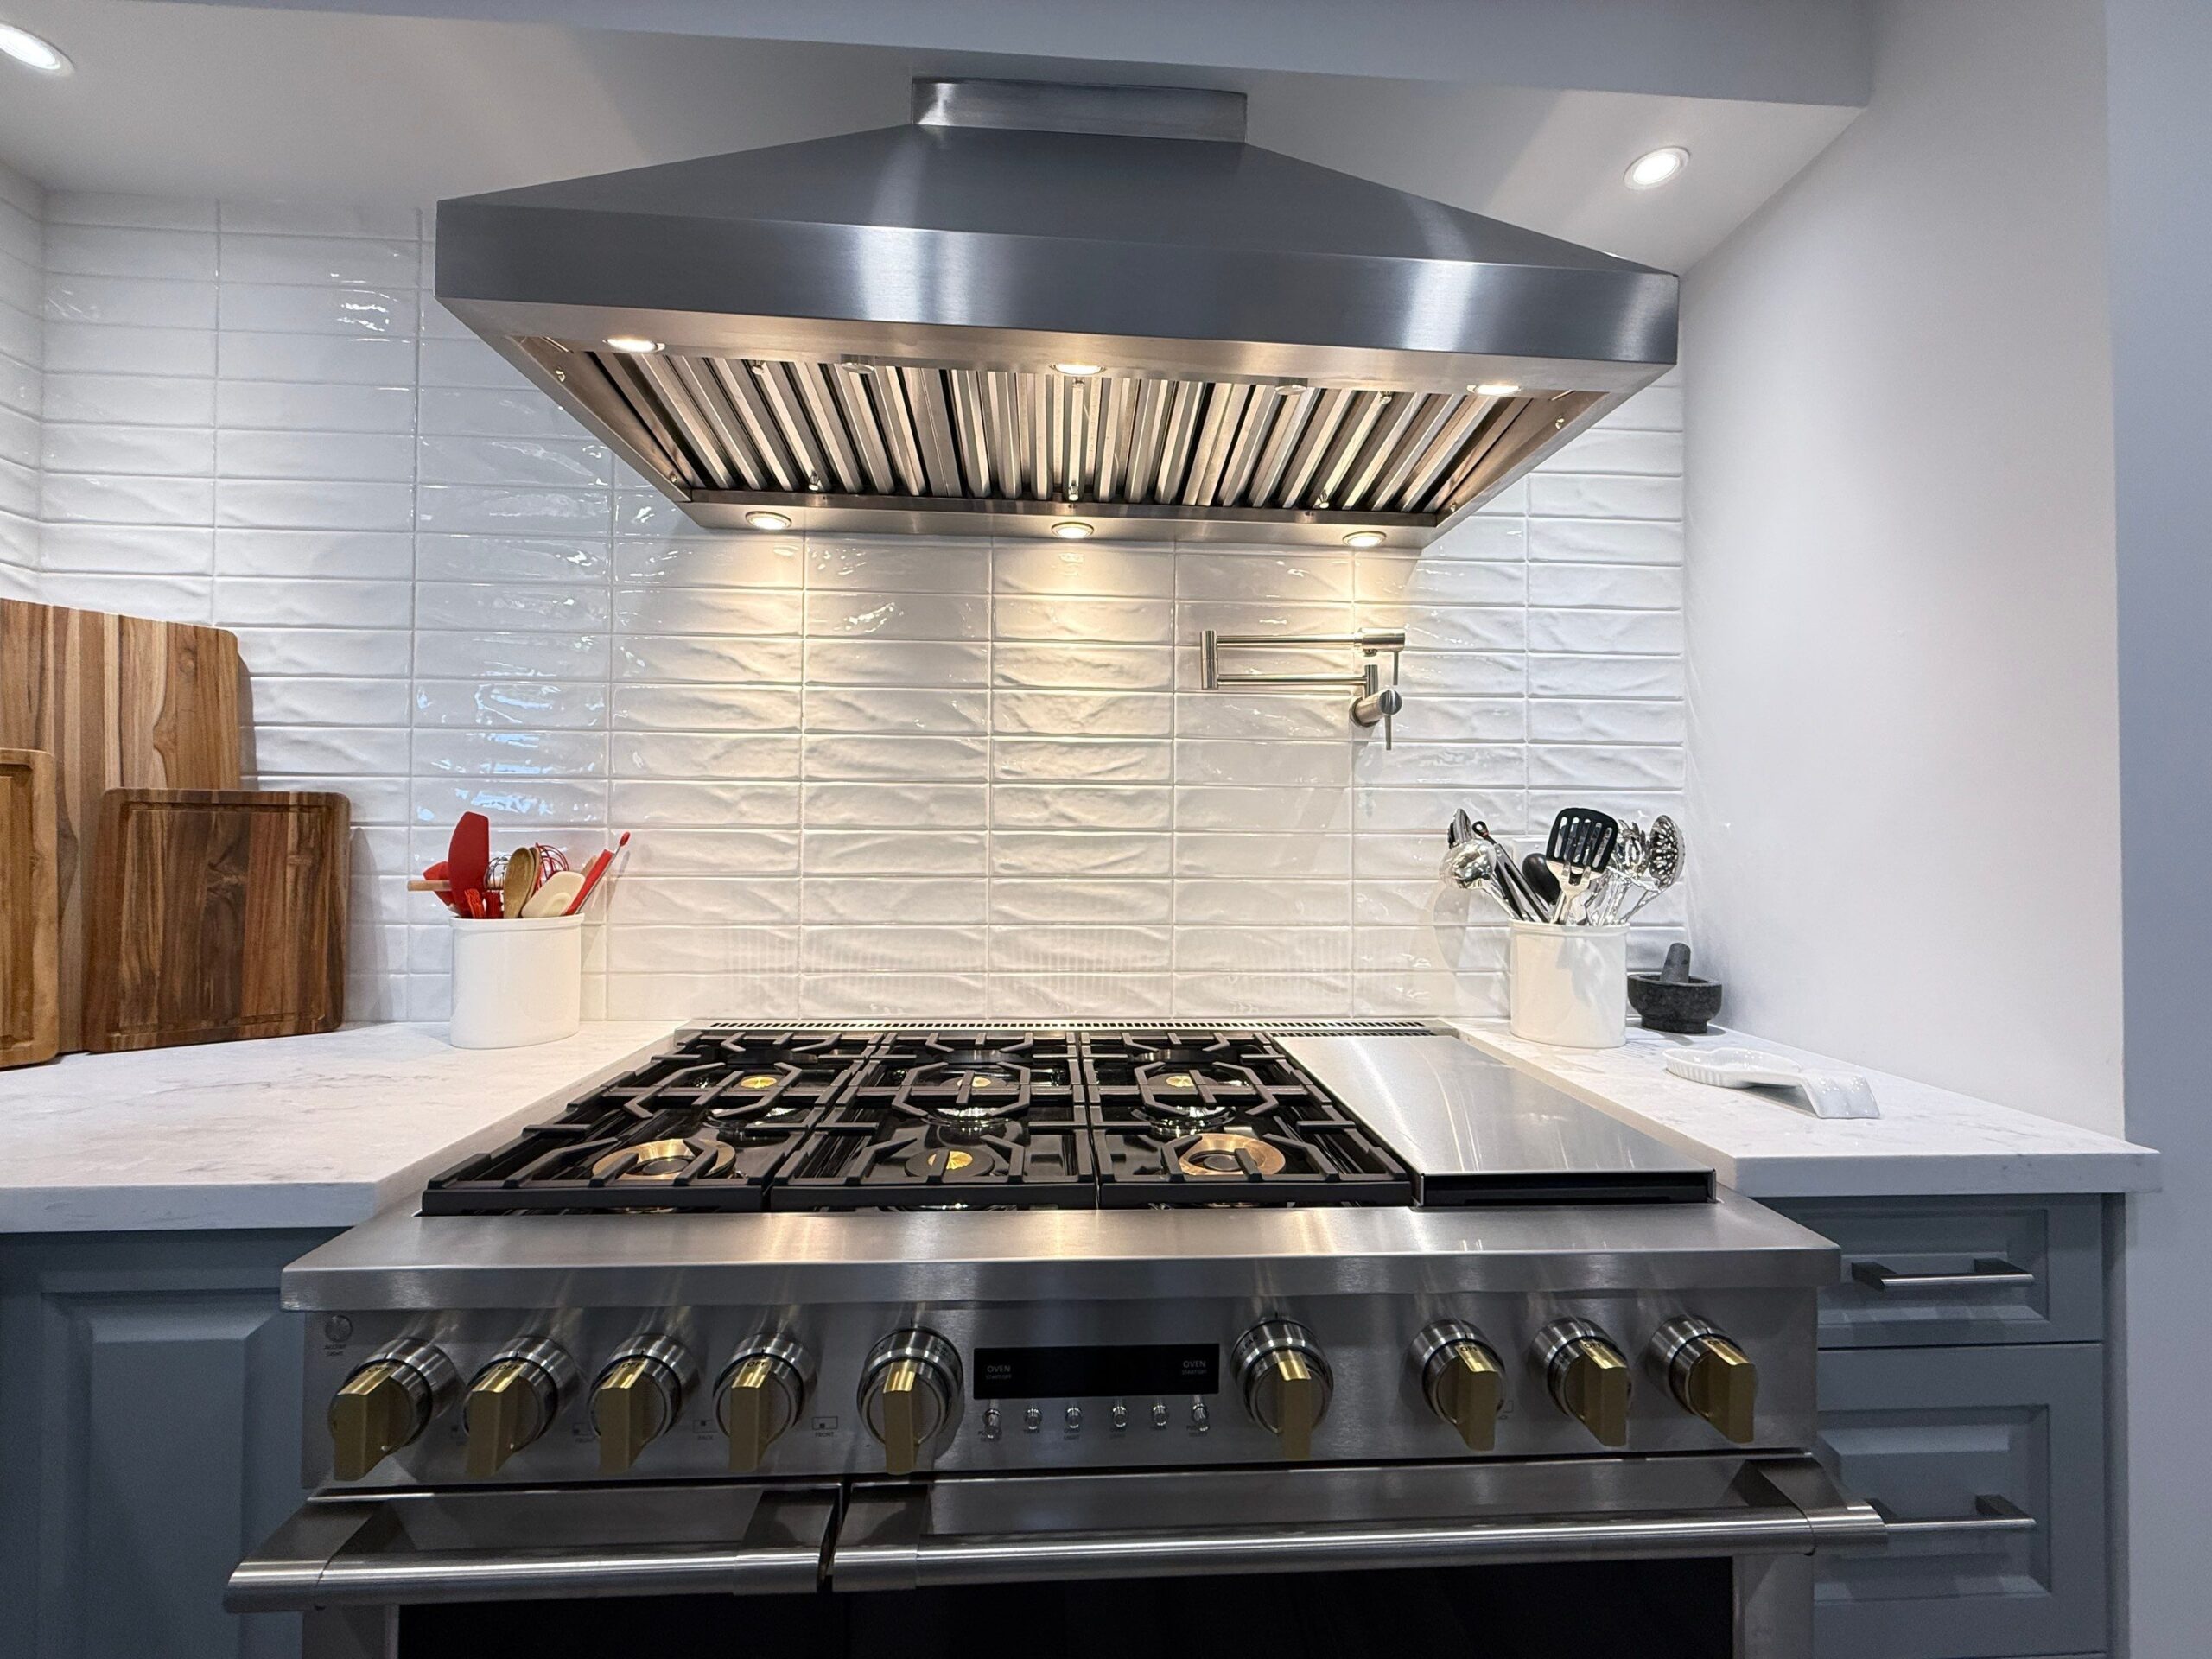
Jolette was going with a commercial-style range, so I recommended a commercial-grade vent to match — anything less would have left smoke and grease with nowhere to go. But that vent required 12" ductwork, and the existing run was only 6".
So we opened up the old bulkhead, removed the undersized 6" duct, ran a proper 12" duct to the exterior, cut cleanly through the brick, and installed the correct vent. It's the kind of work that never shows in a finished photo — but it's the difference between a kitchen that looks the part and one that actually performs like a chef's kitchen should.
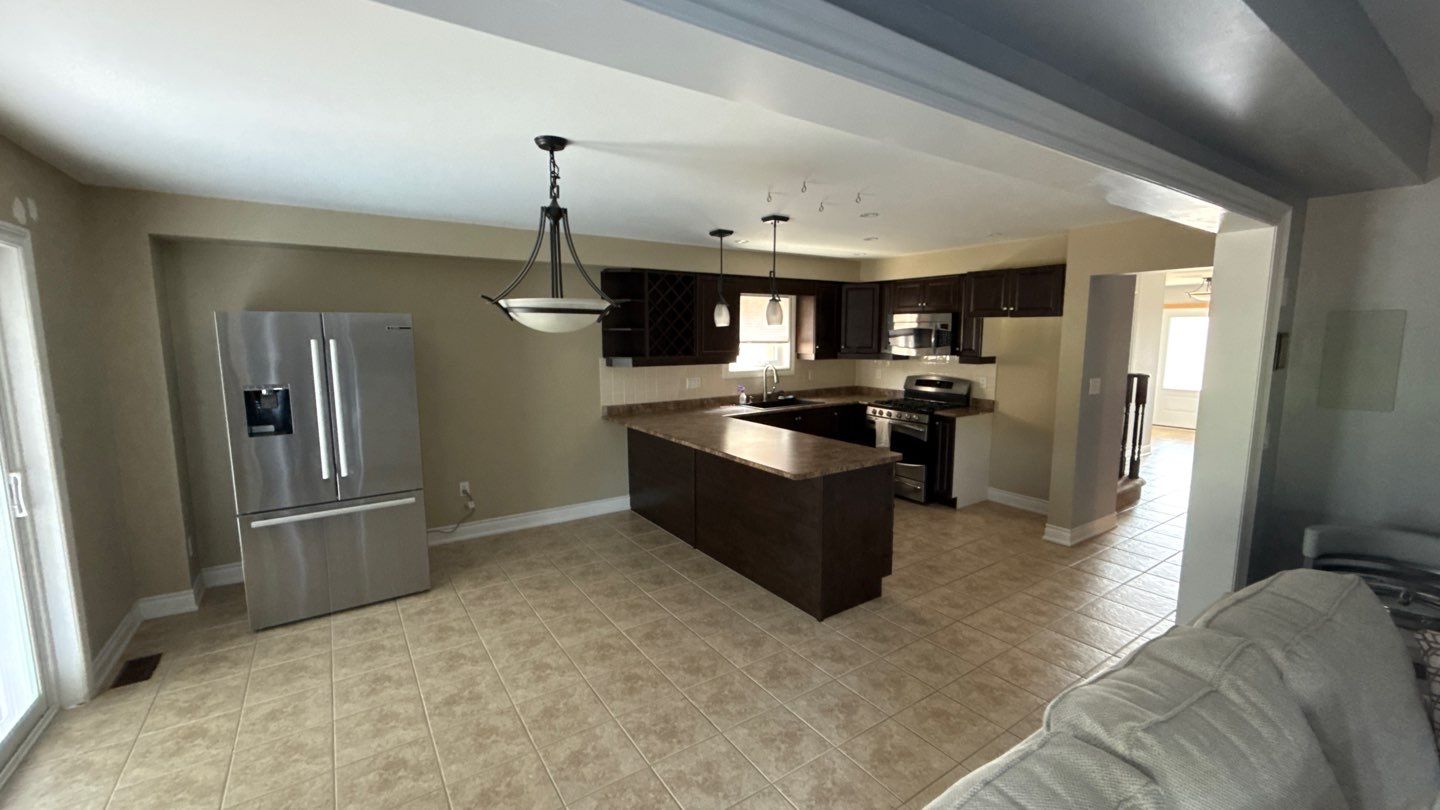
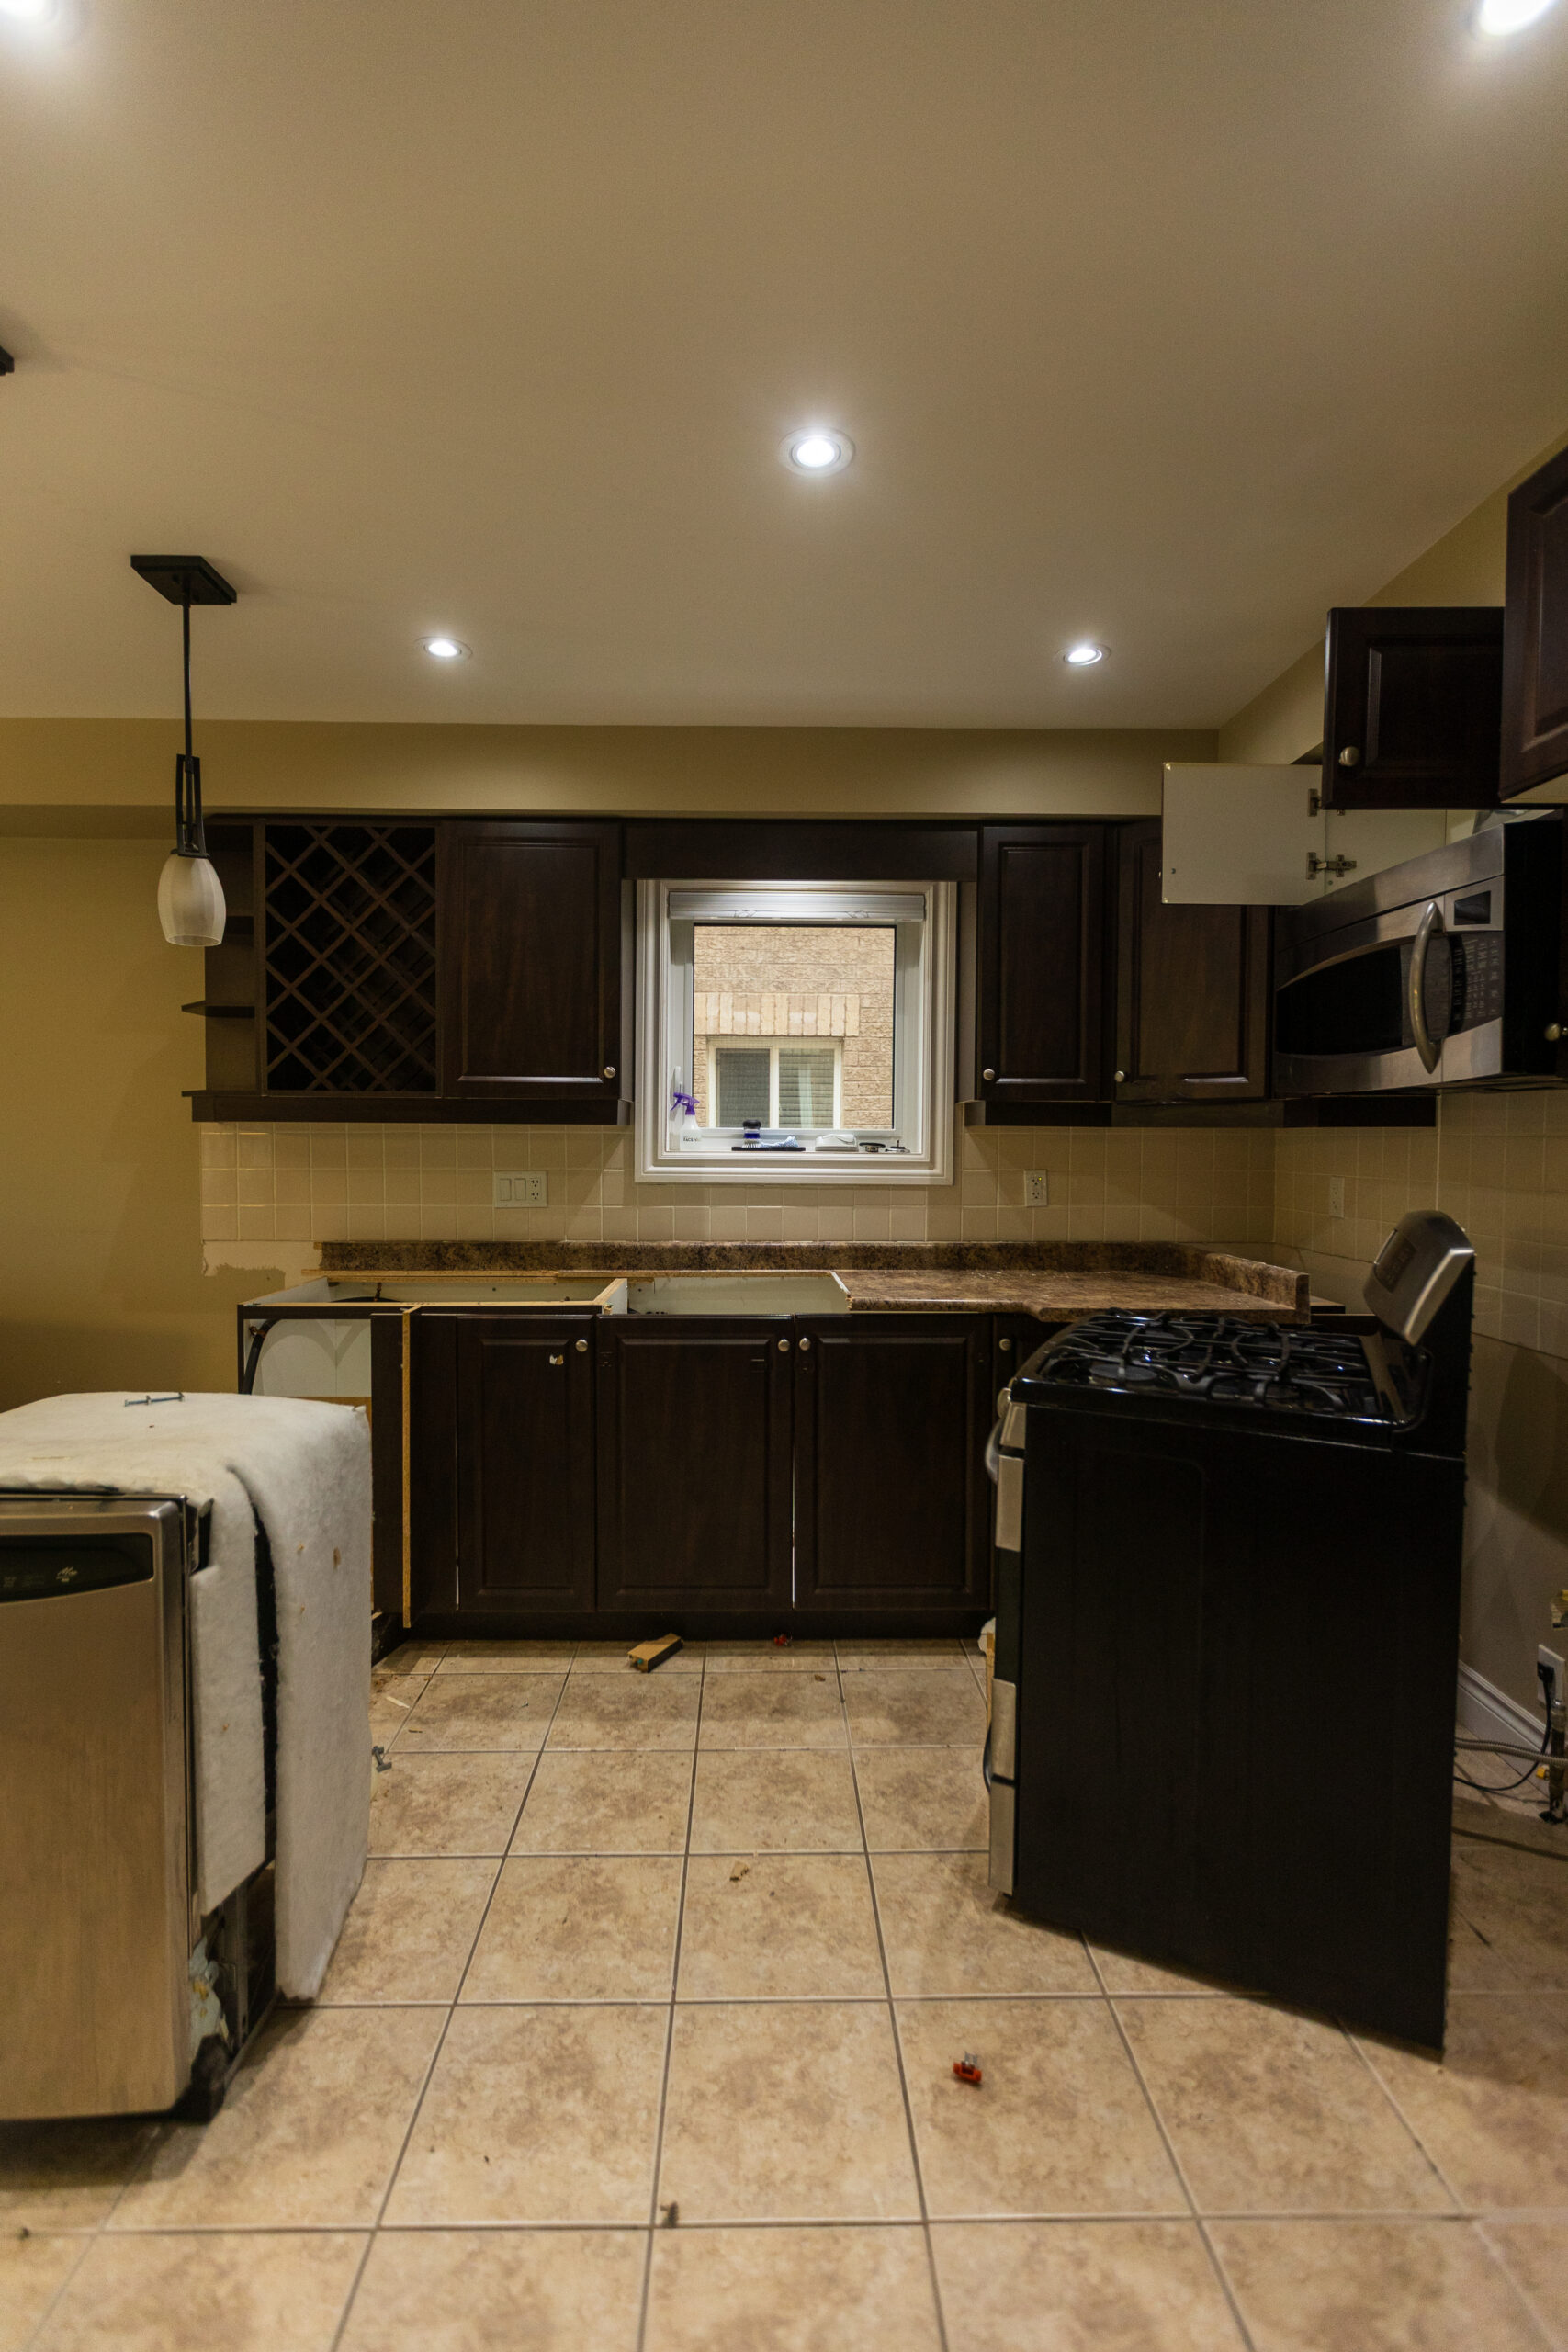
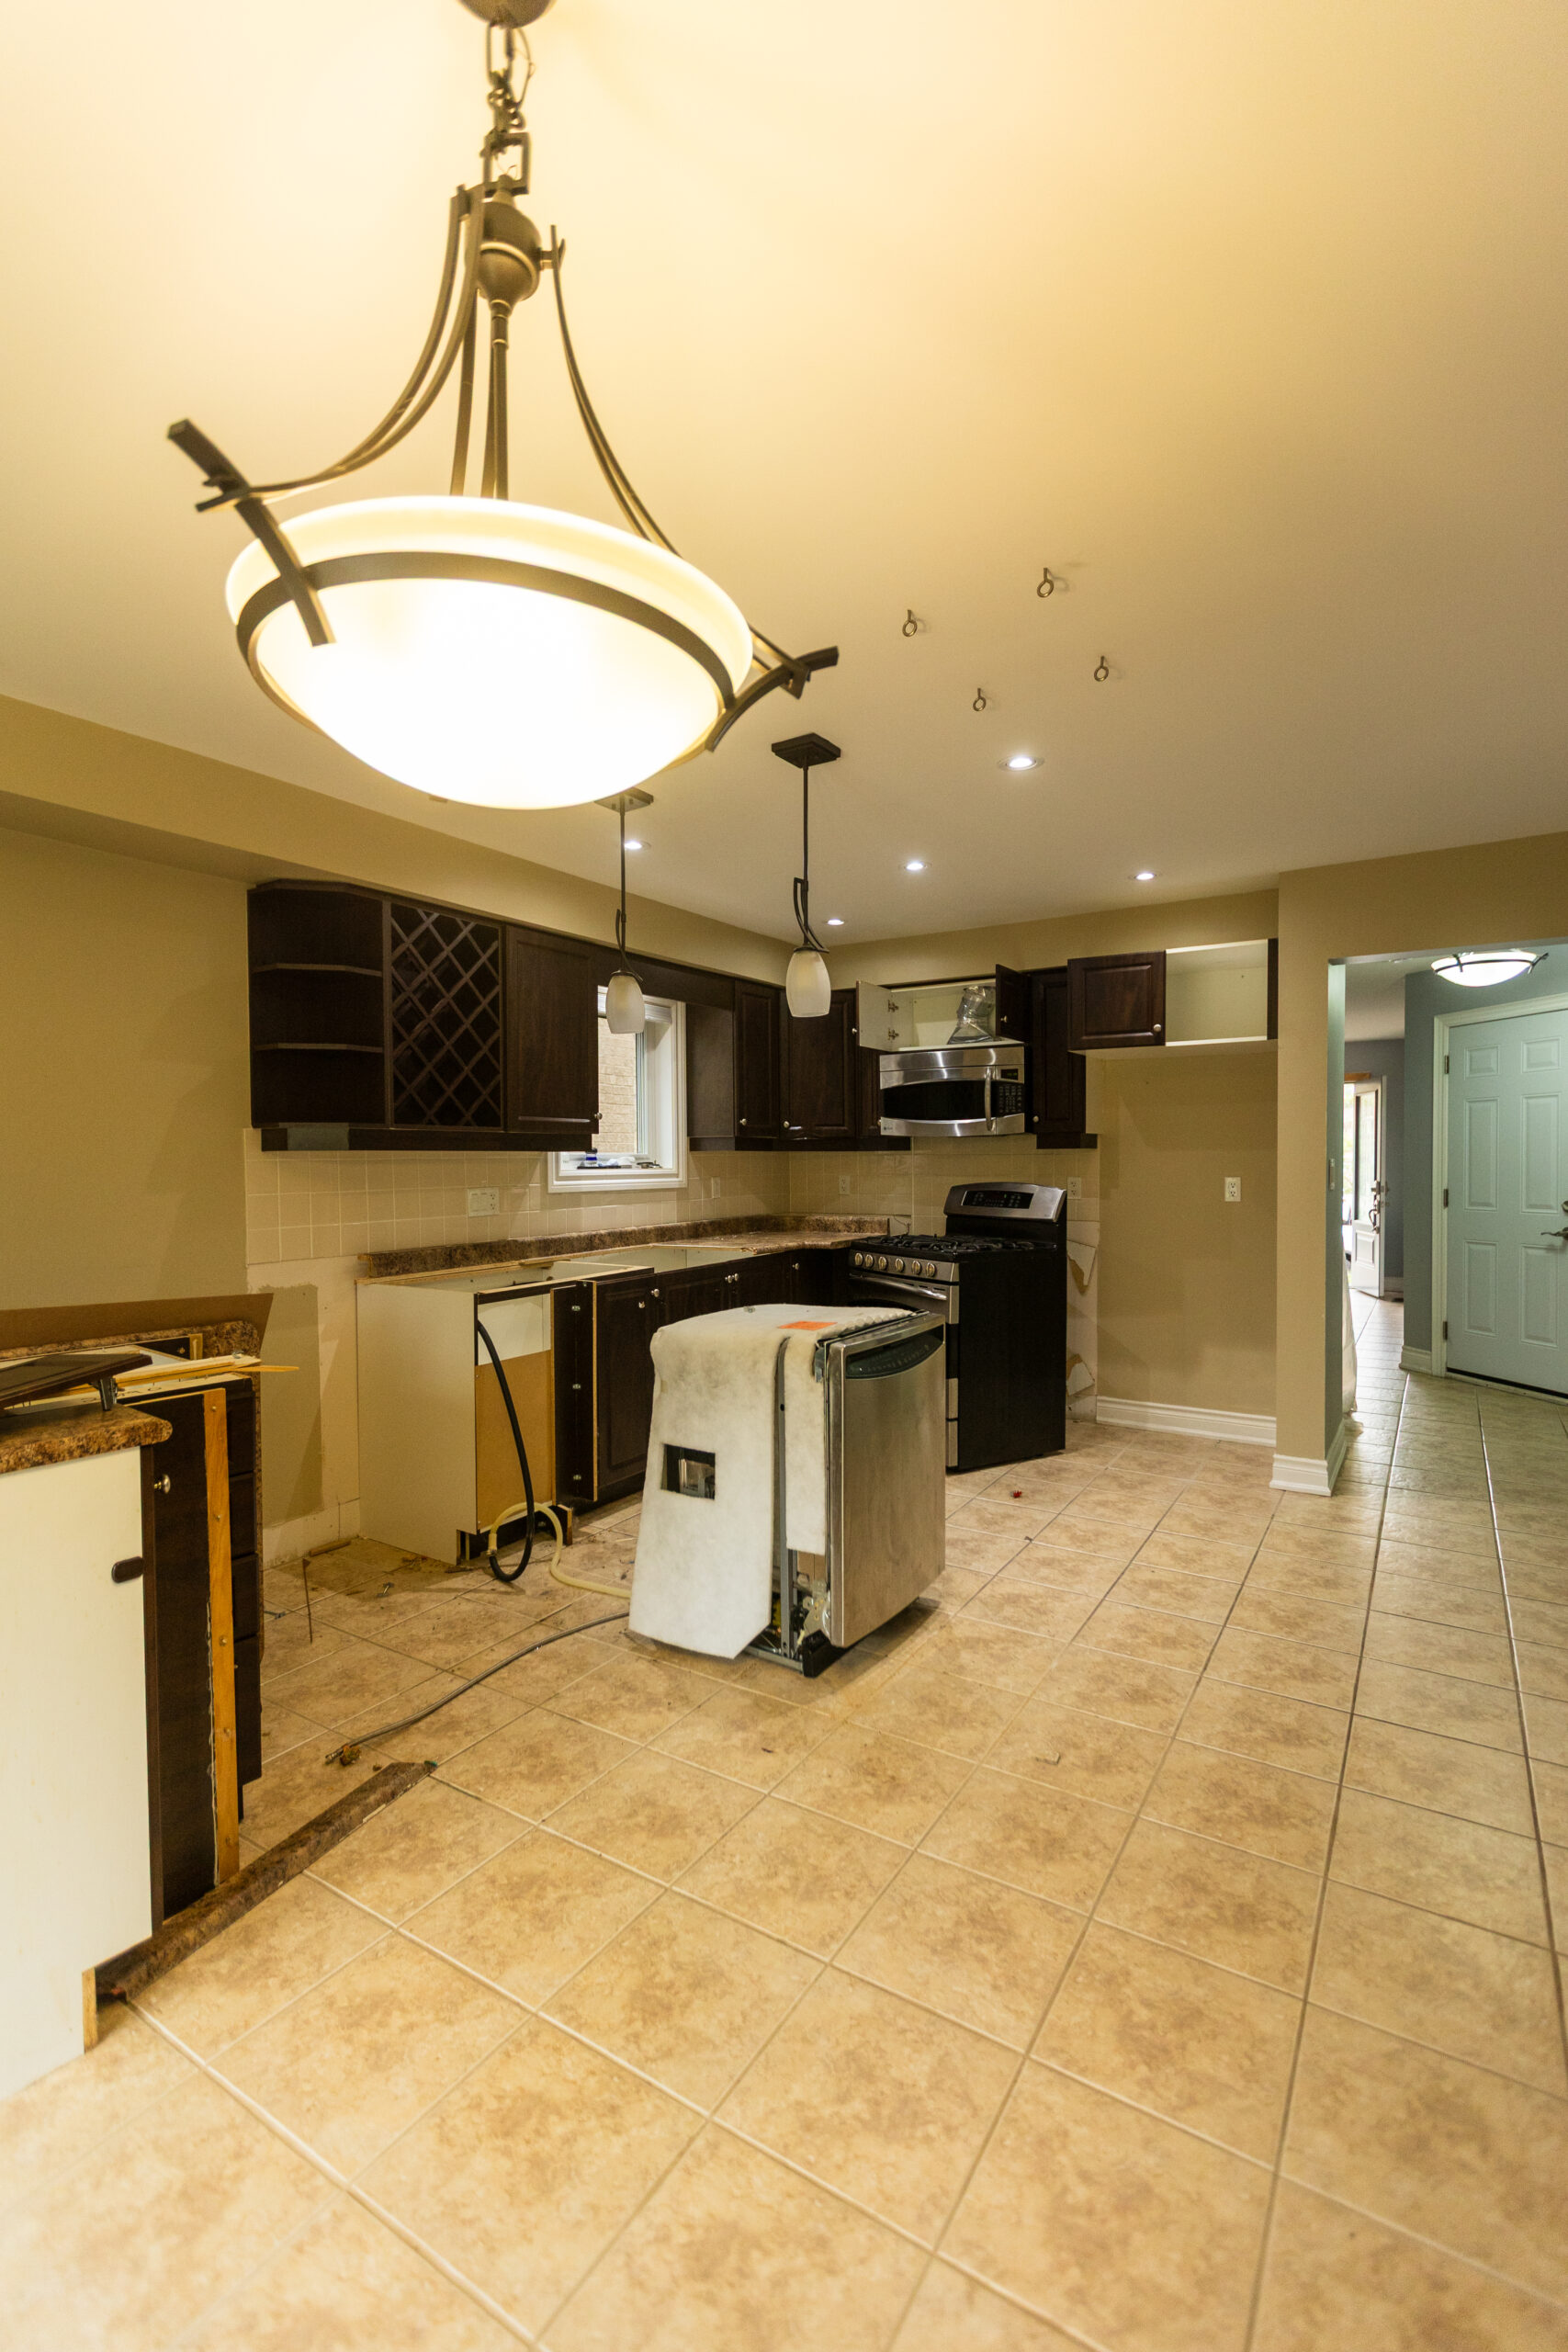
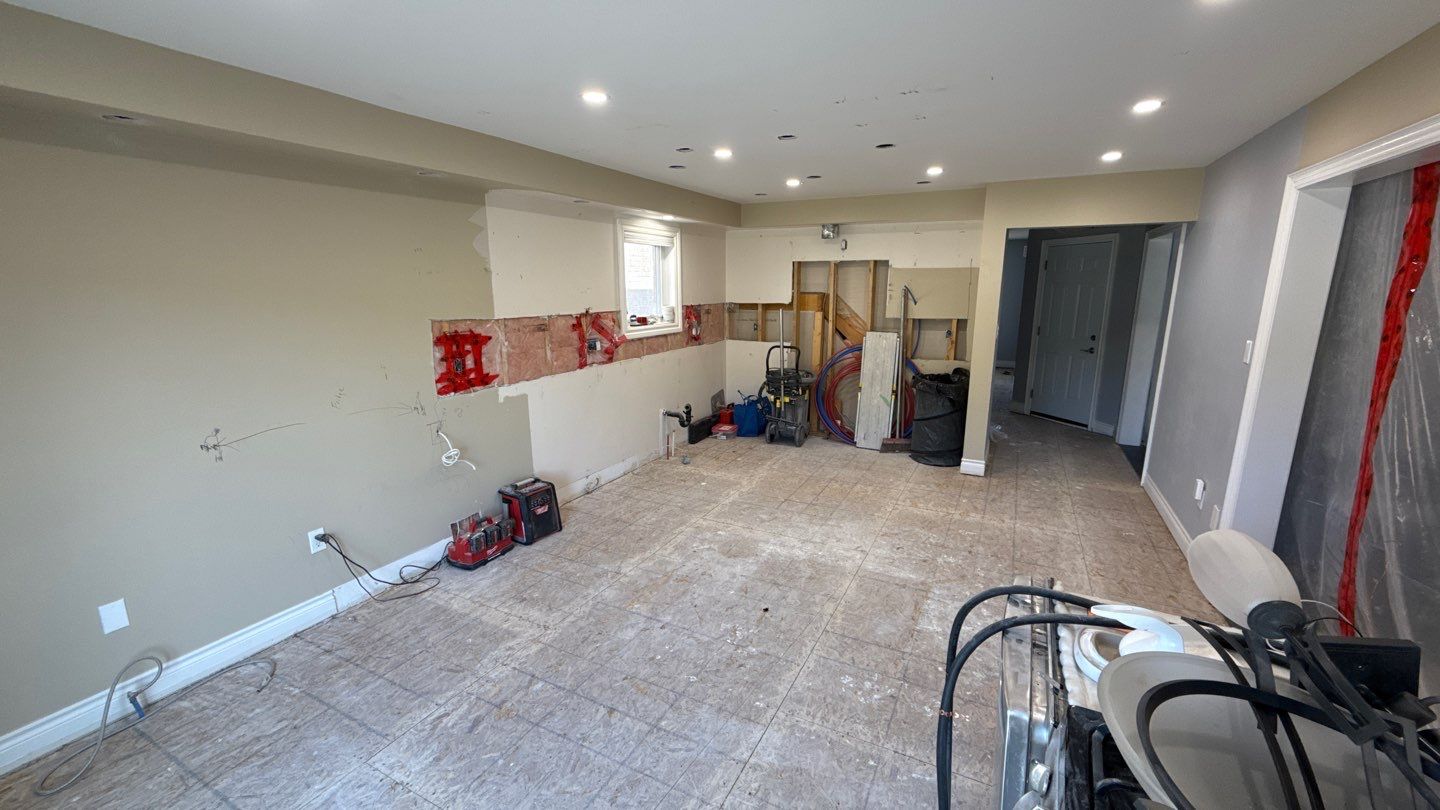
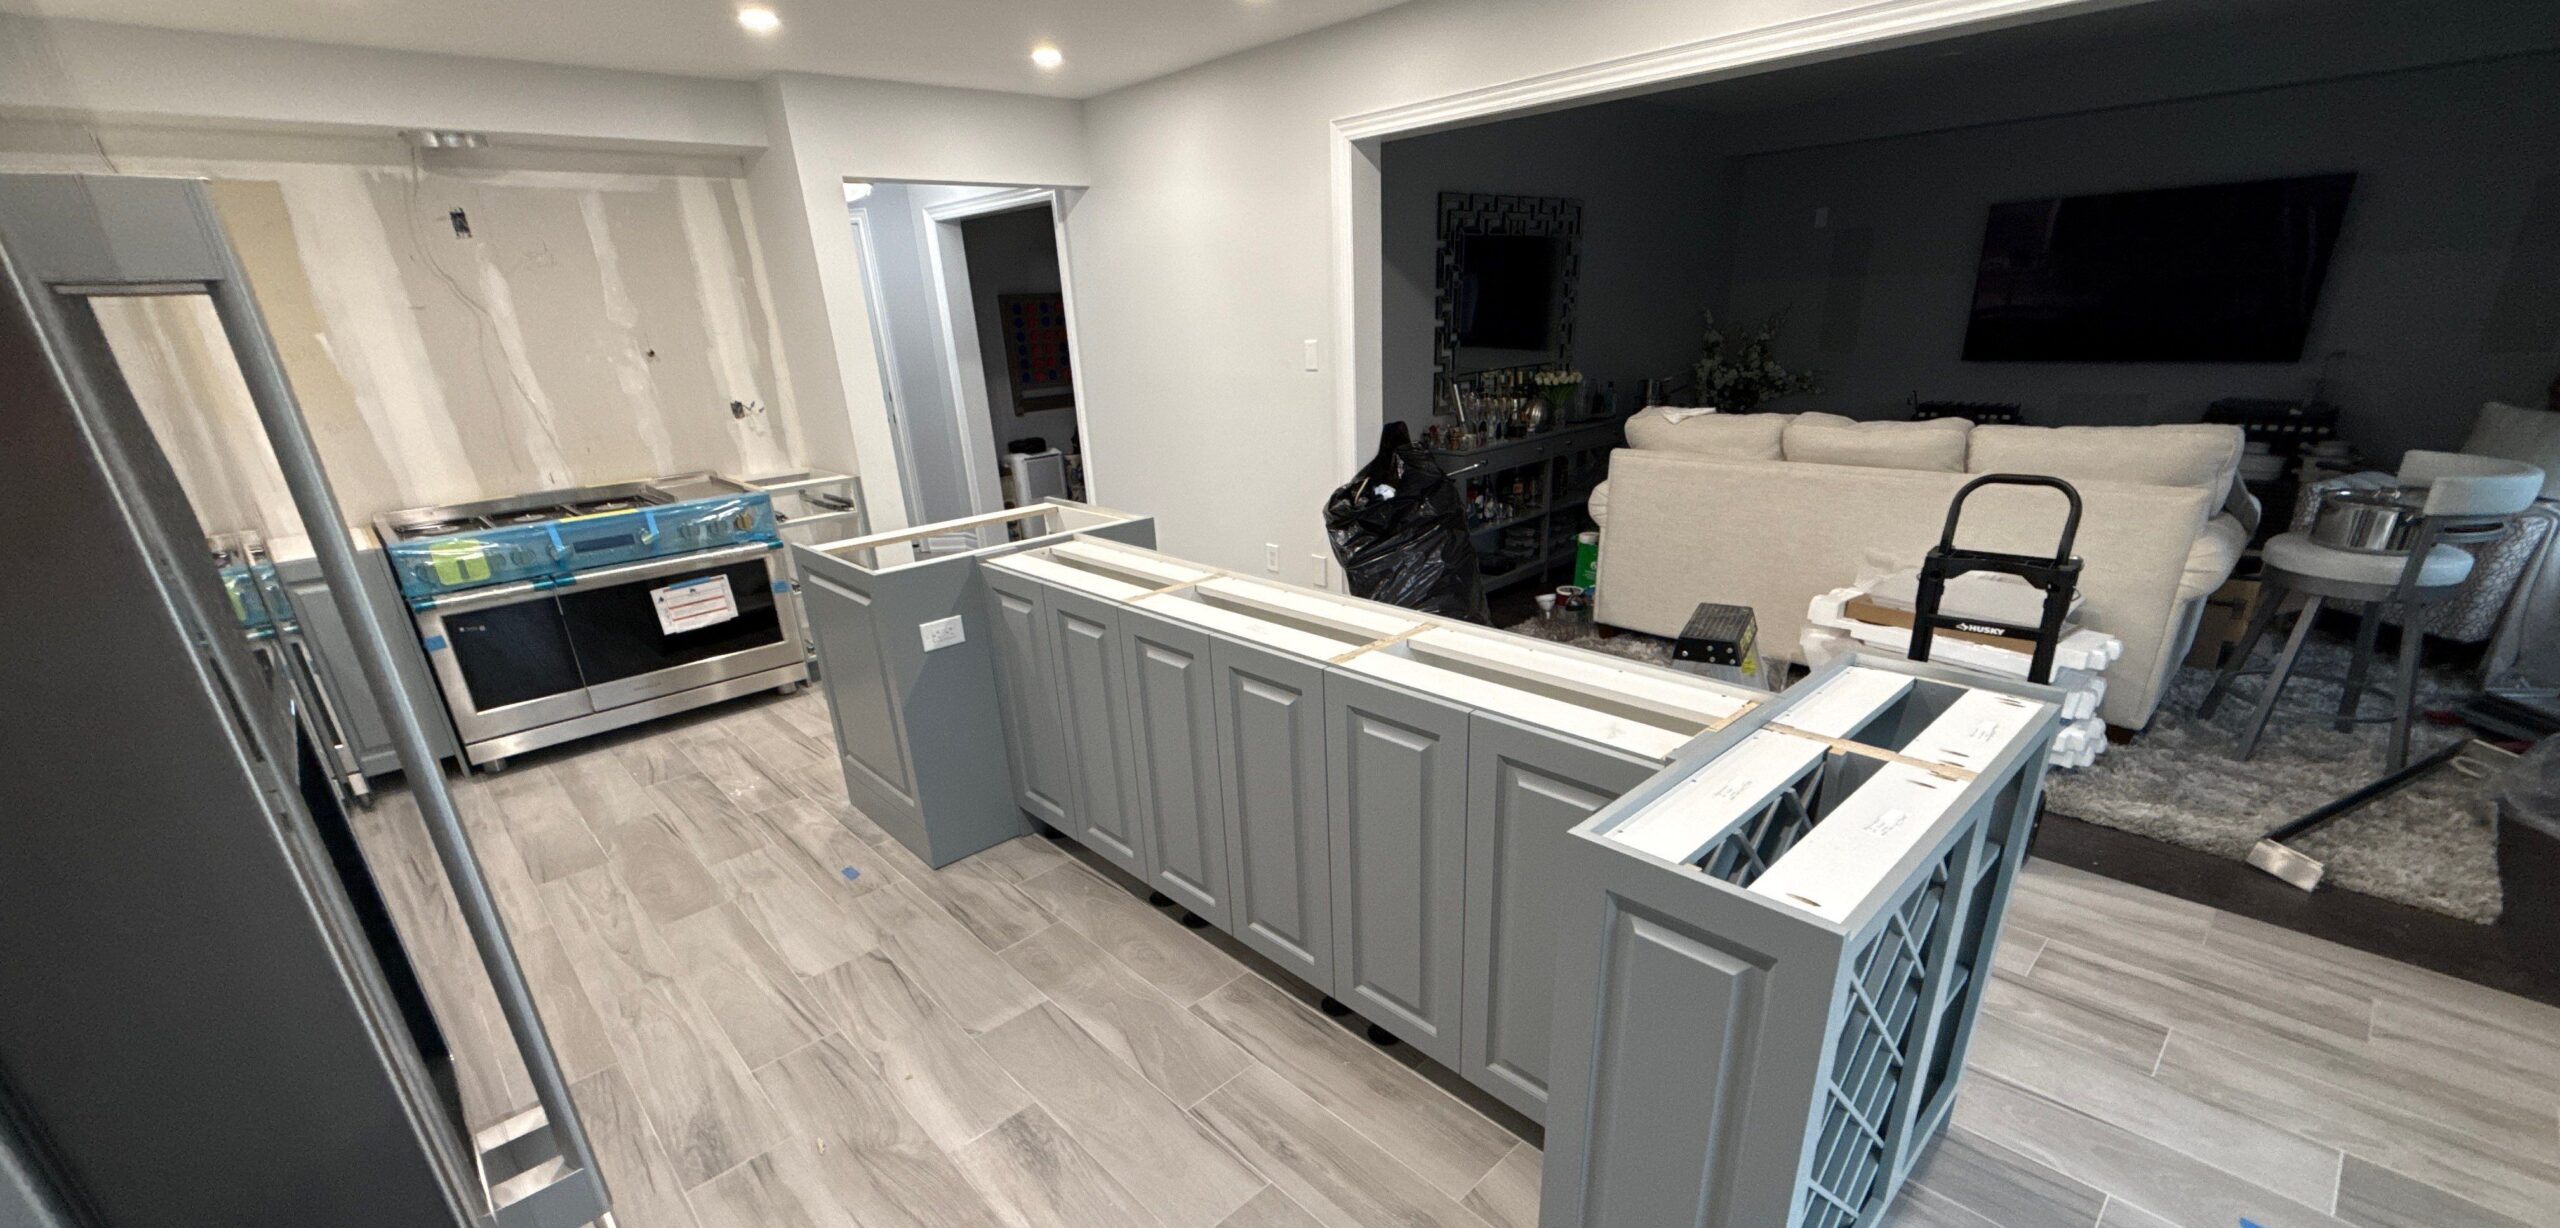
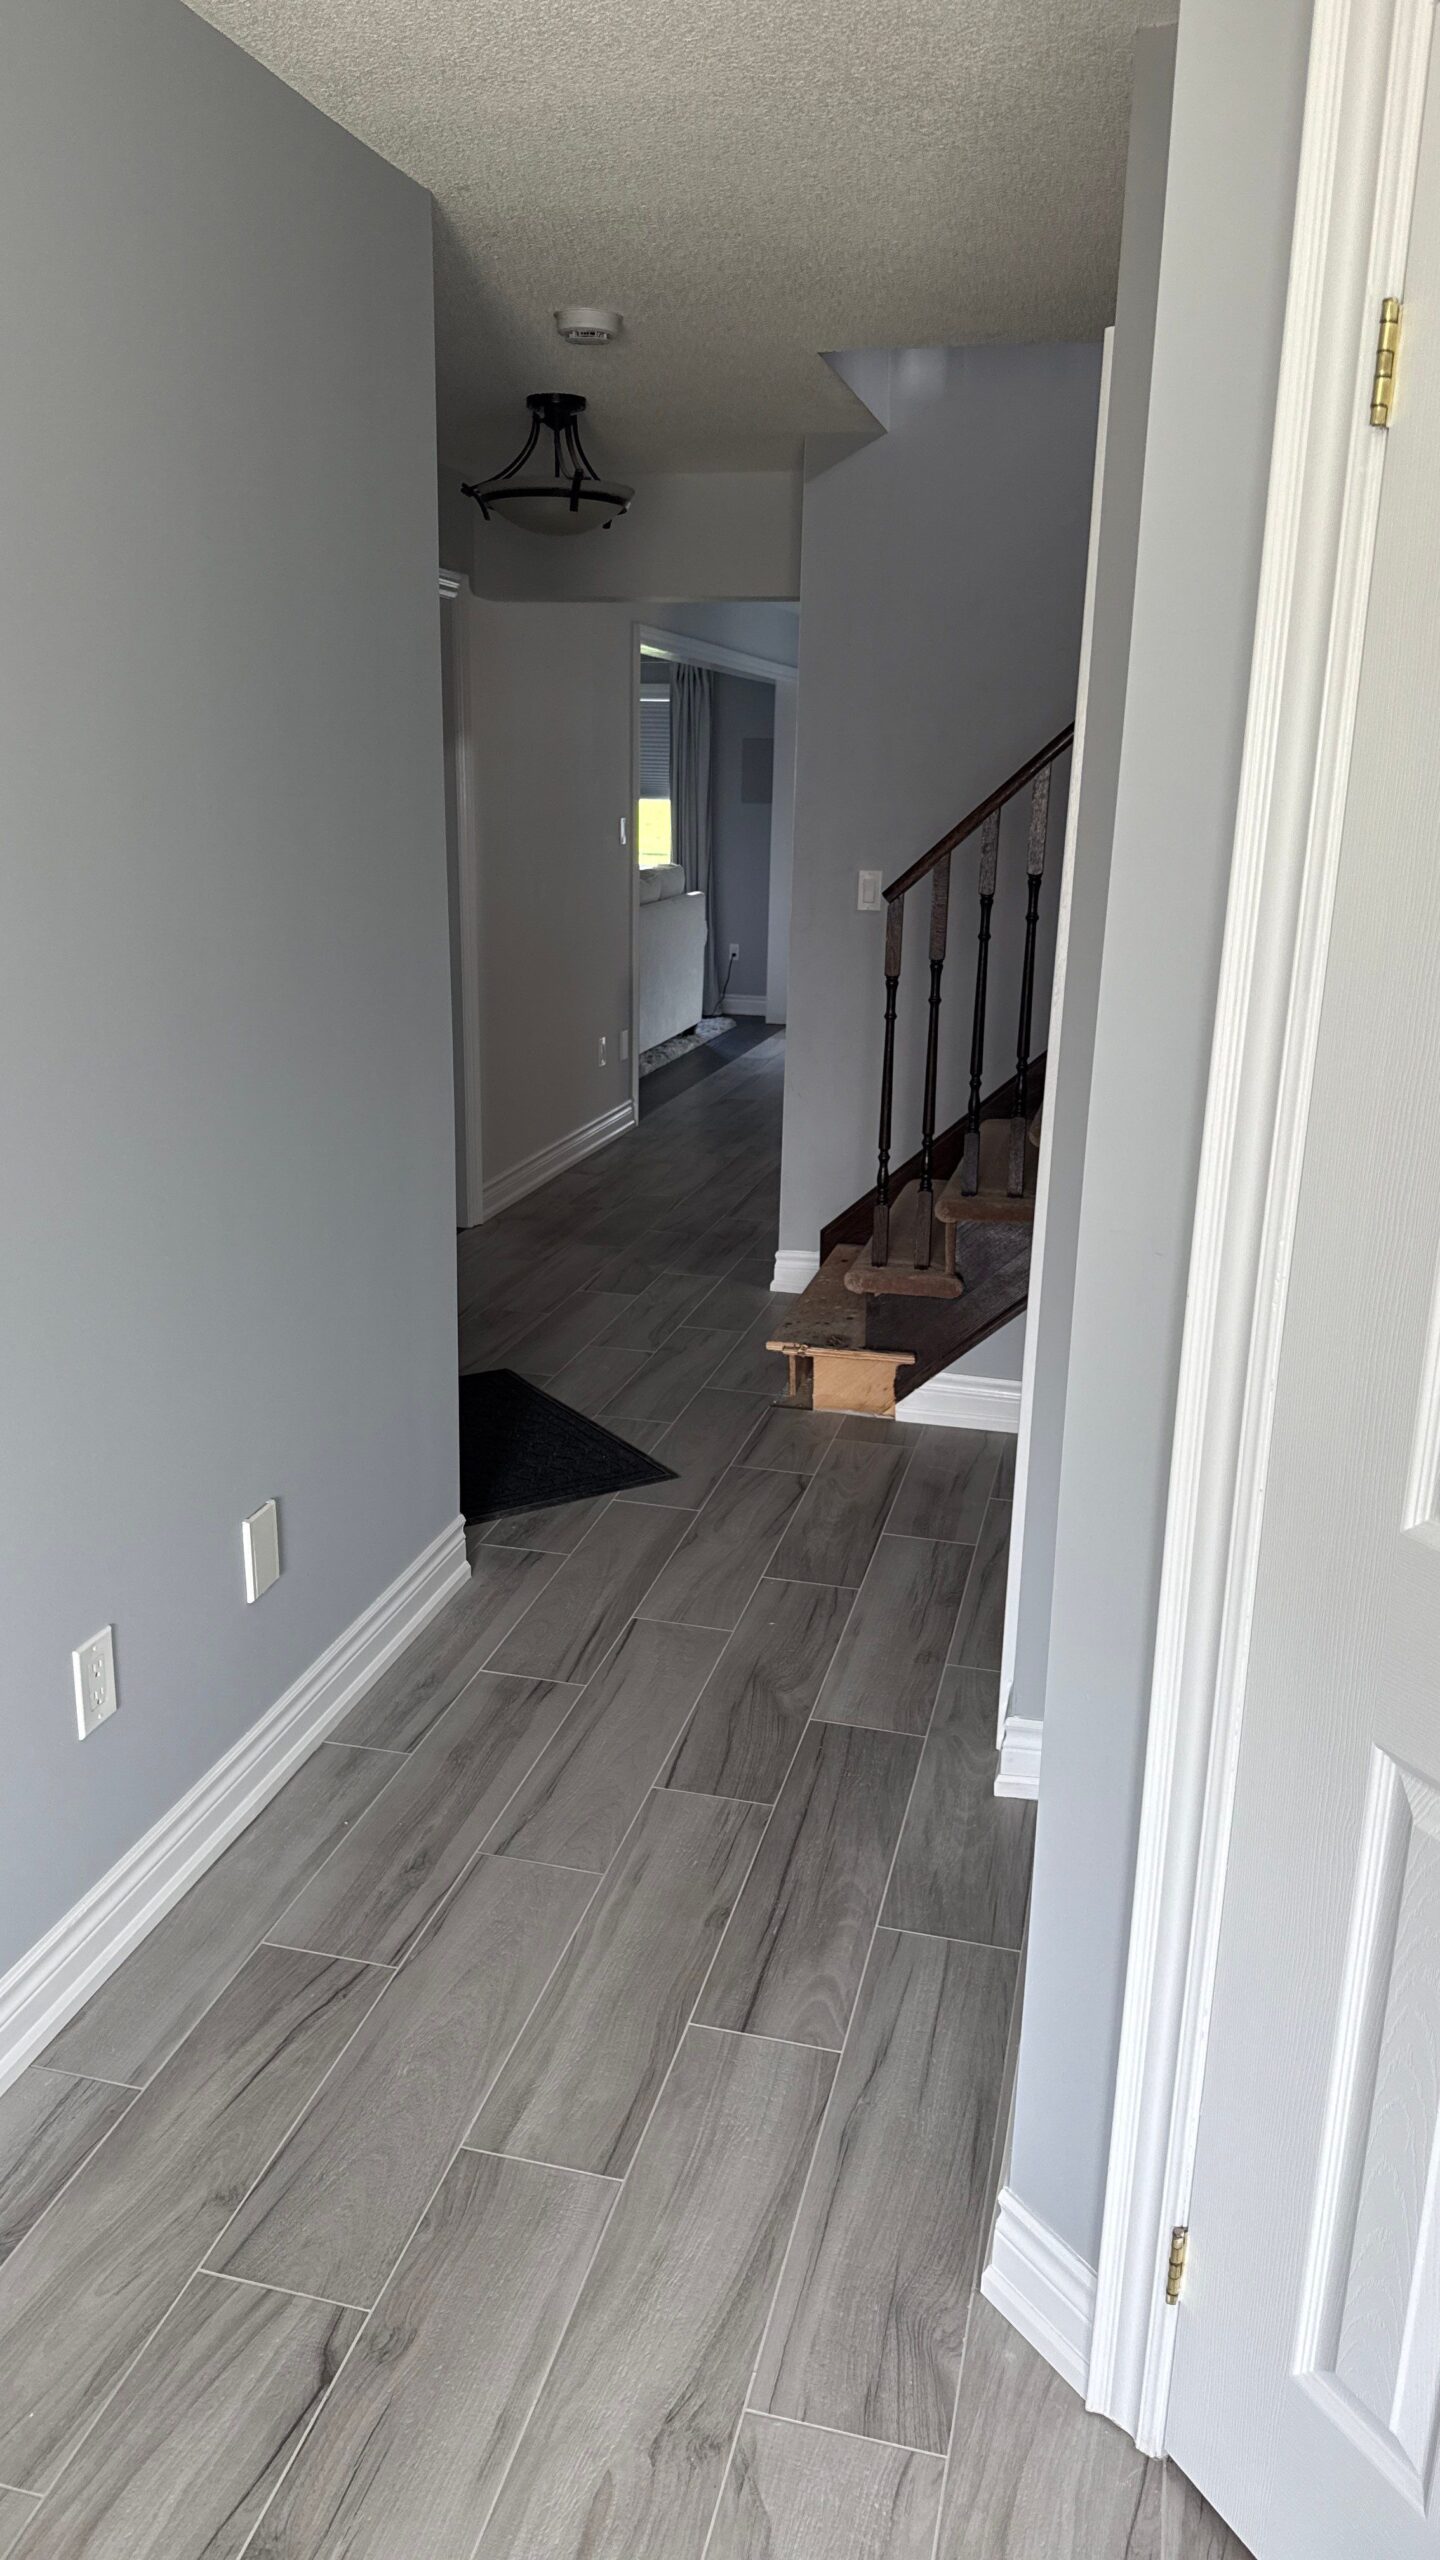
Where It Began — a 10-Year Vision, Finally Mapped Out
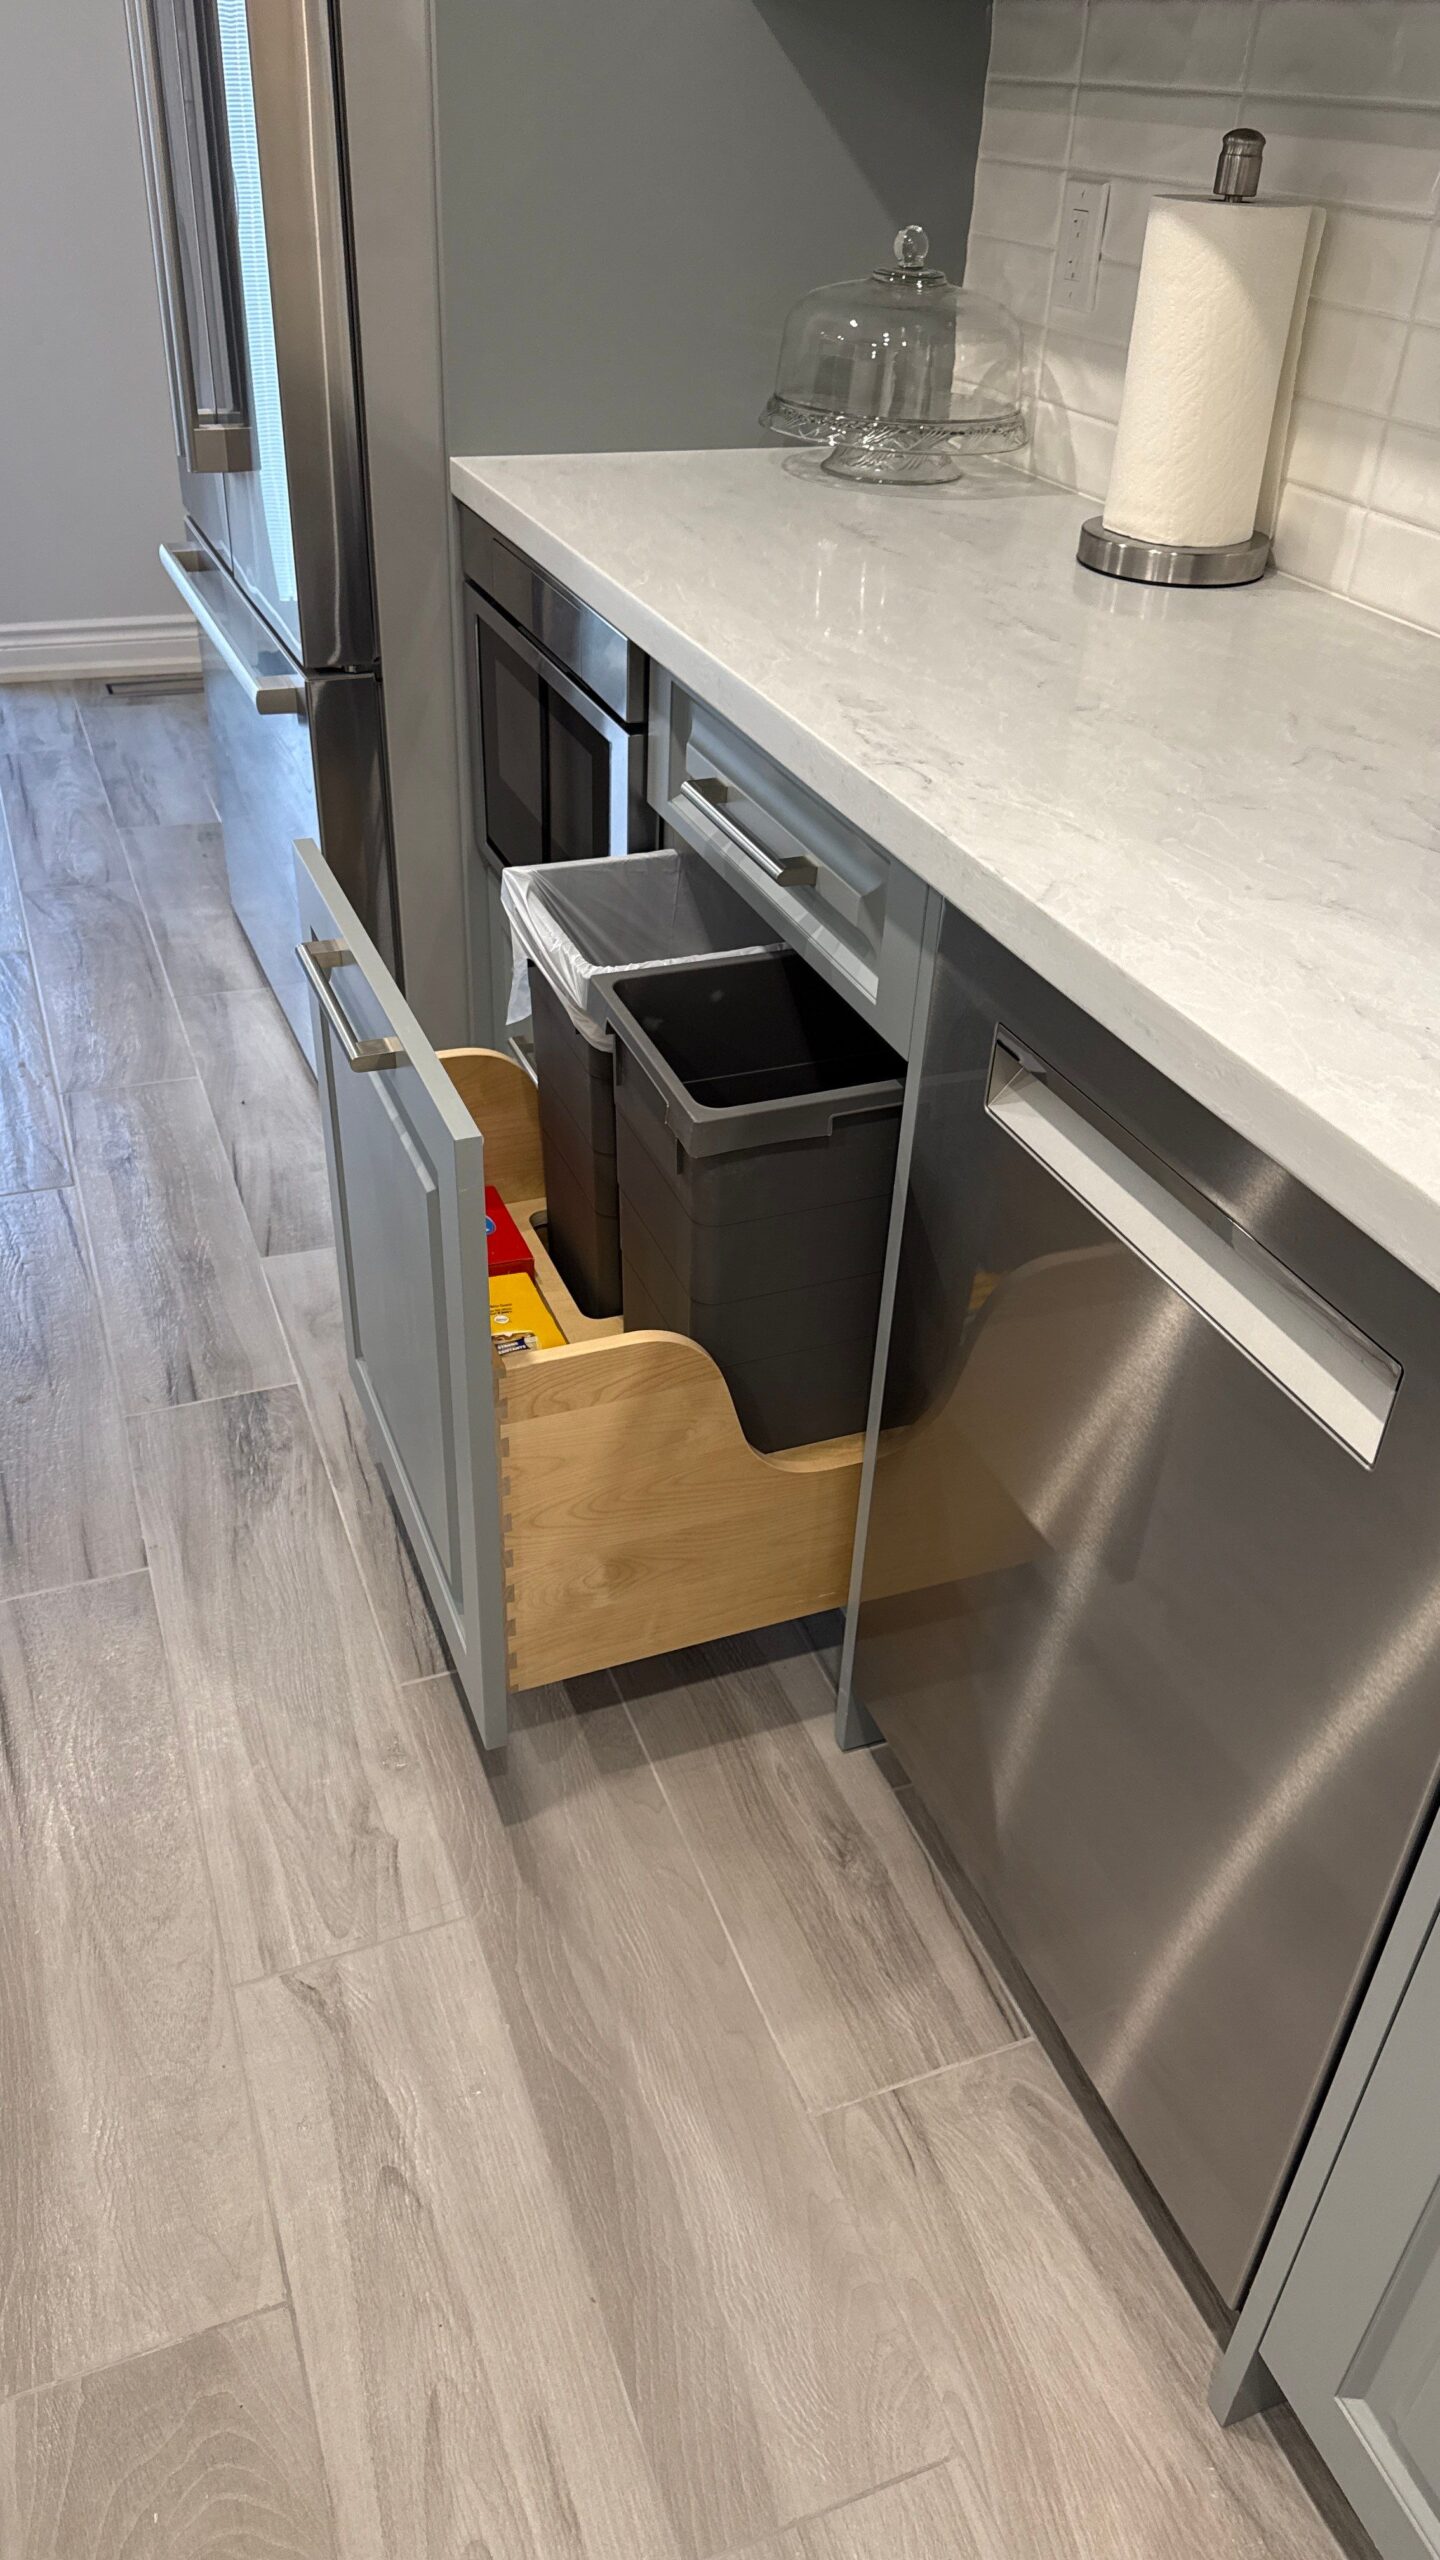
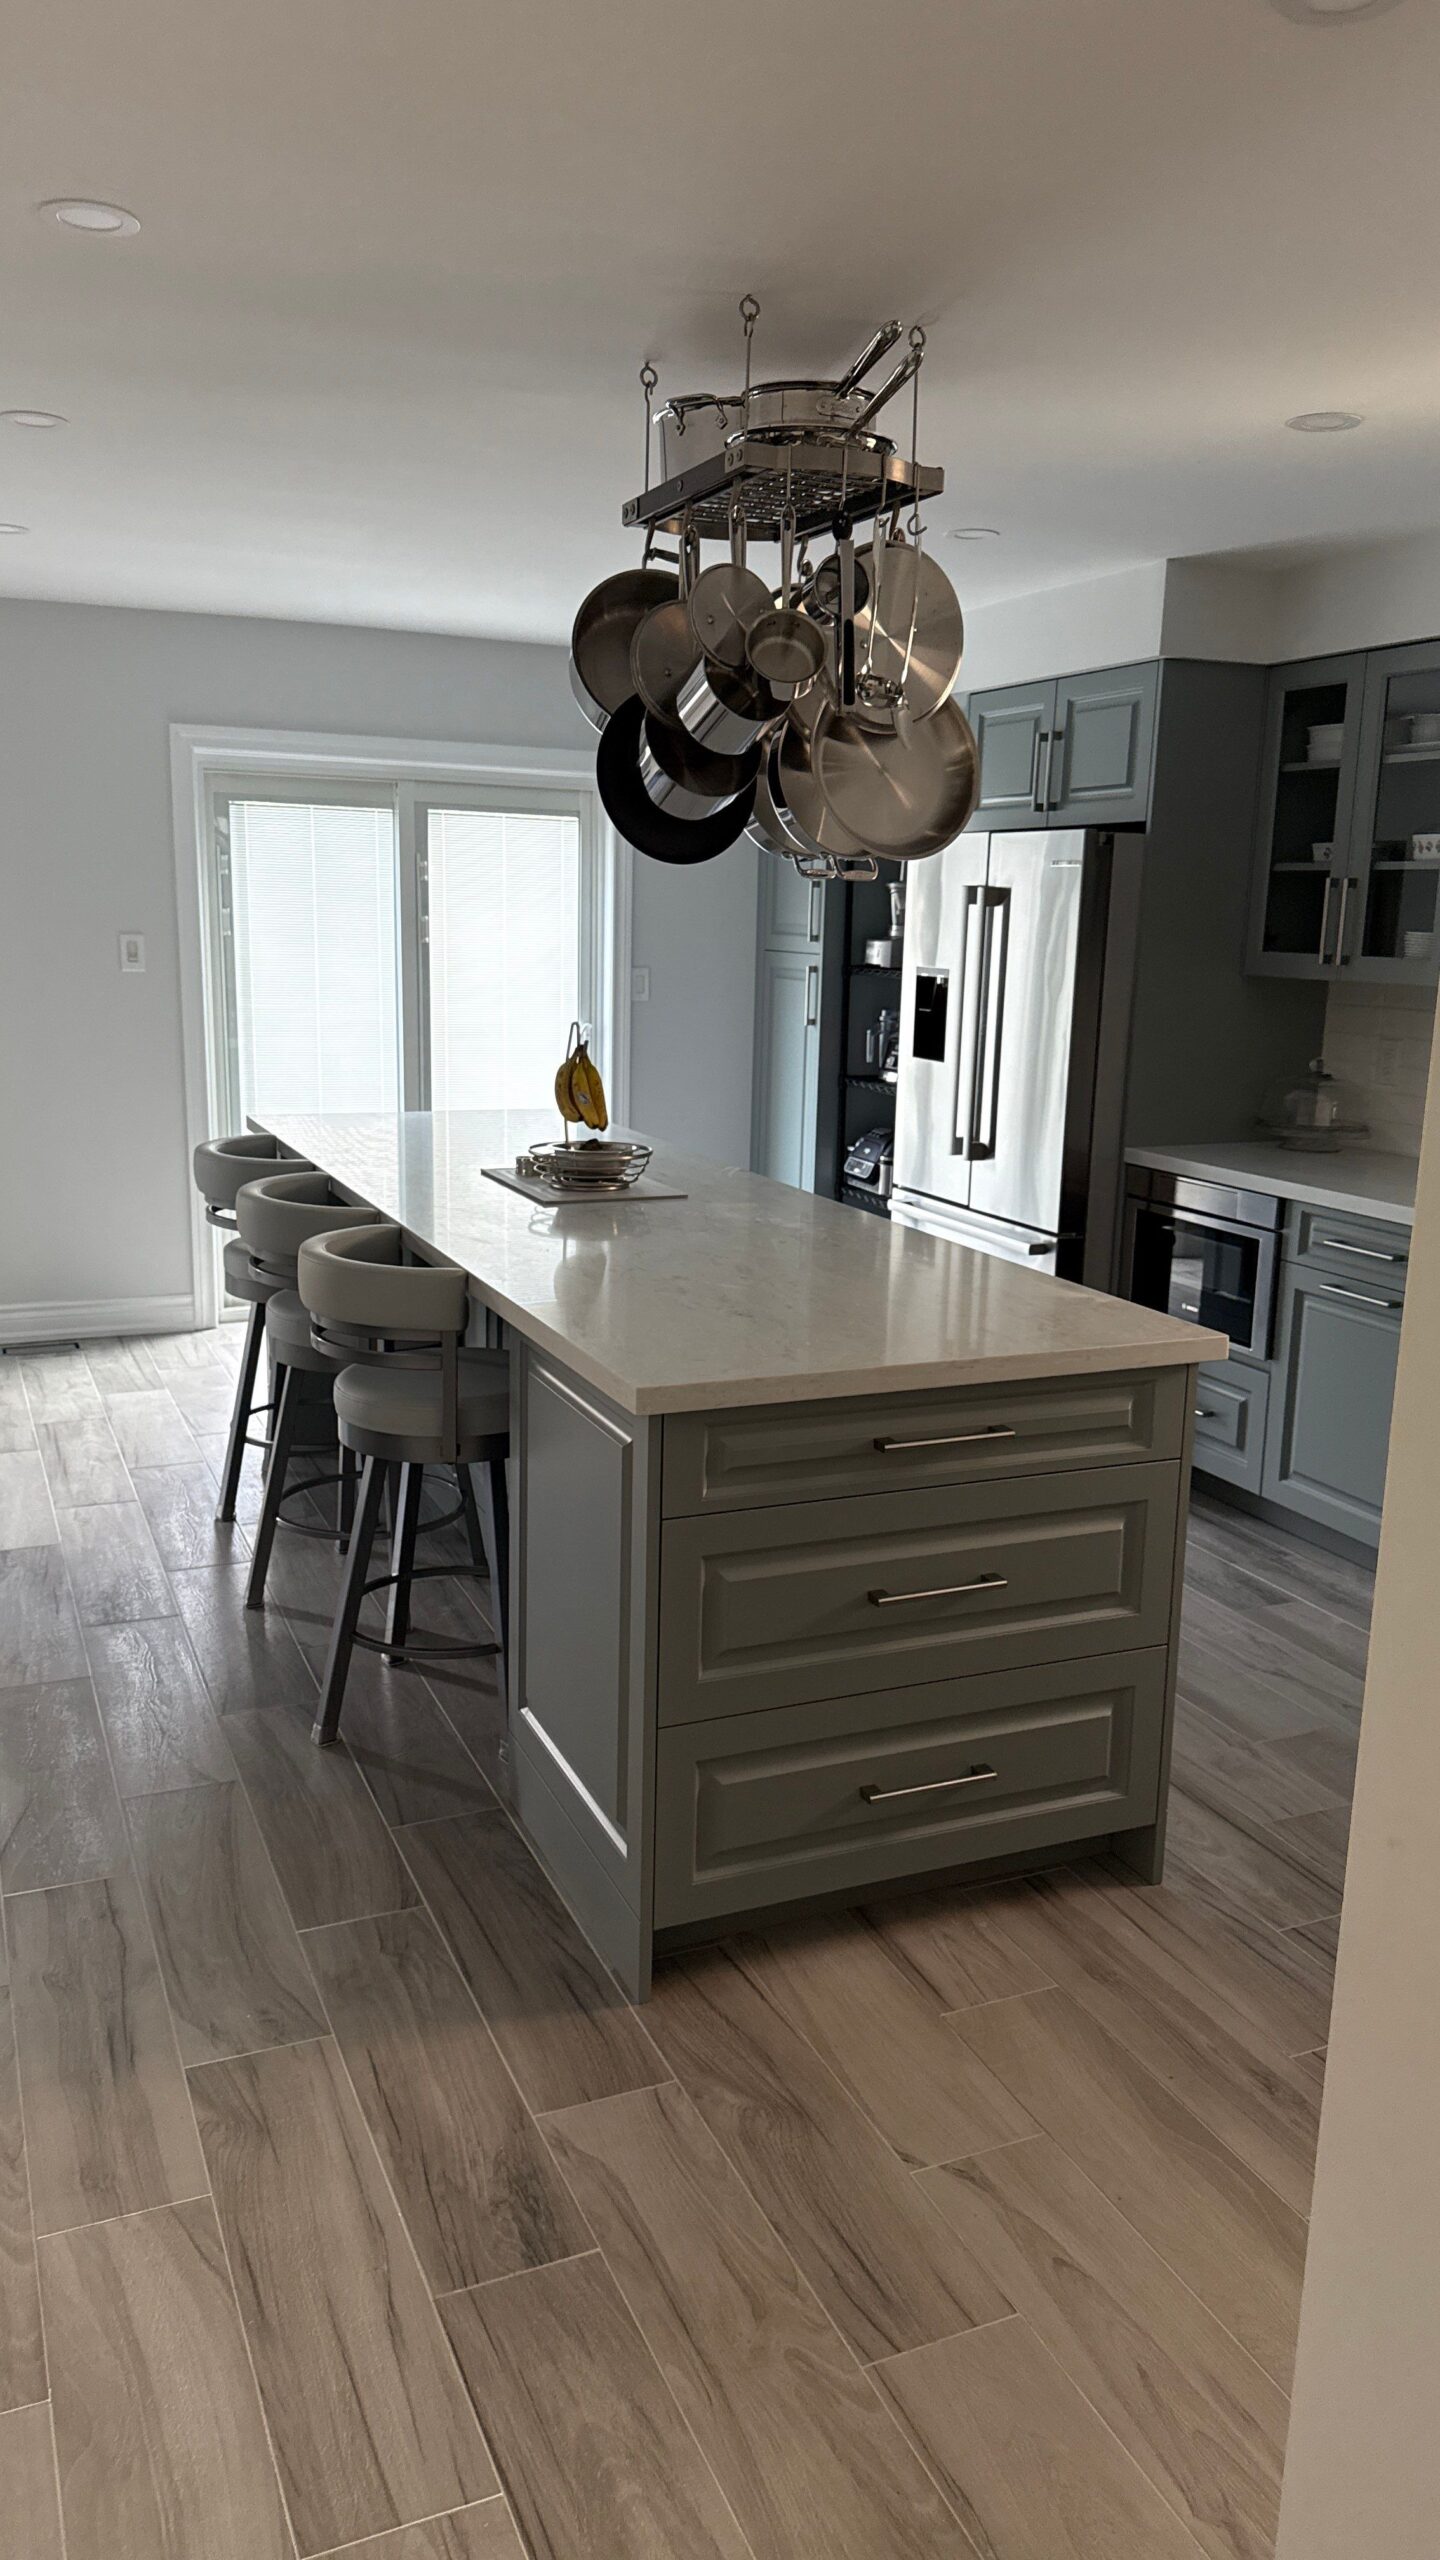
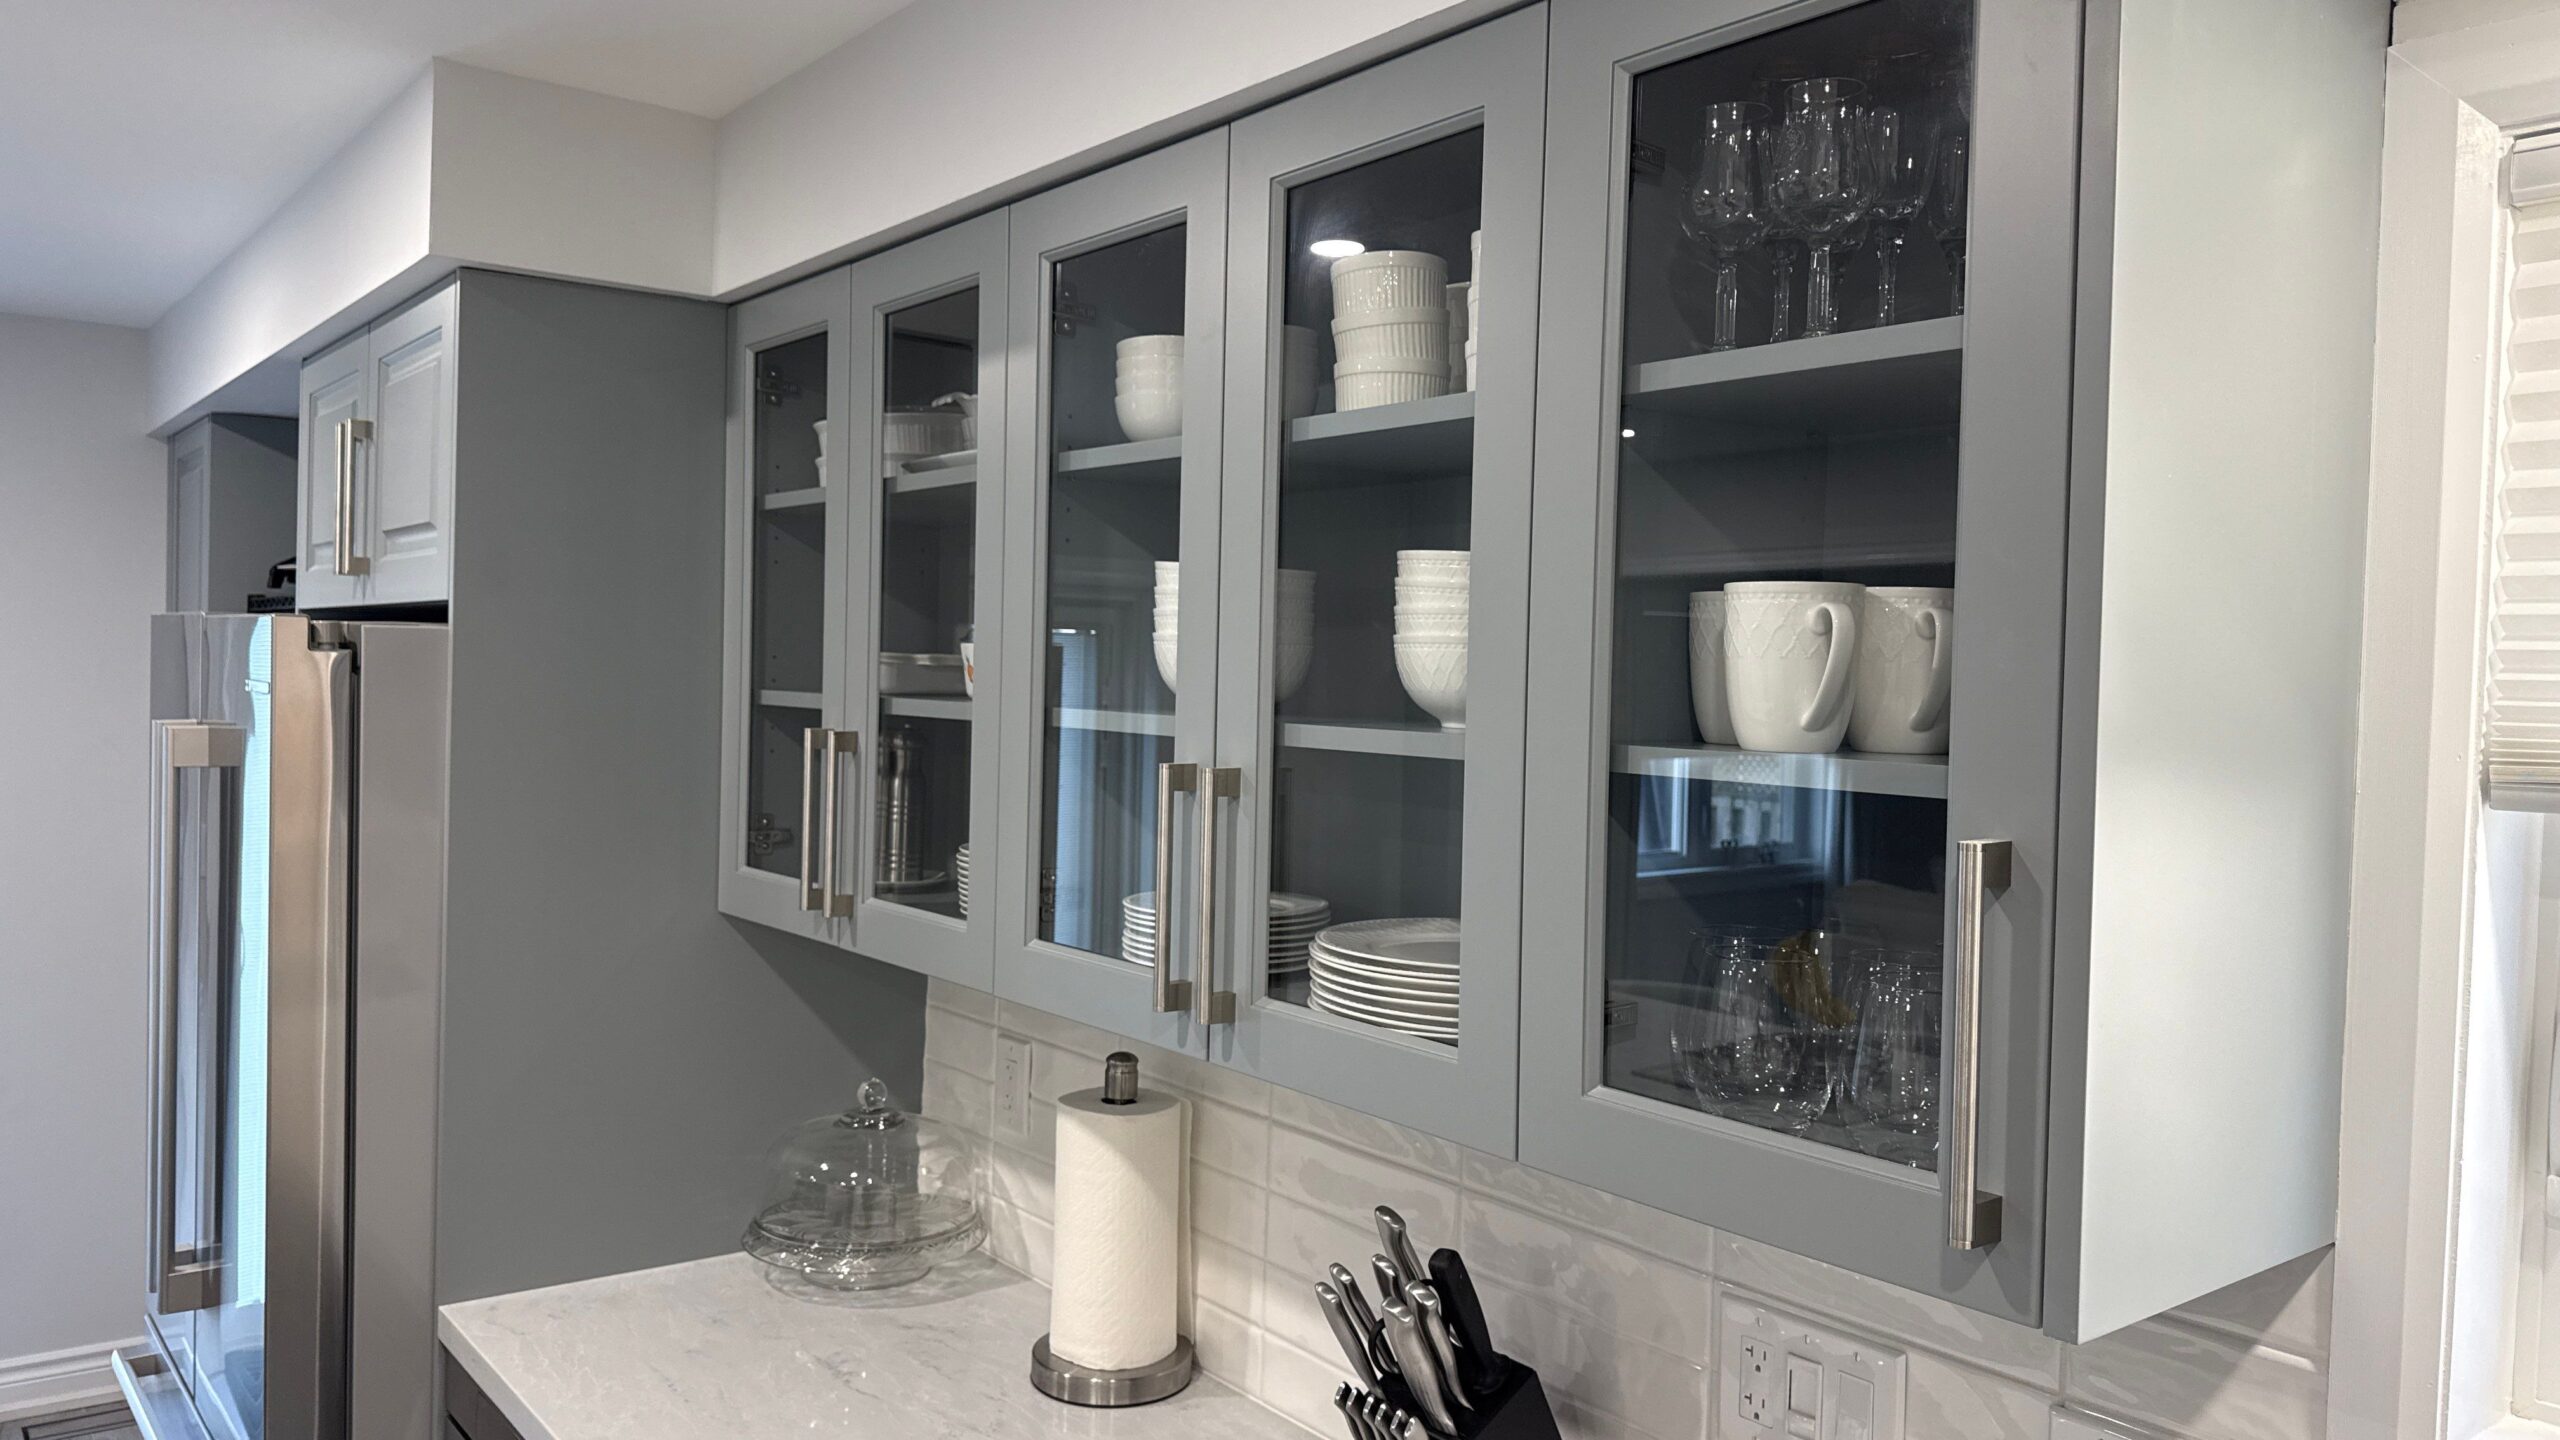
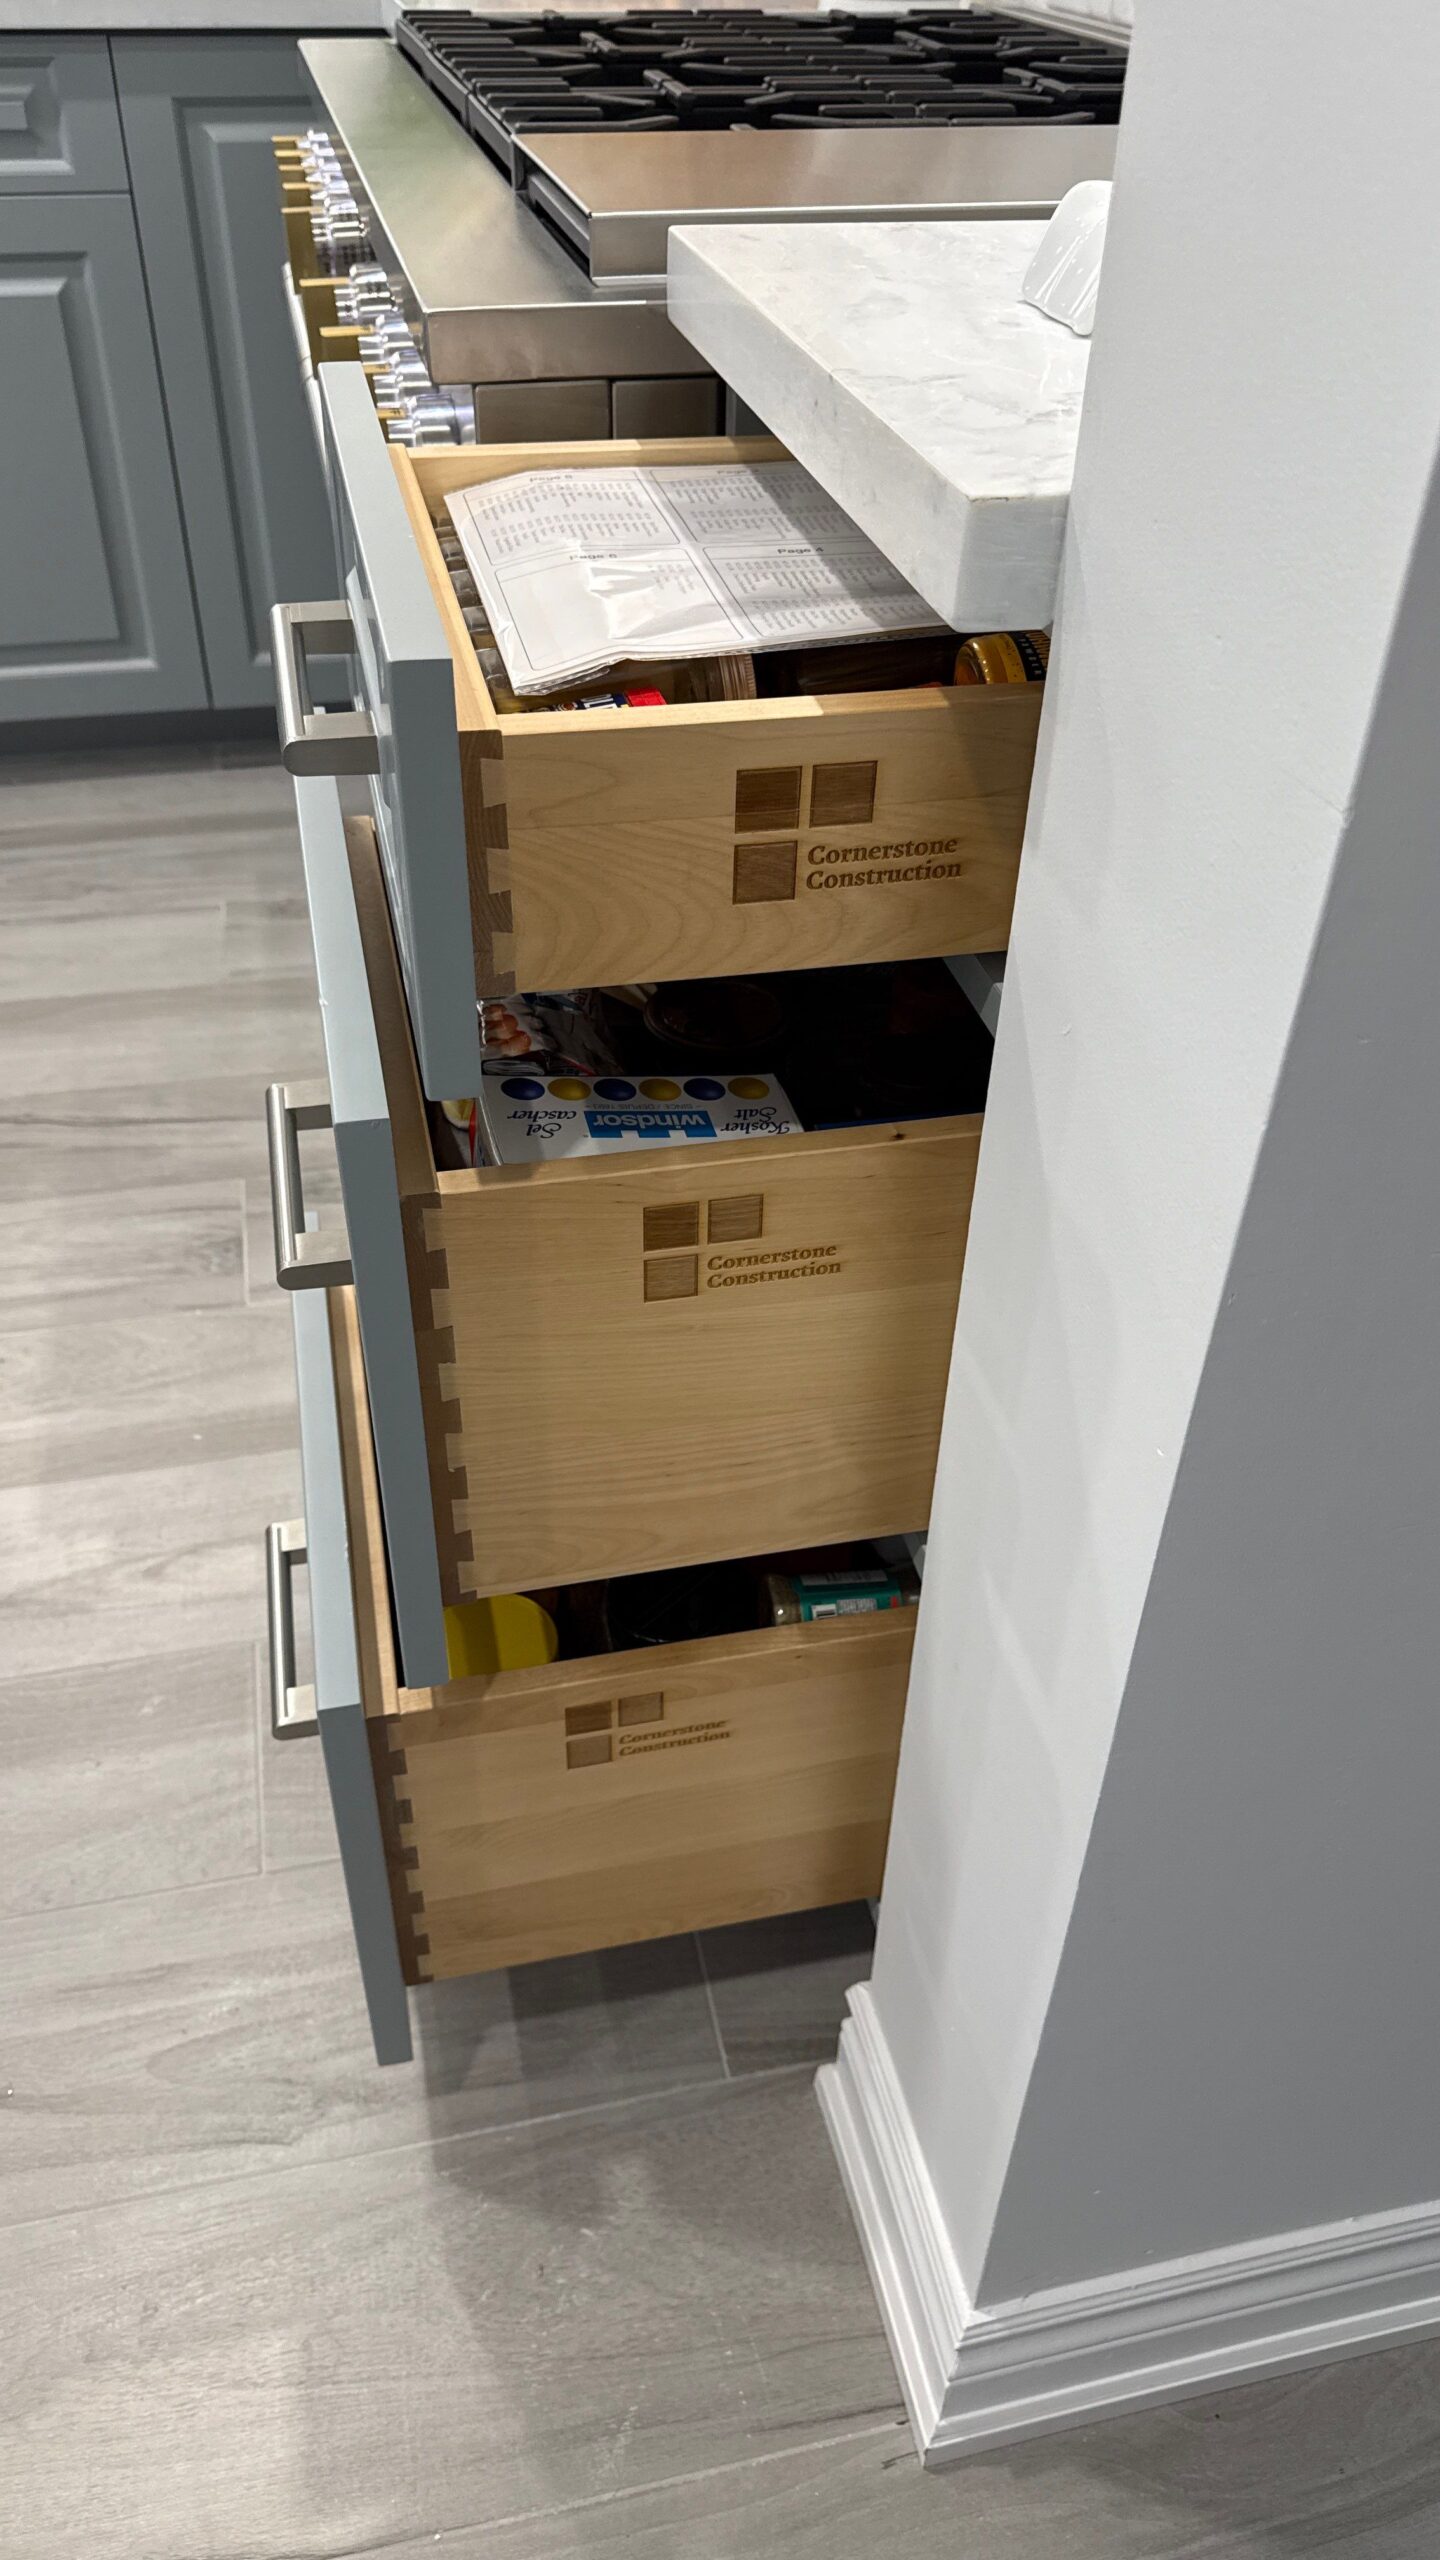
This was Jolette's forever home and her first major renovation — a vision she'd been shaping for years. Before any demolition, we gathered exactly how she lives and entertains, then designed a kitchen built around her: a commercial range, a gathering island with seating on both sides, wine storage on one end and drawers on the other. She'd had three other contractors quote it. As she put it, we were the only one who got her vision.
 1 / 6
1 / 6
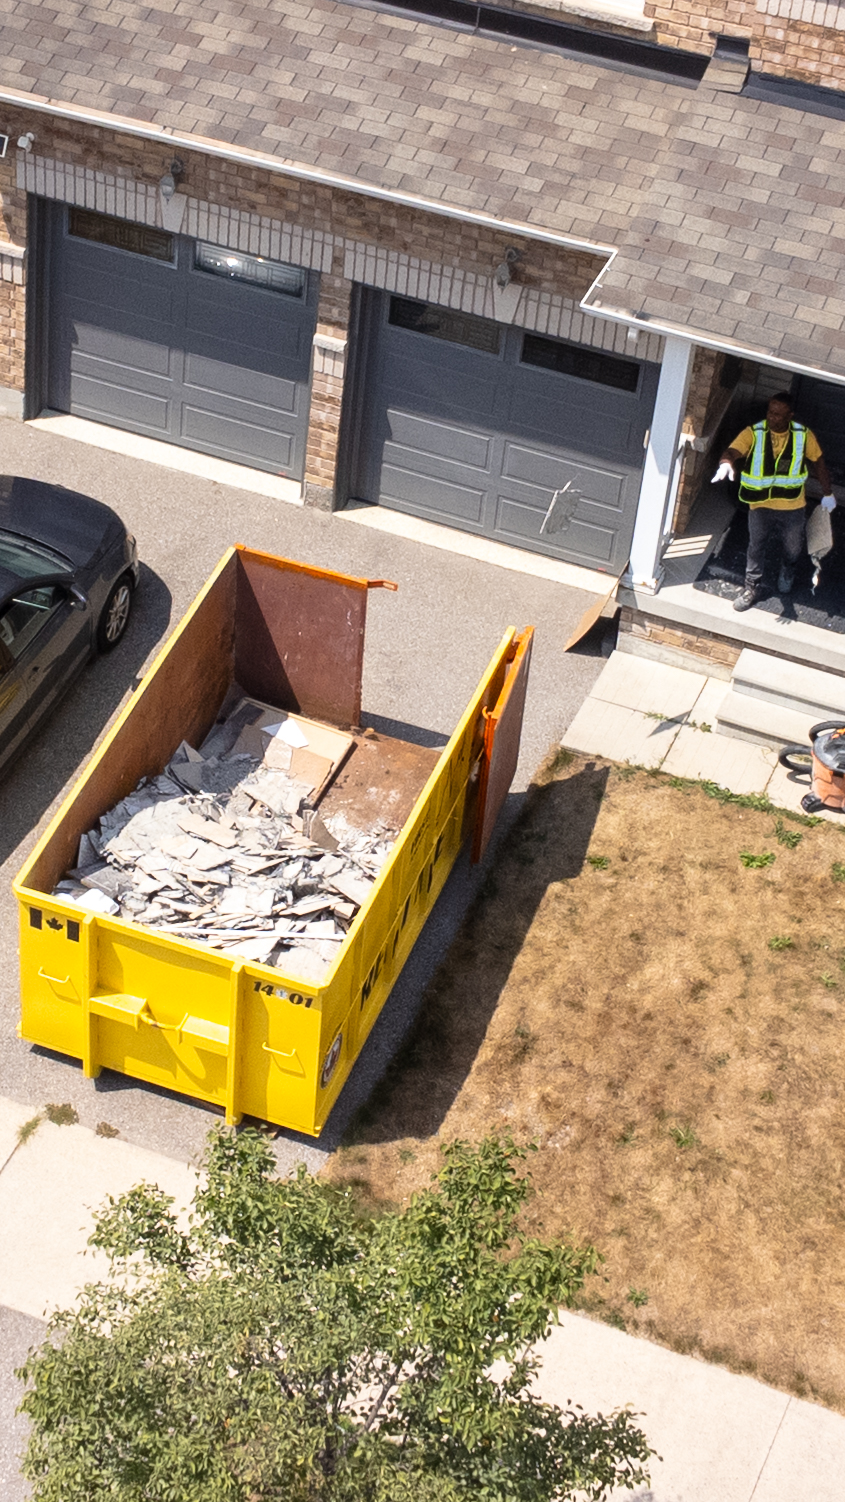
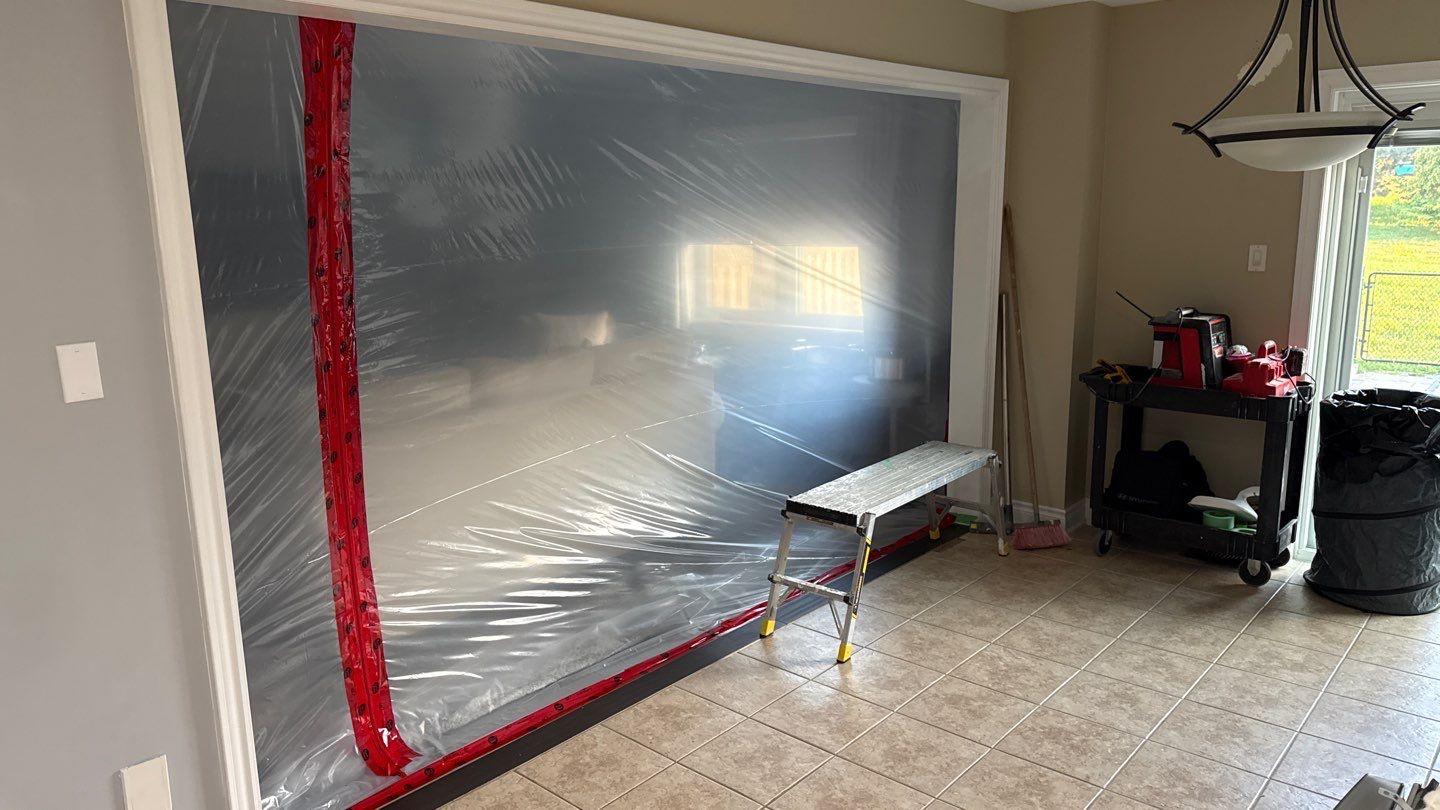
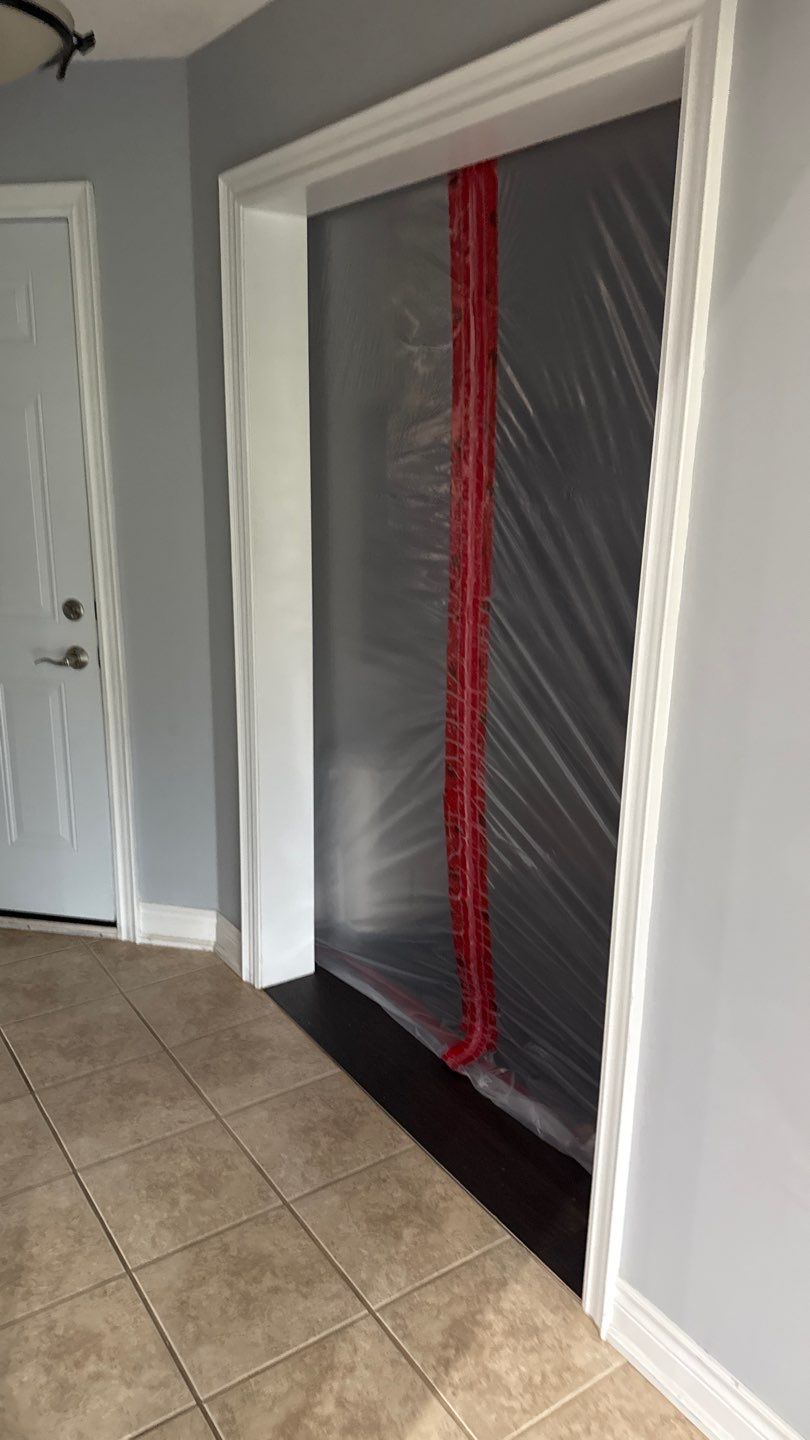
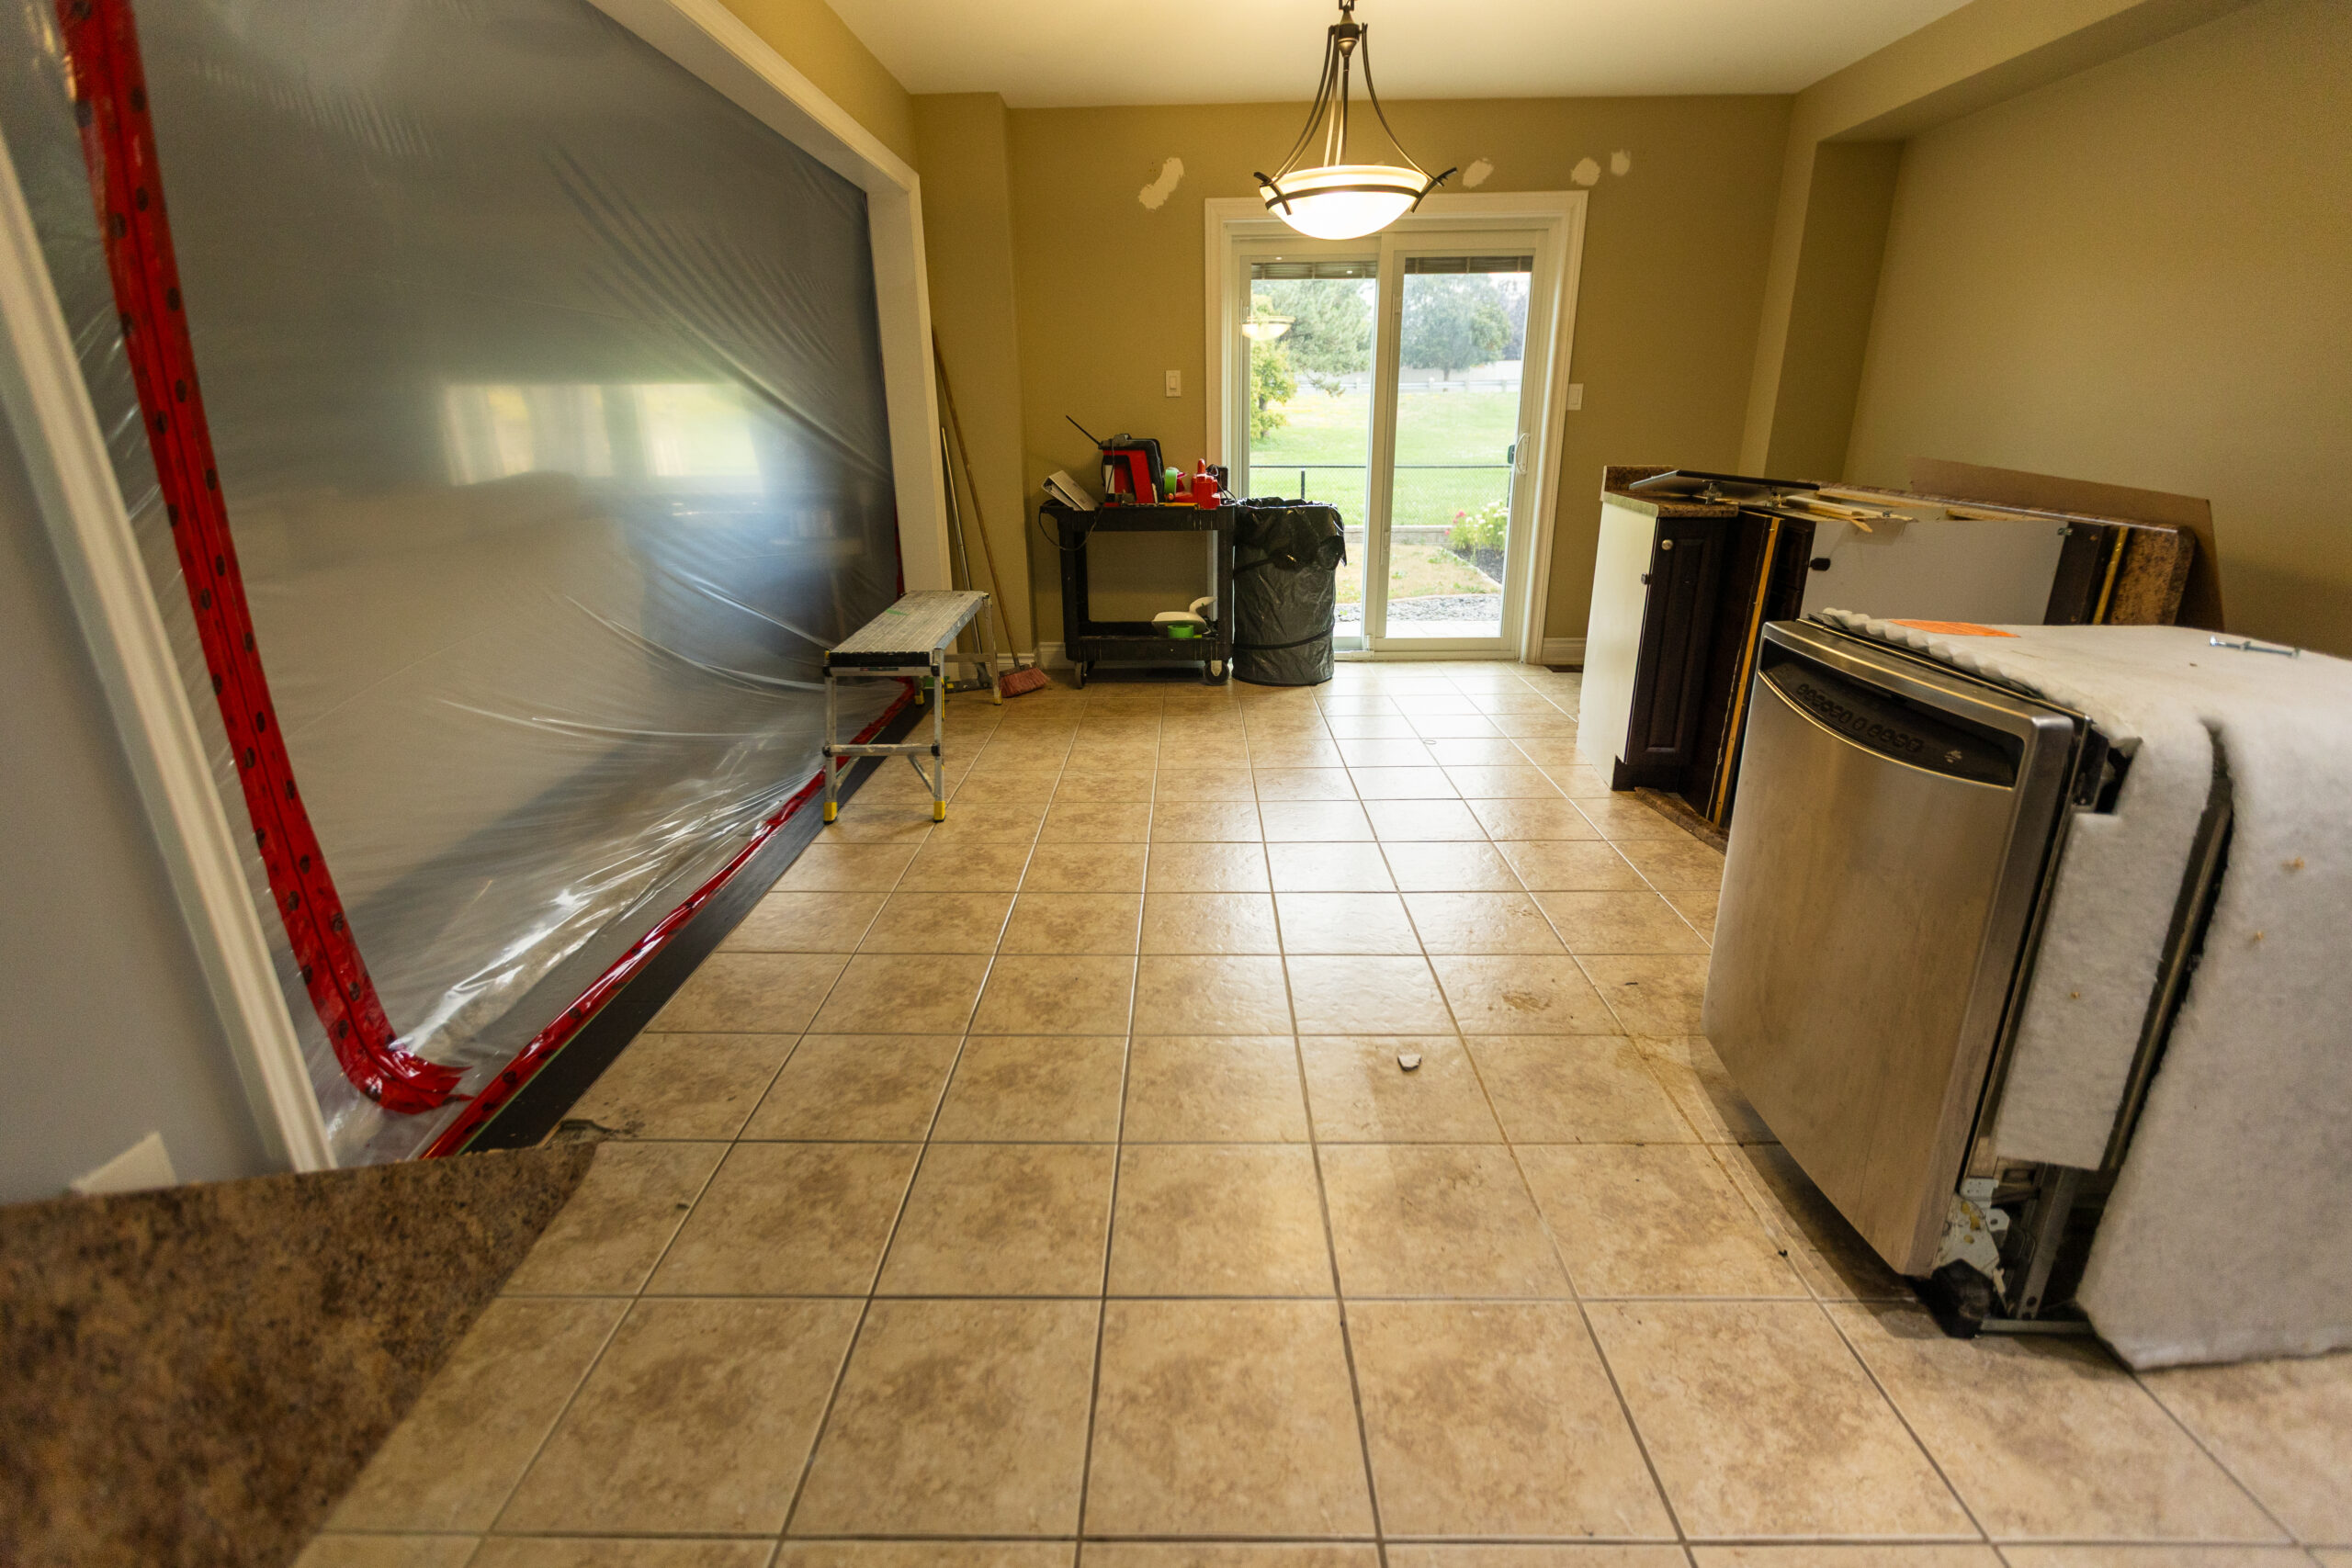
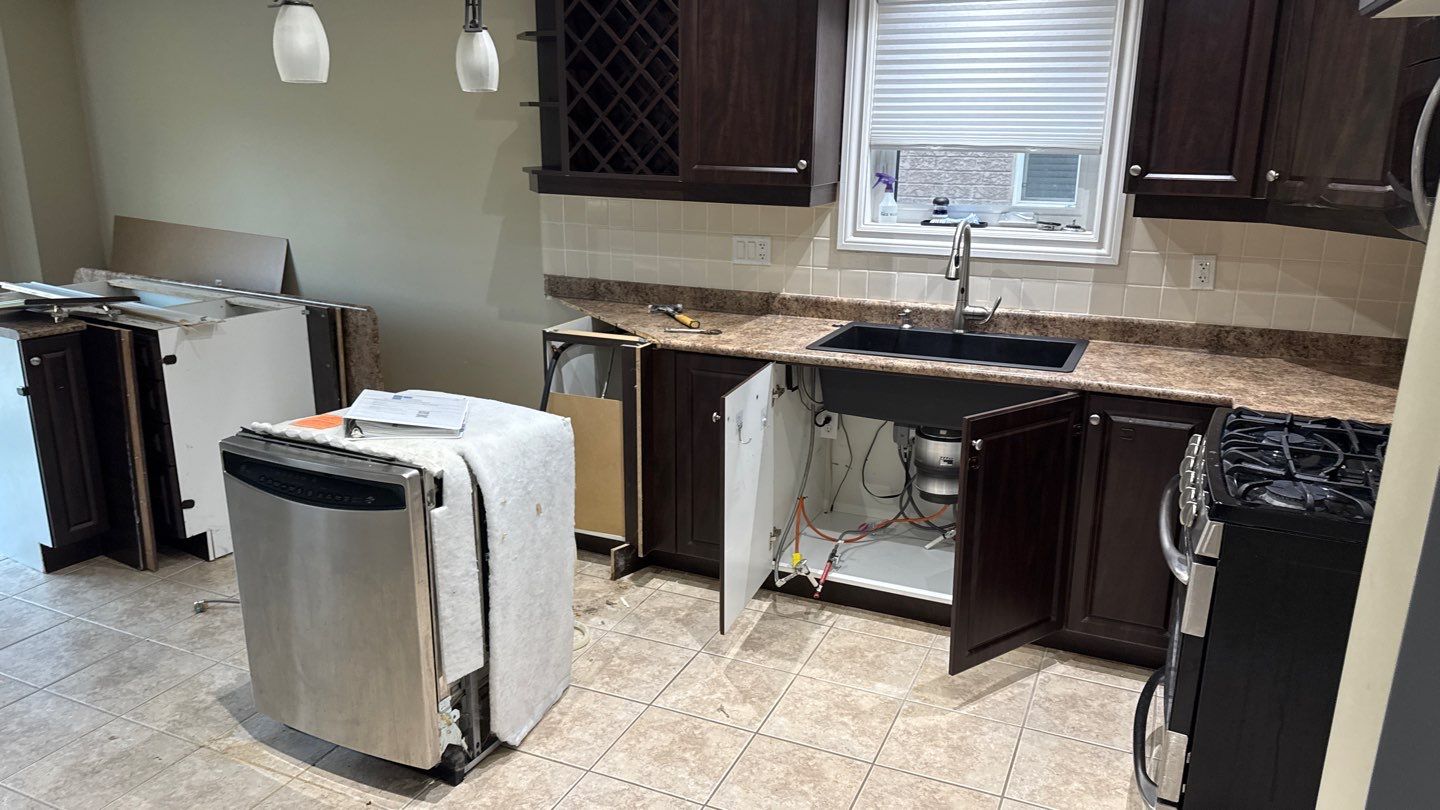
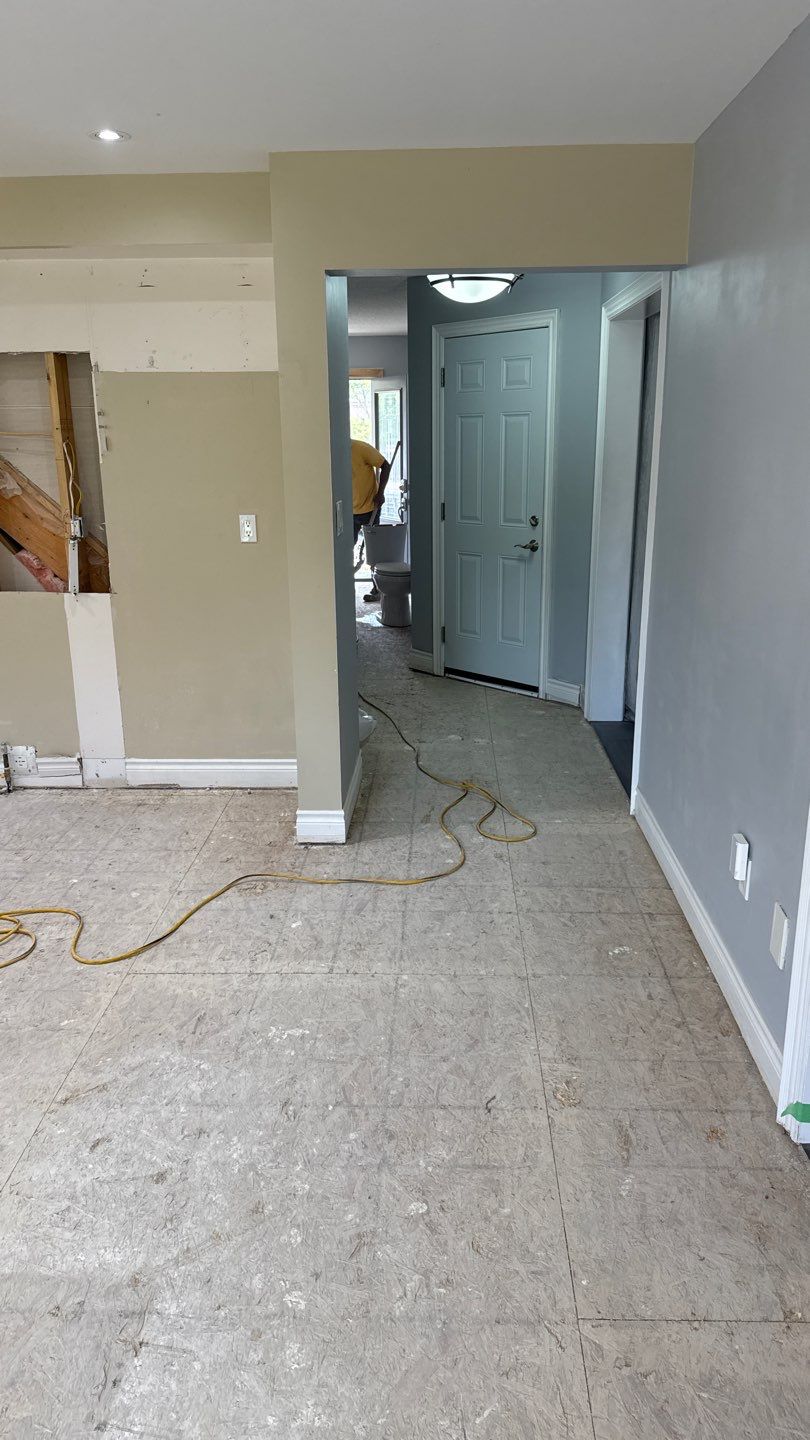
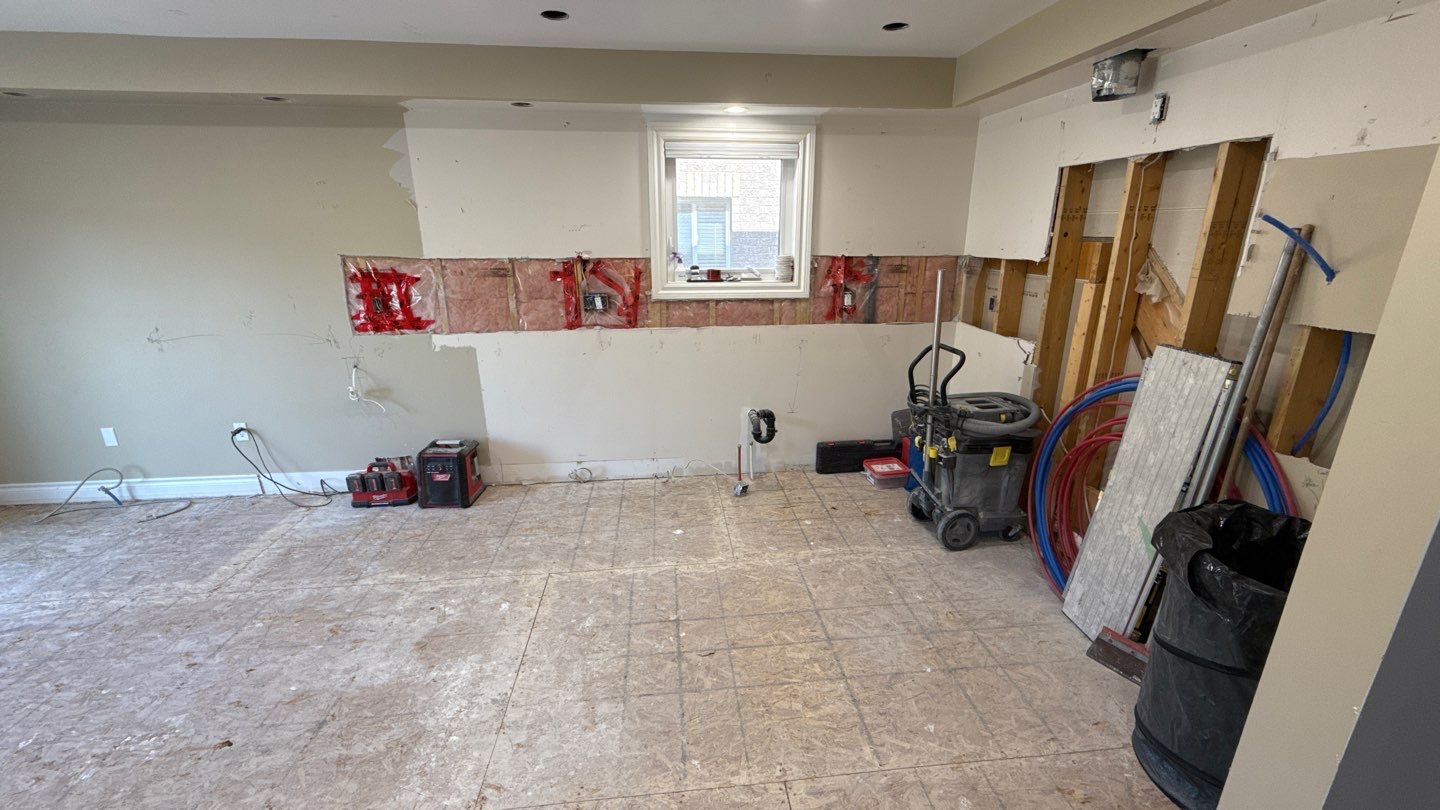
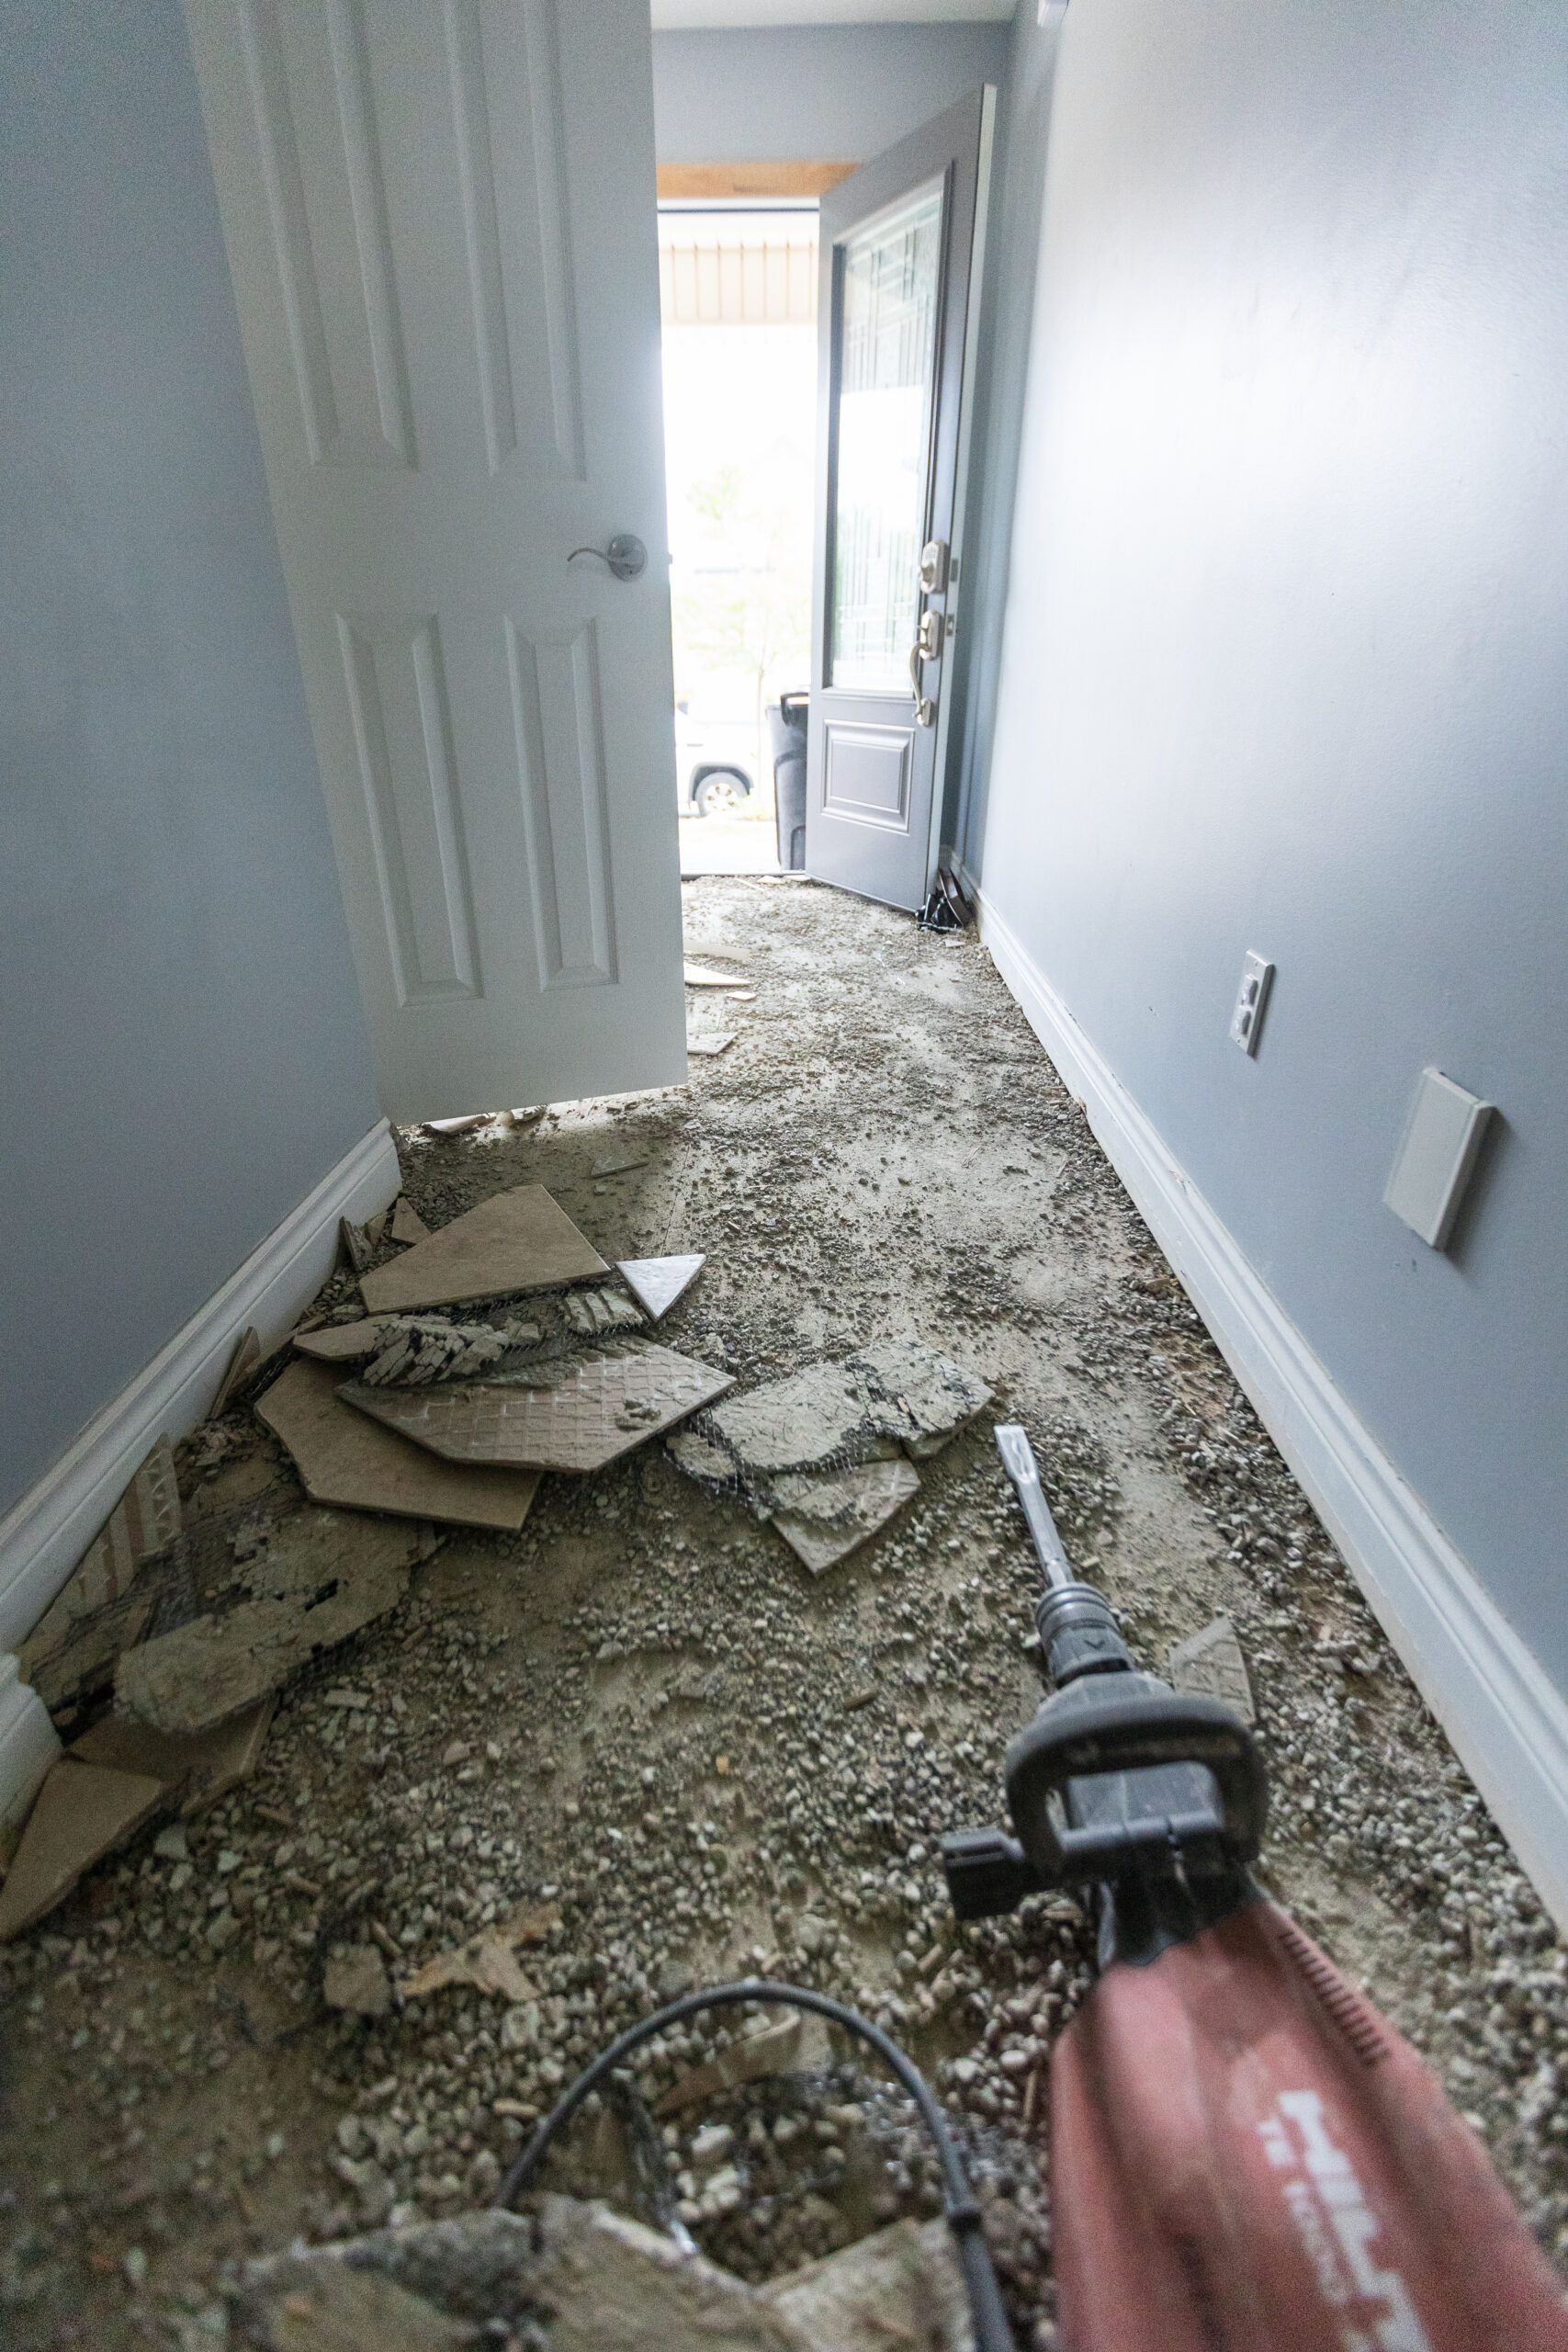
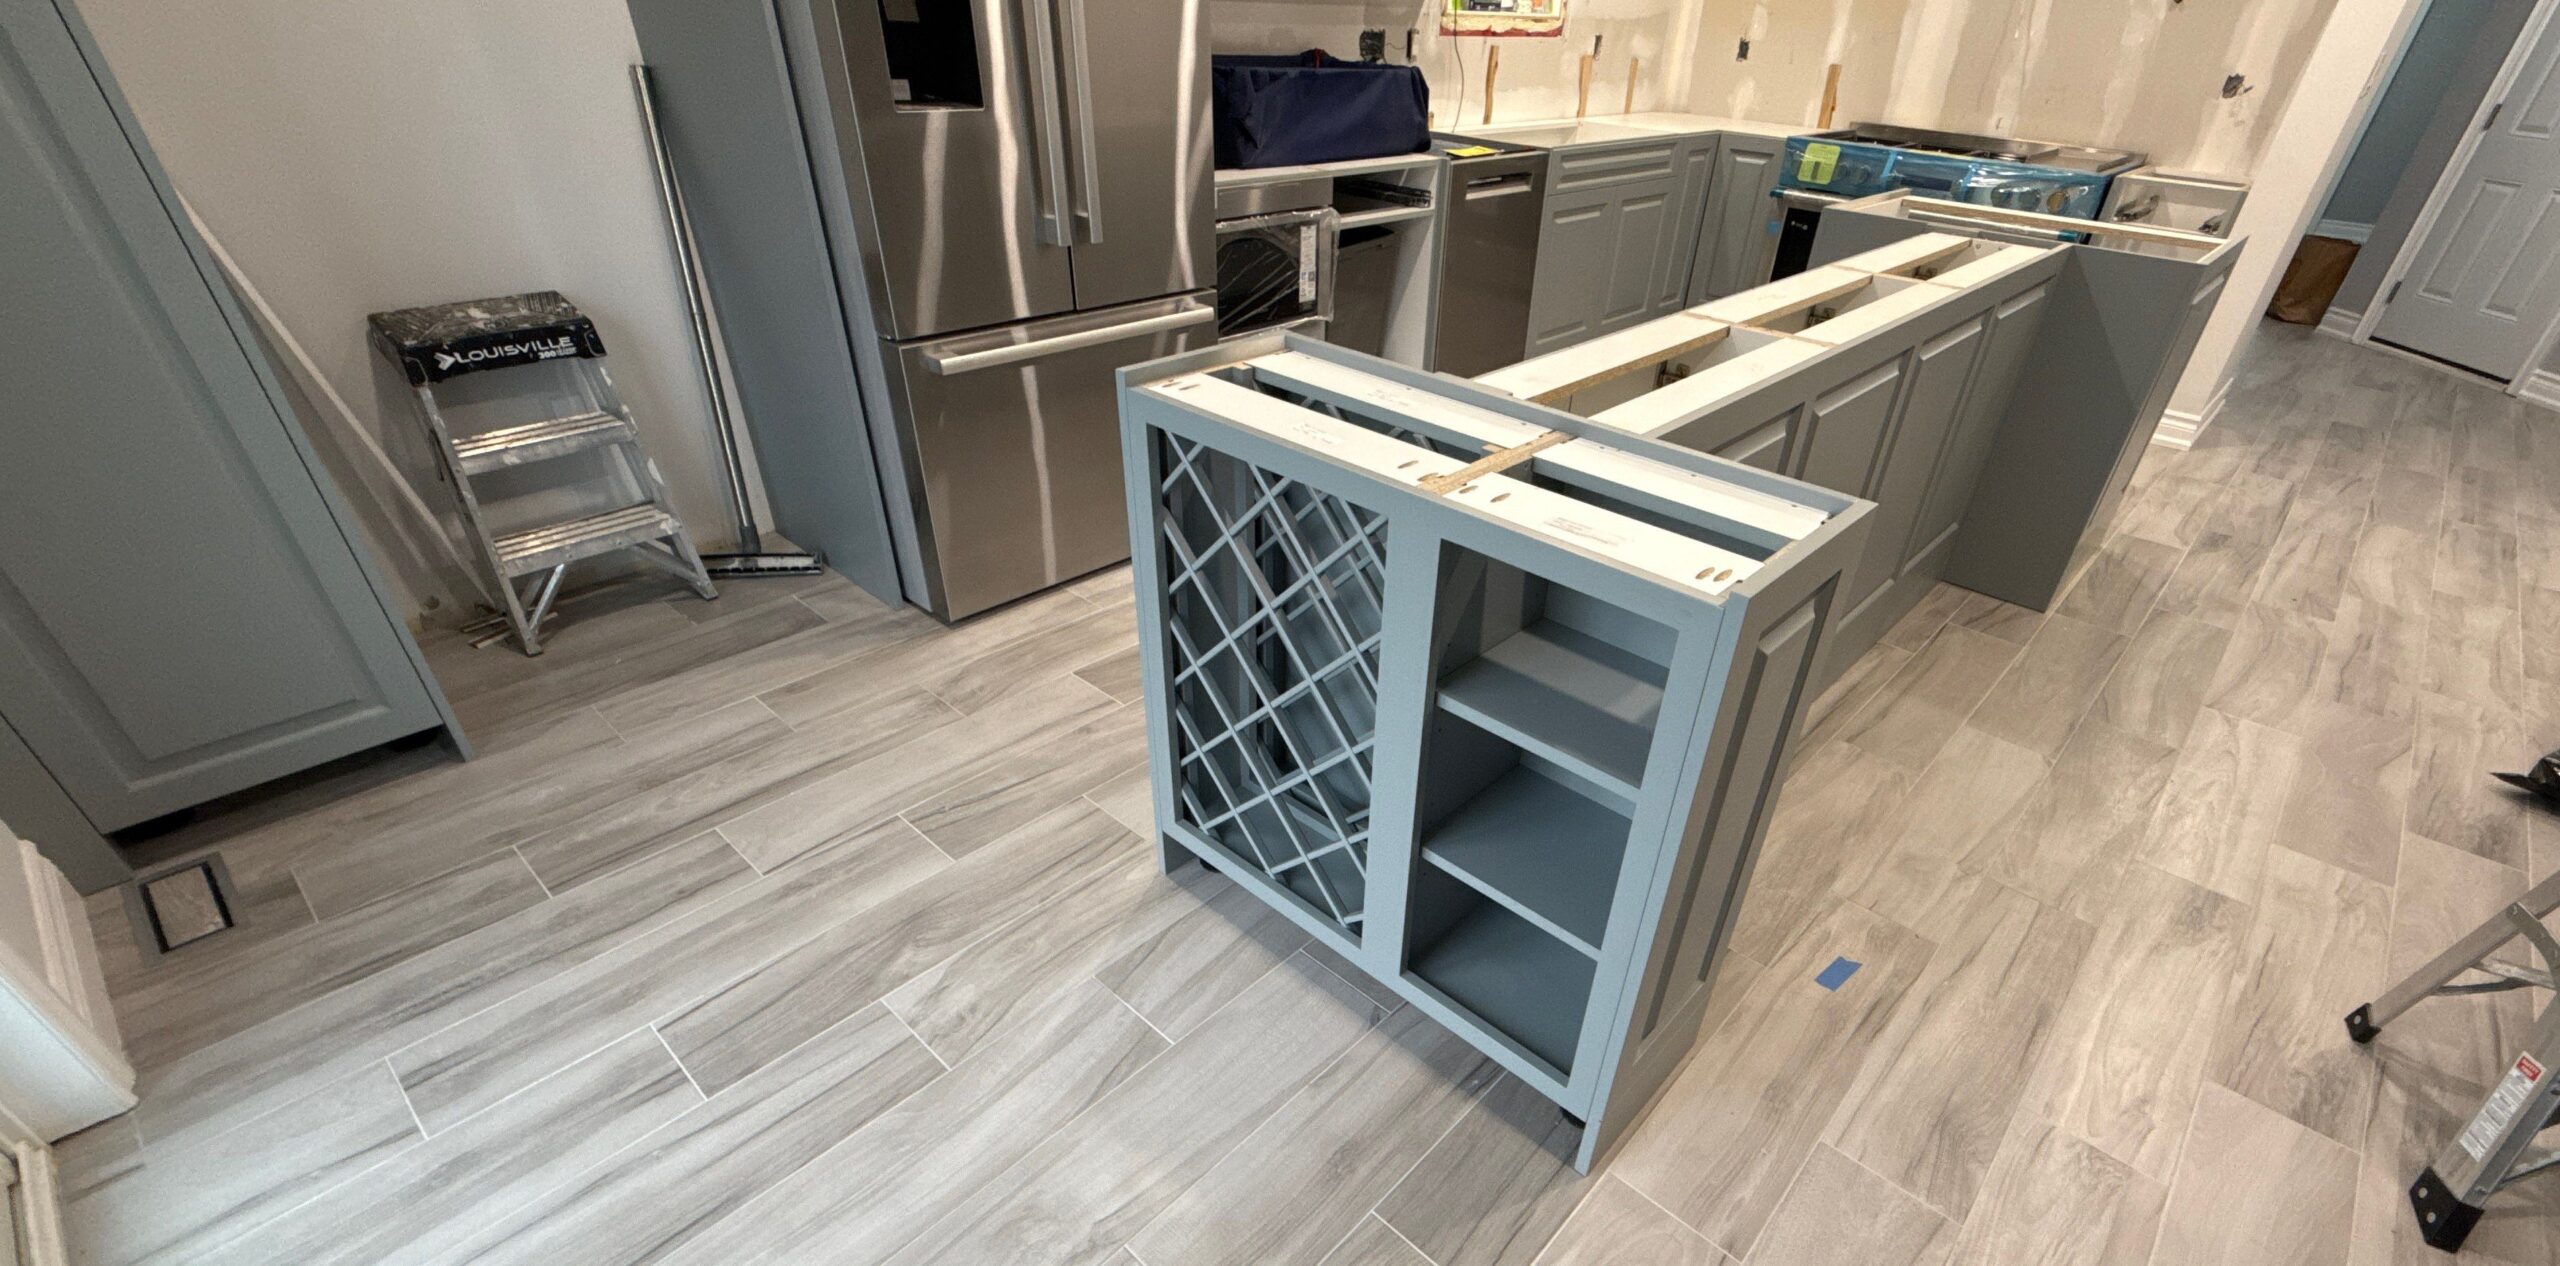
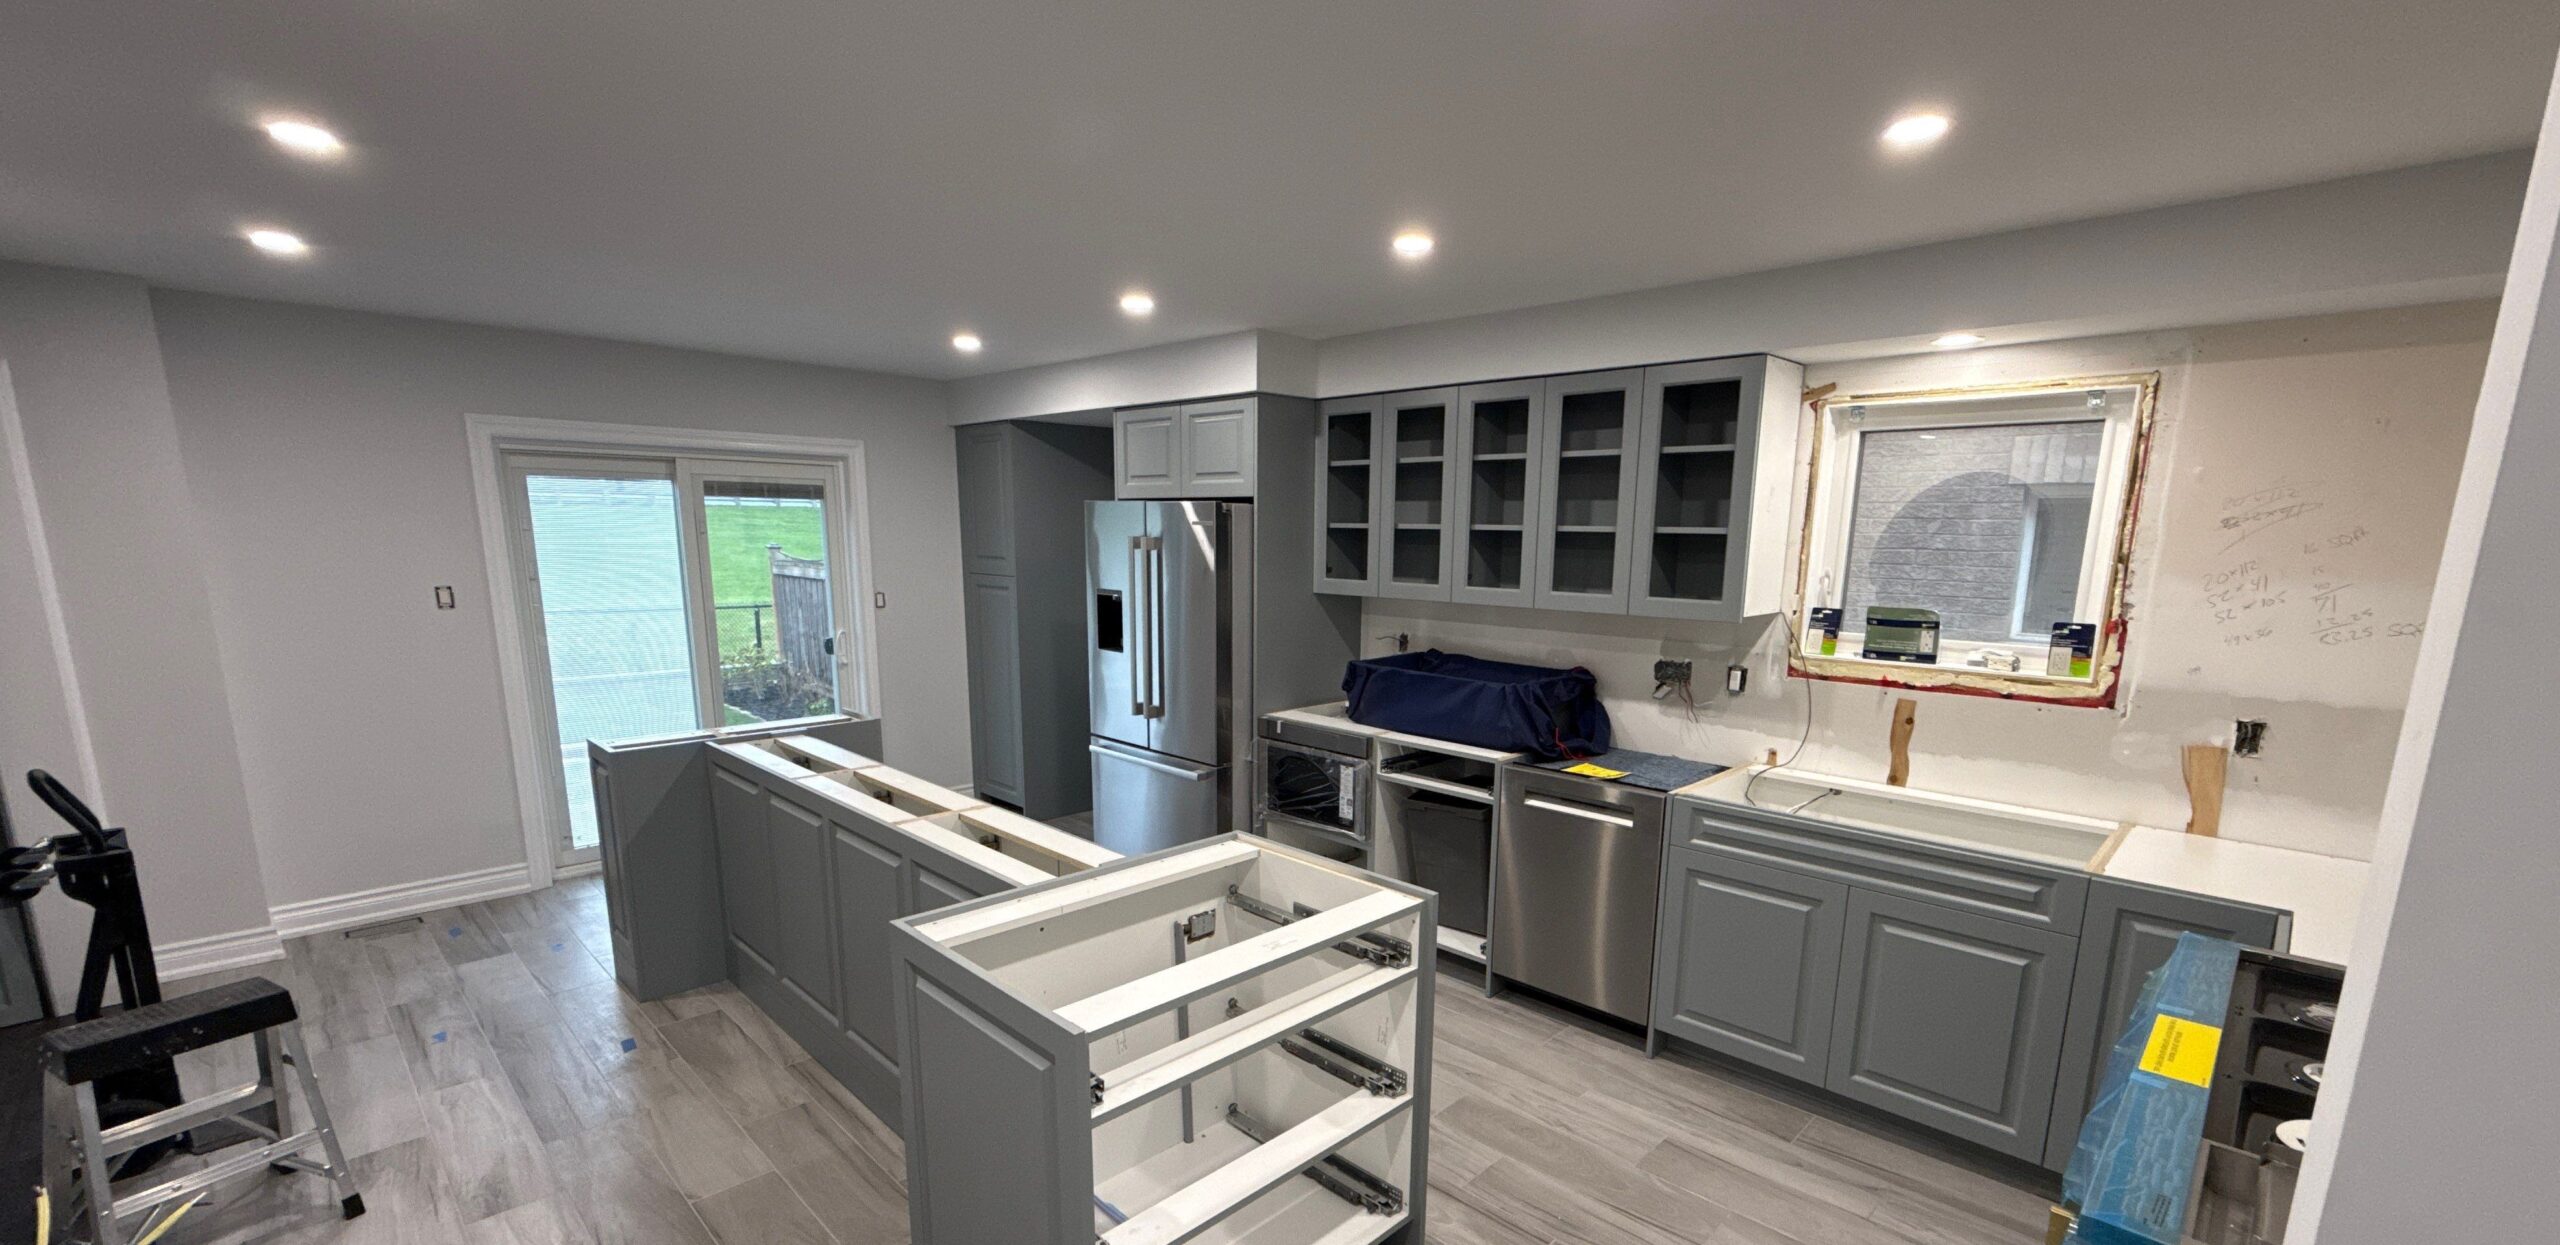
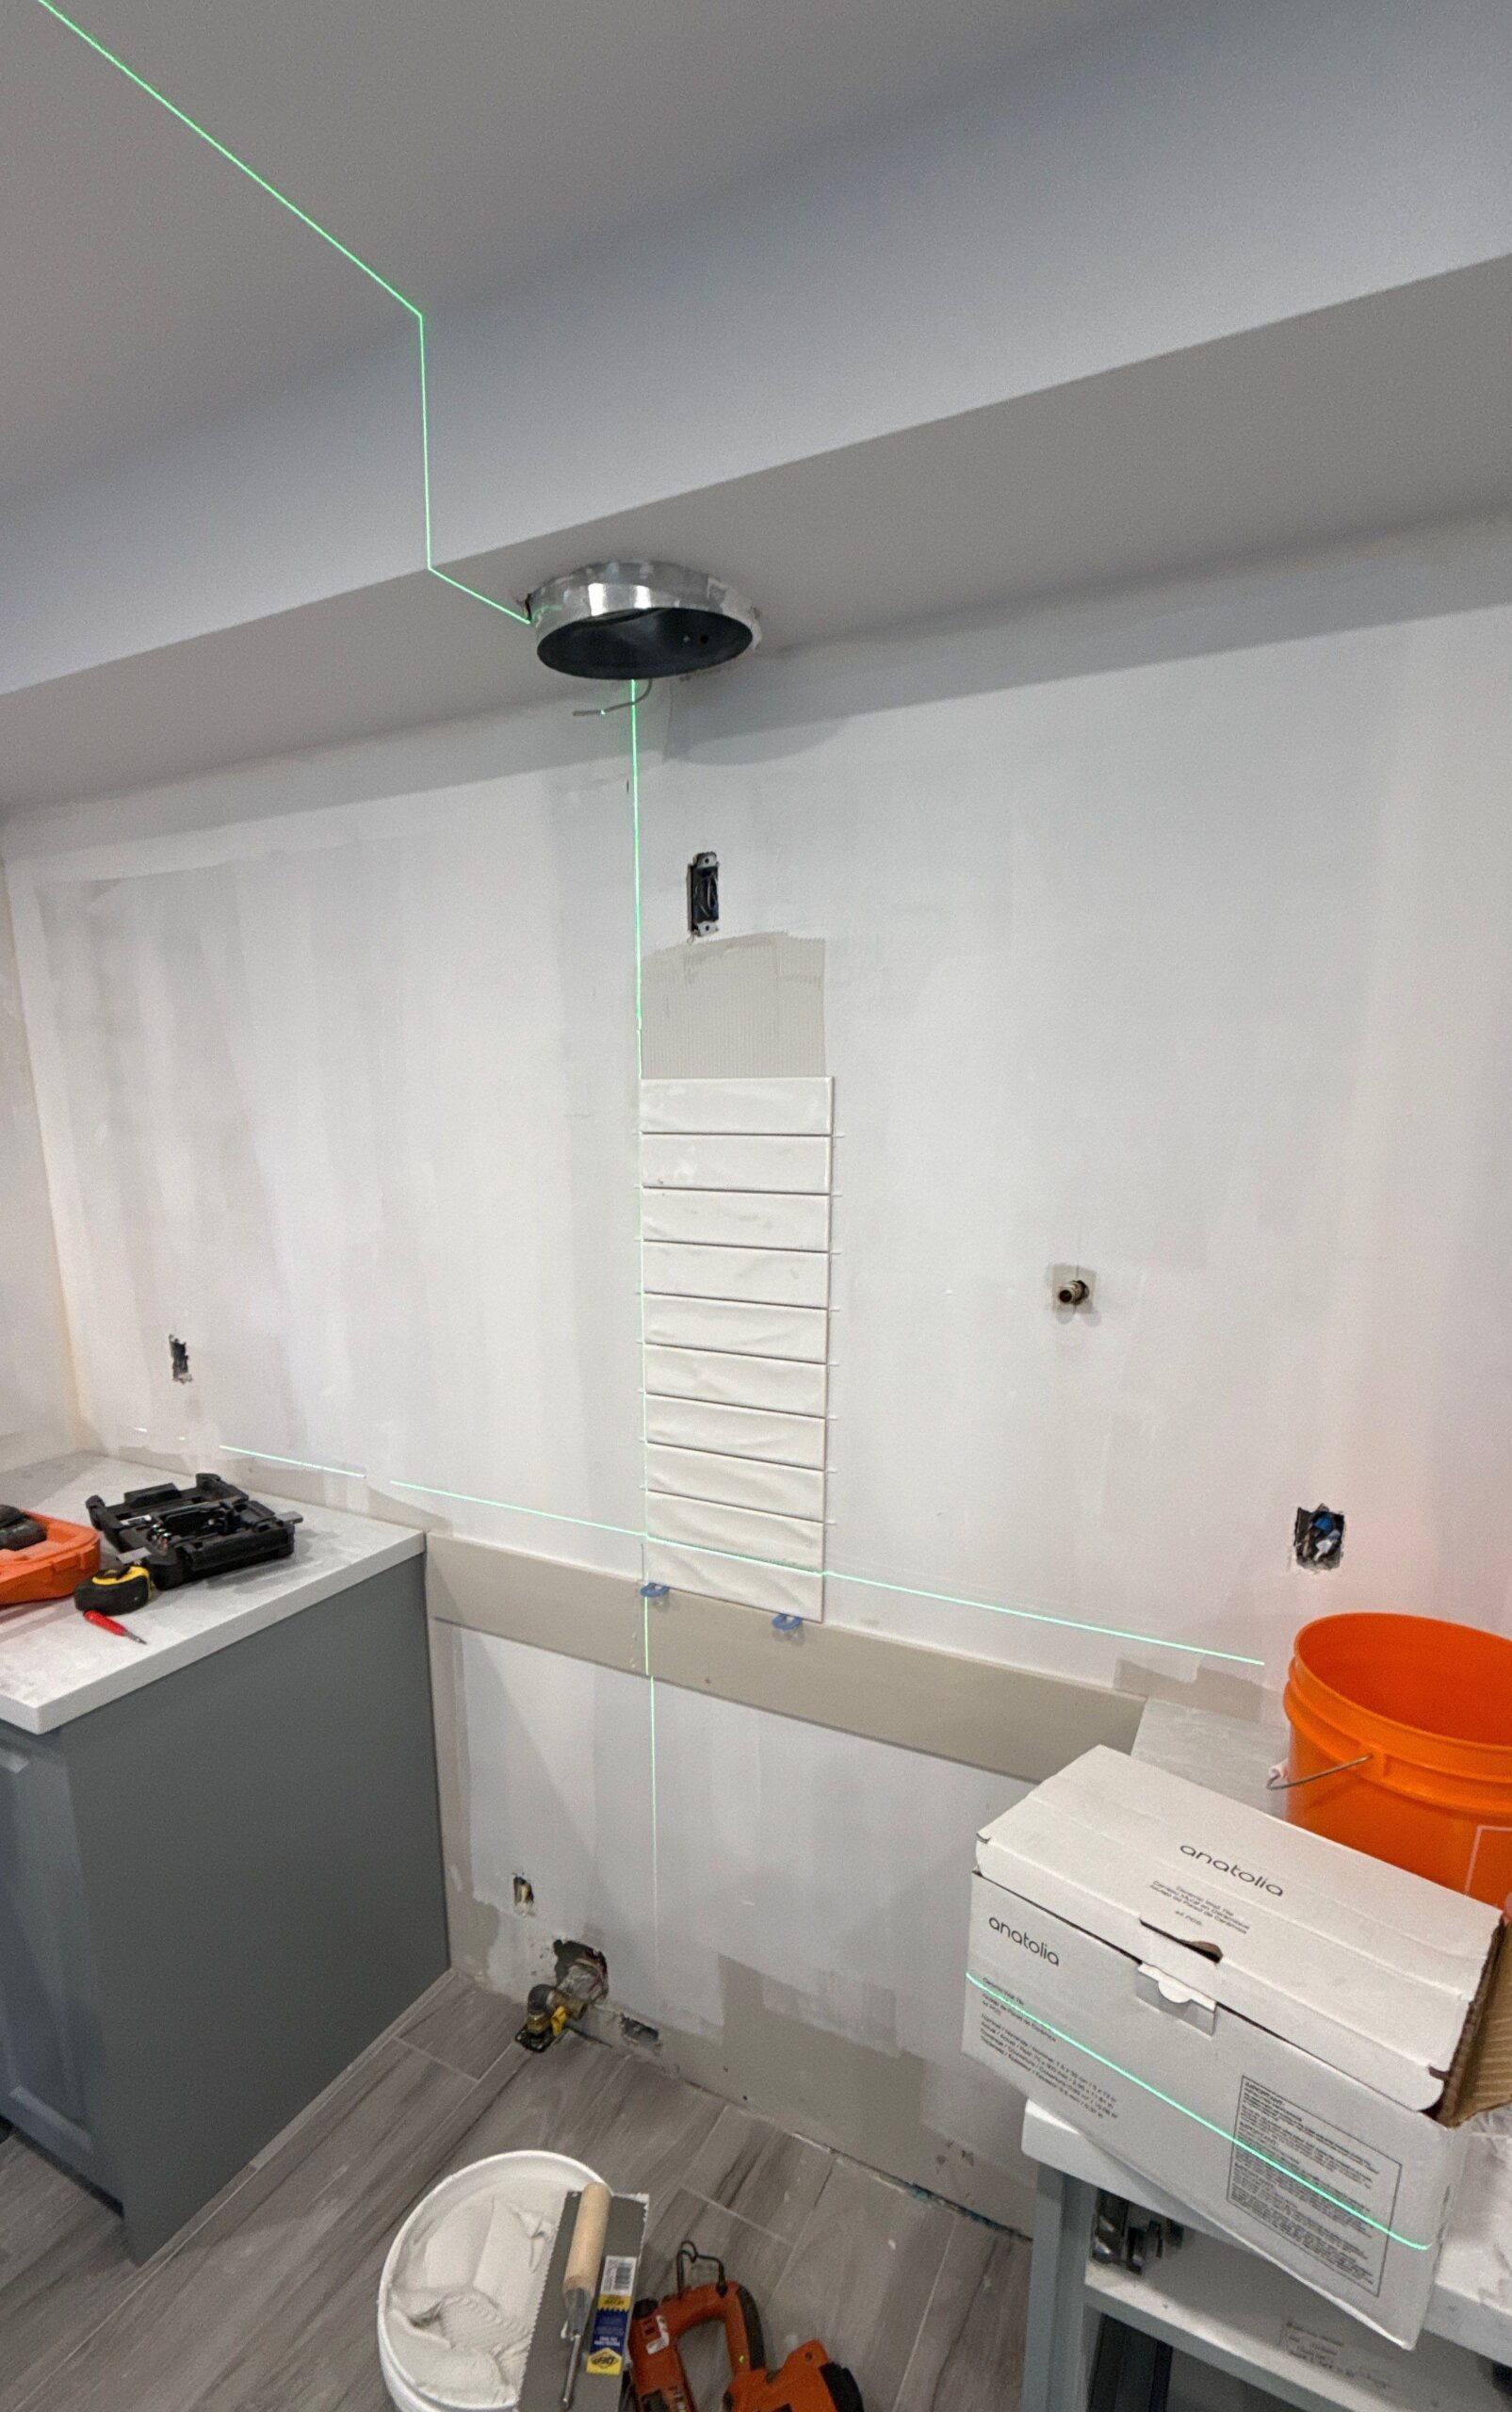
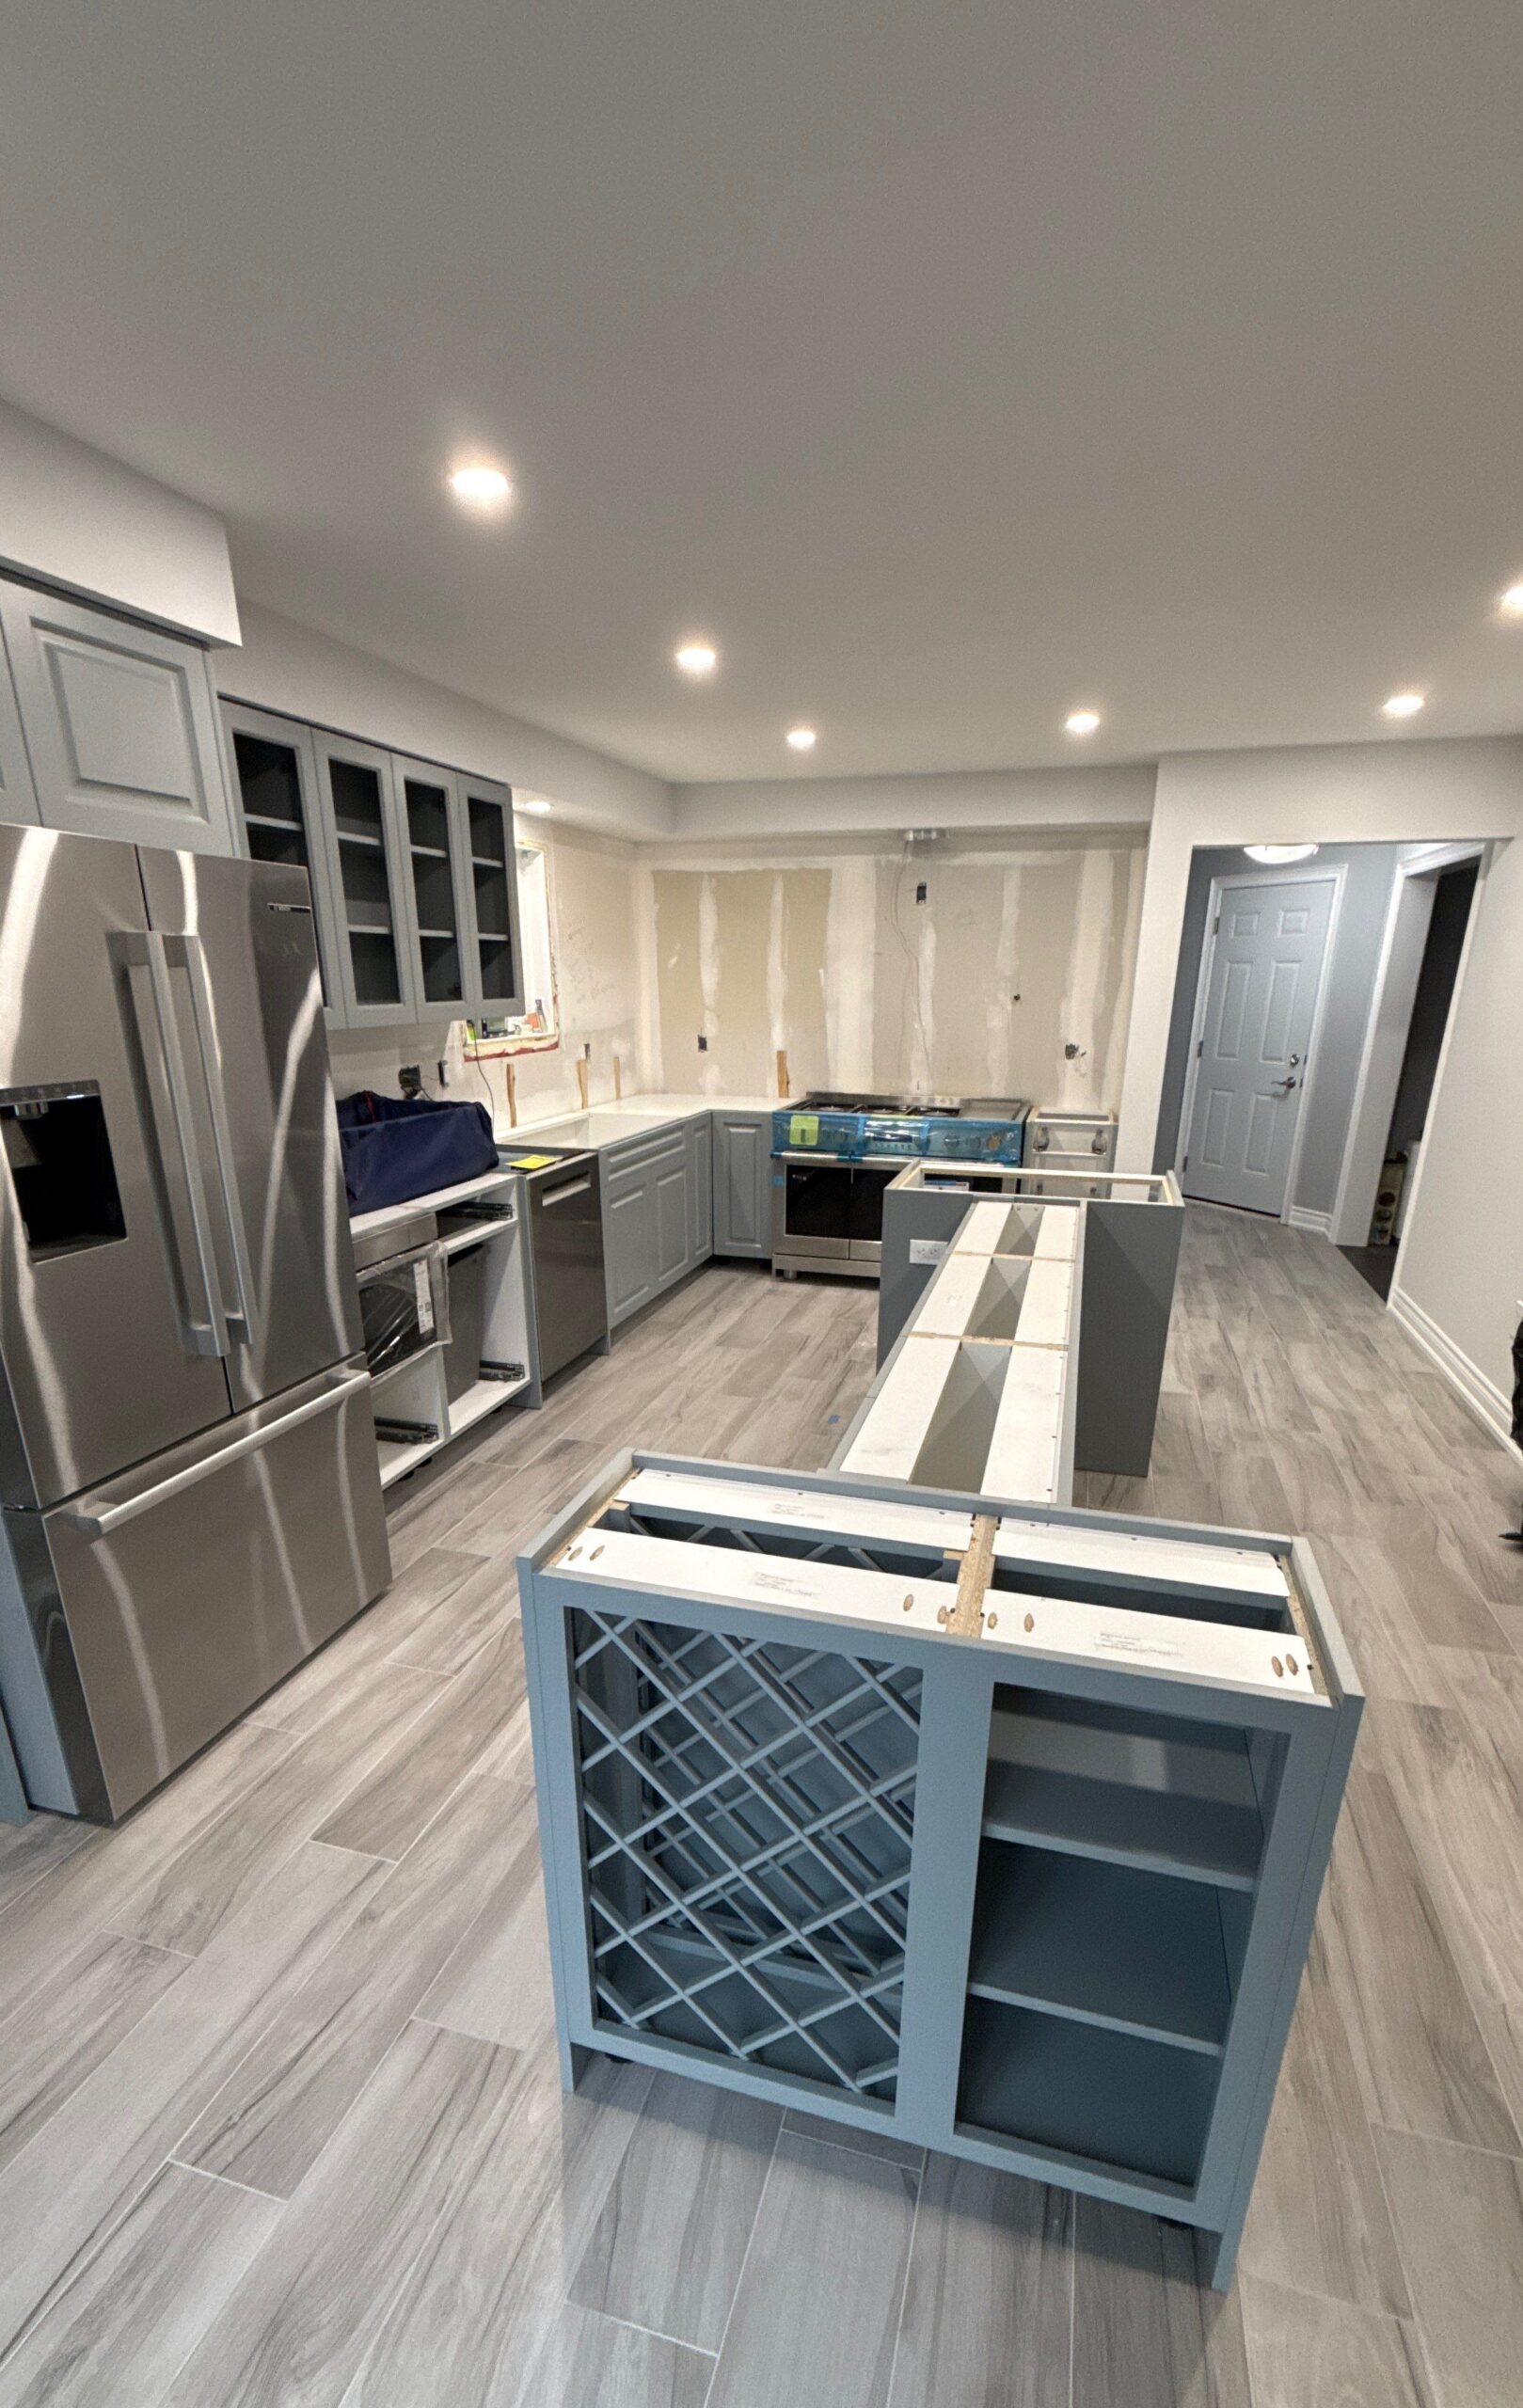
Demo, the Vent Through the Brick, and Building It Back Right
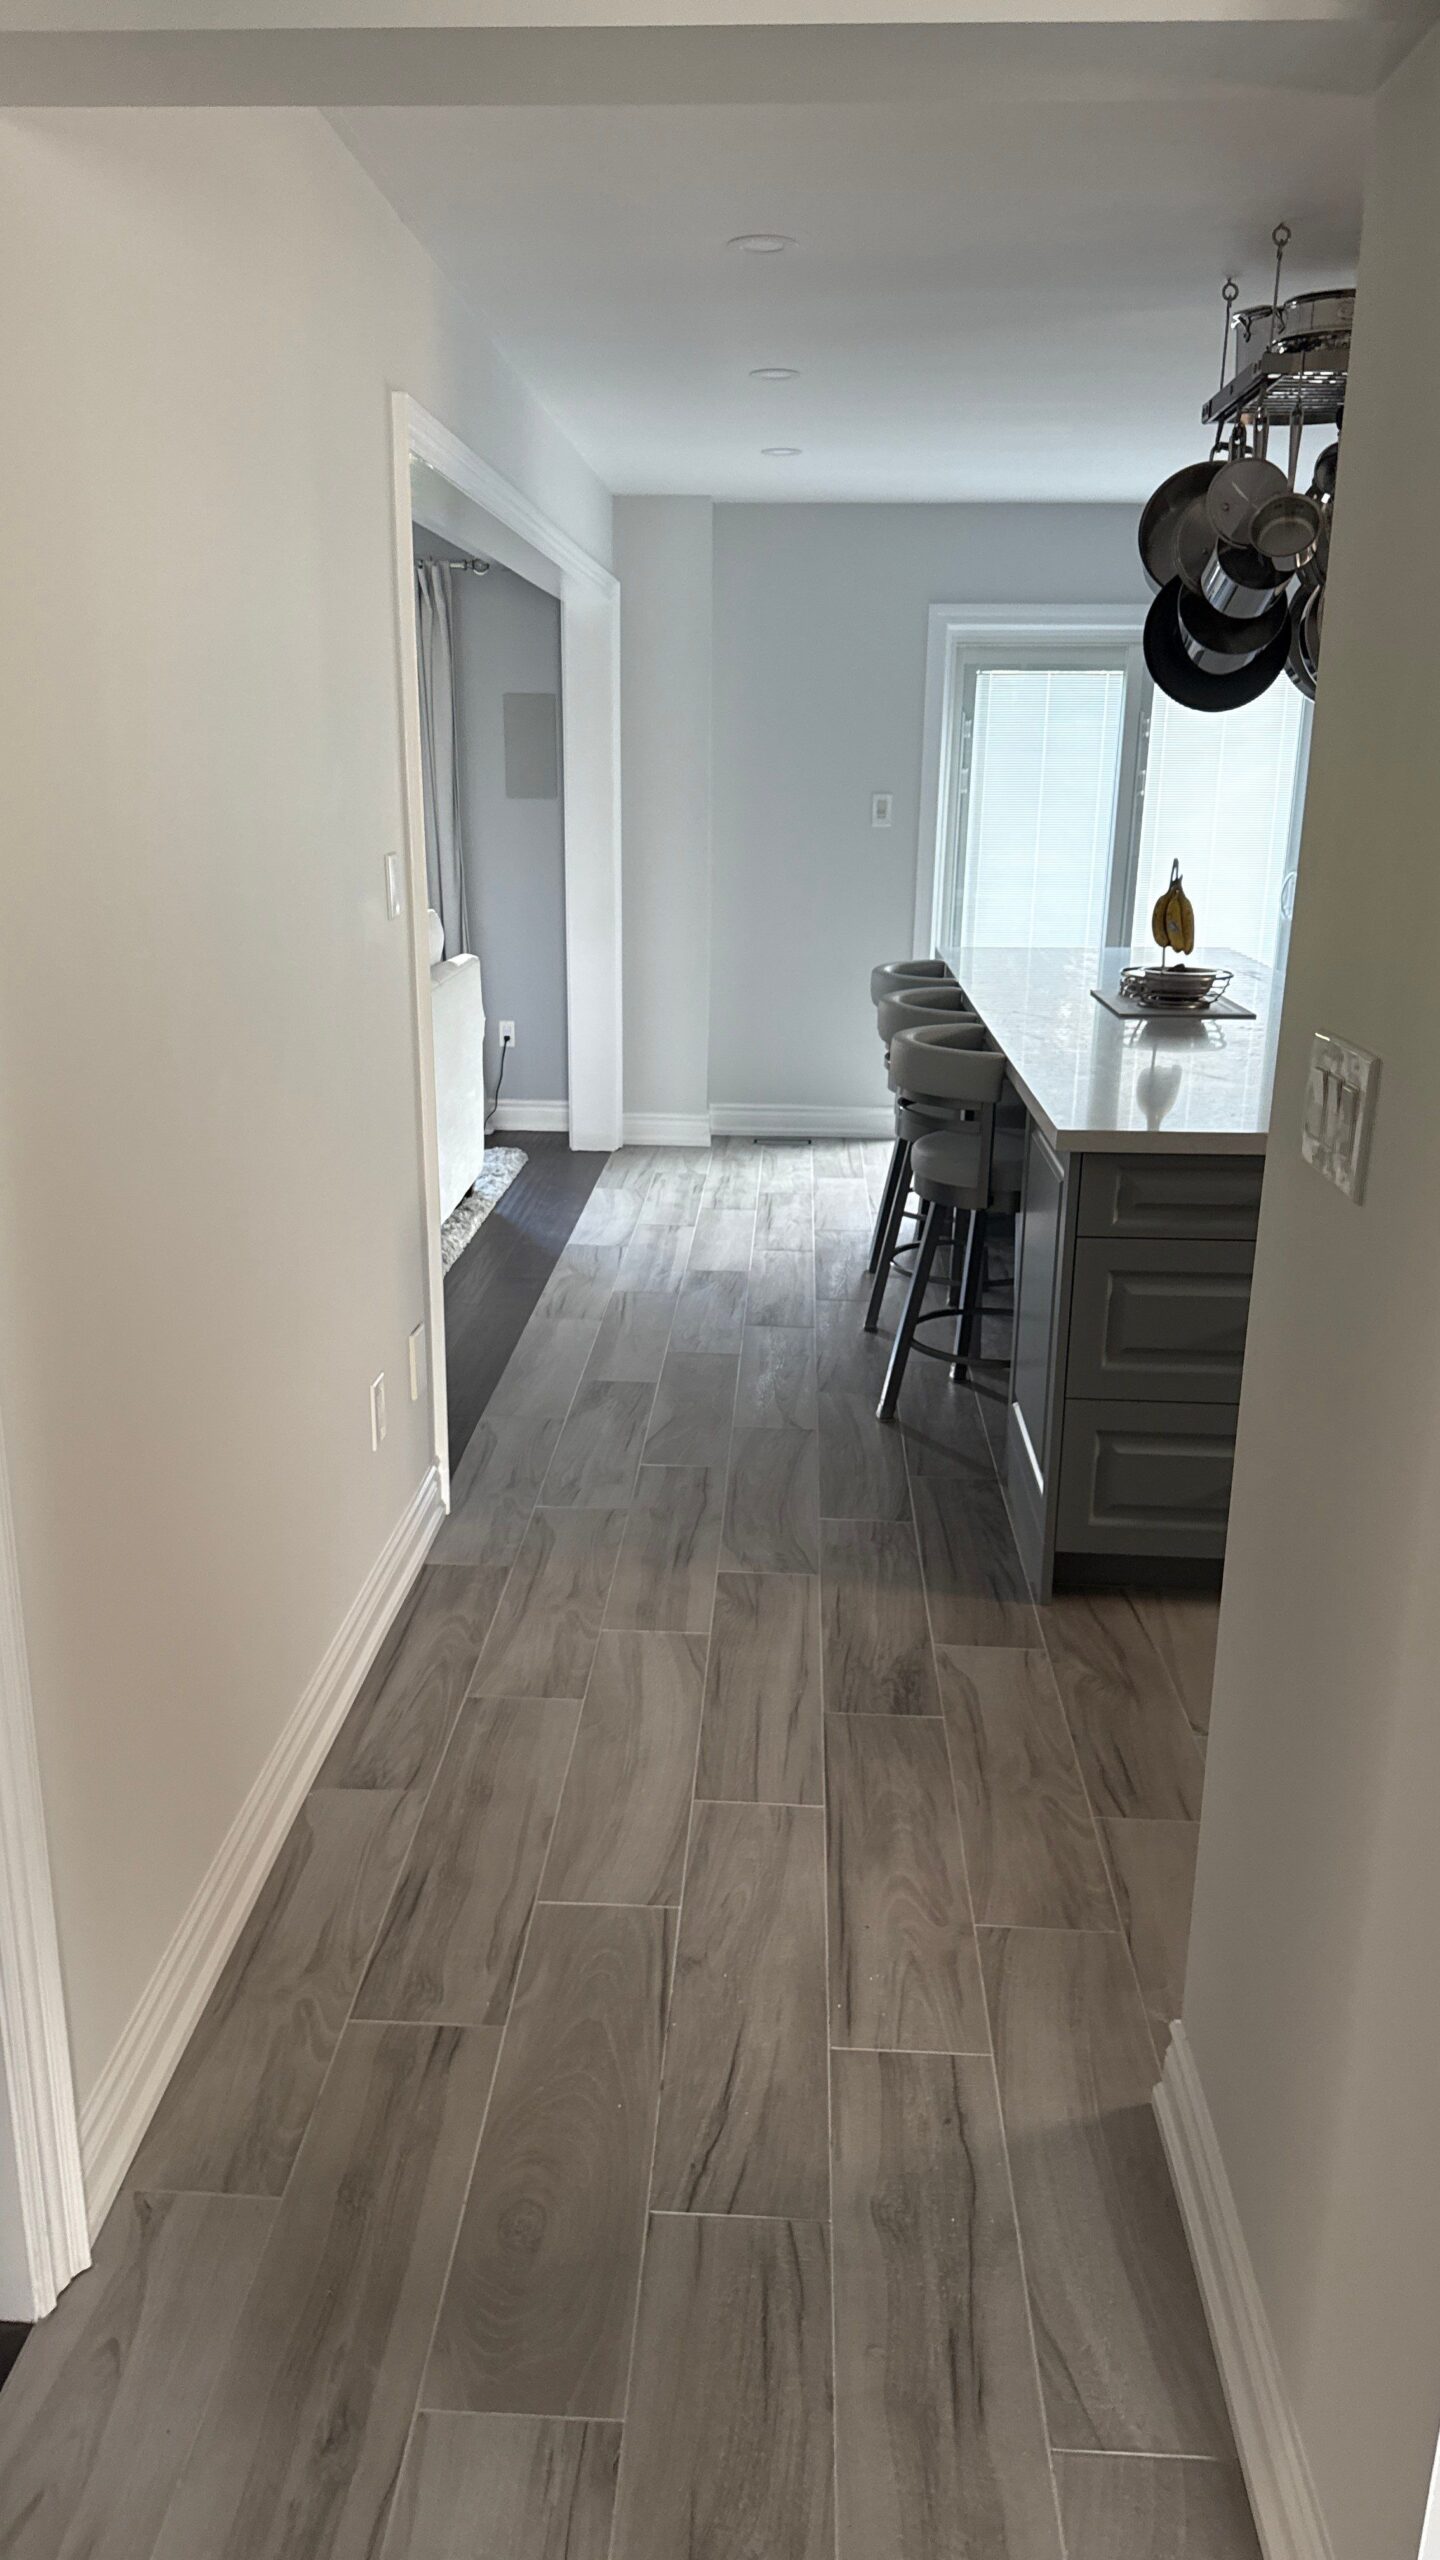
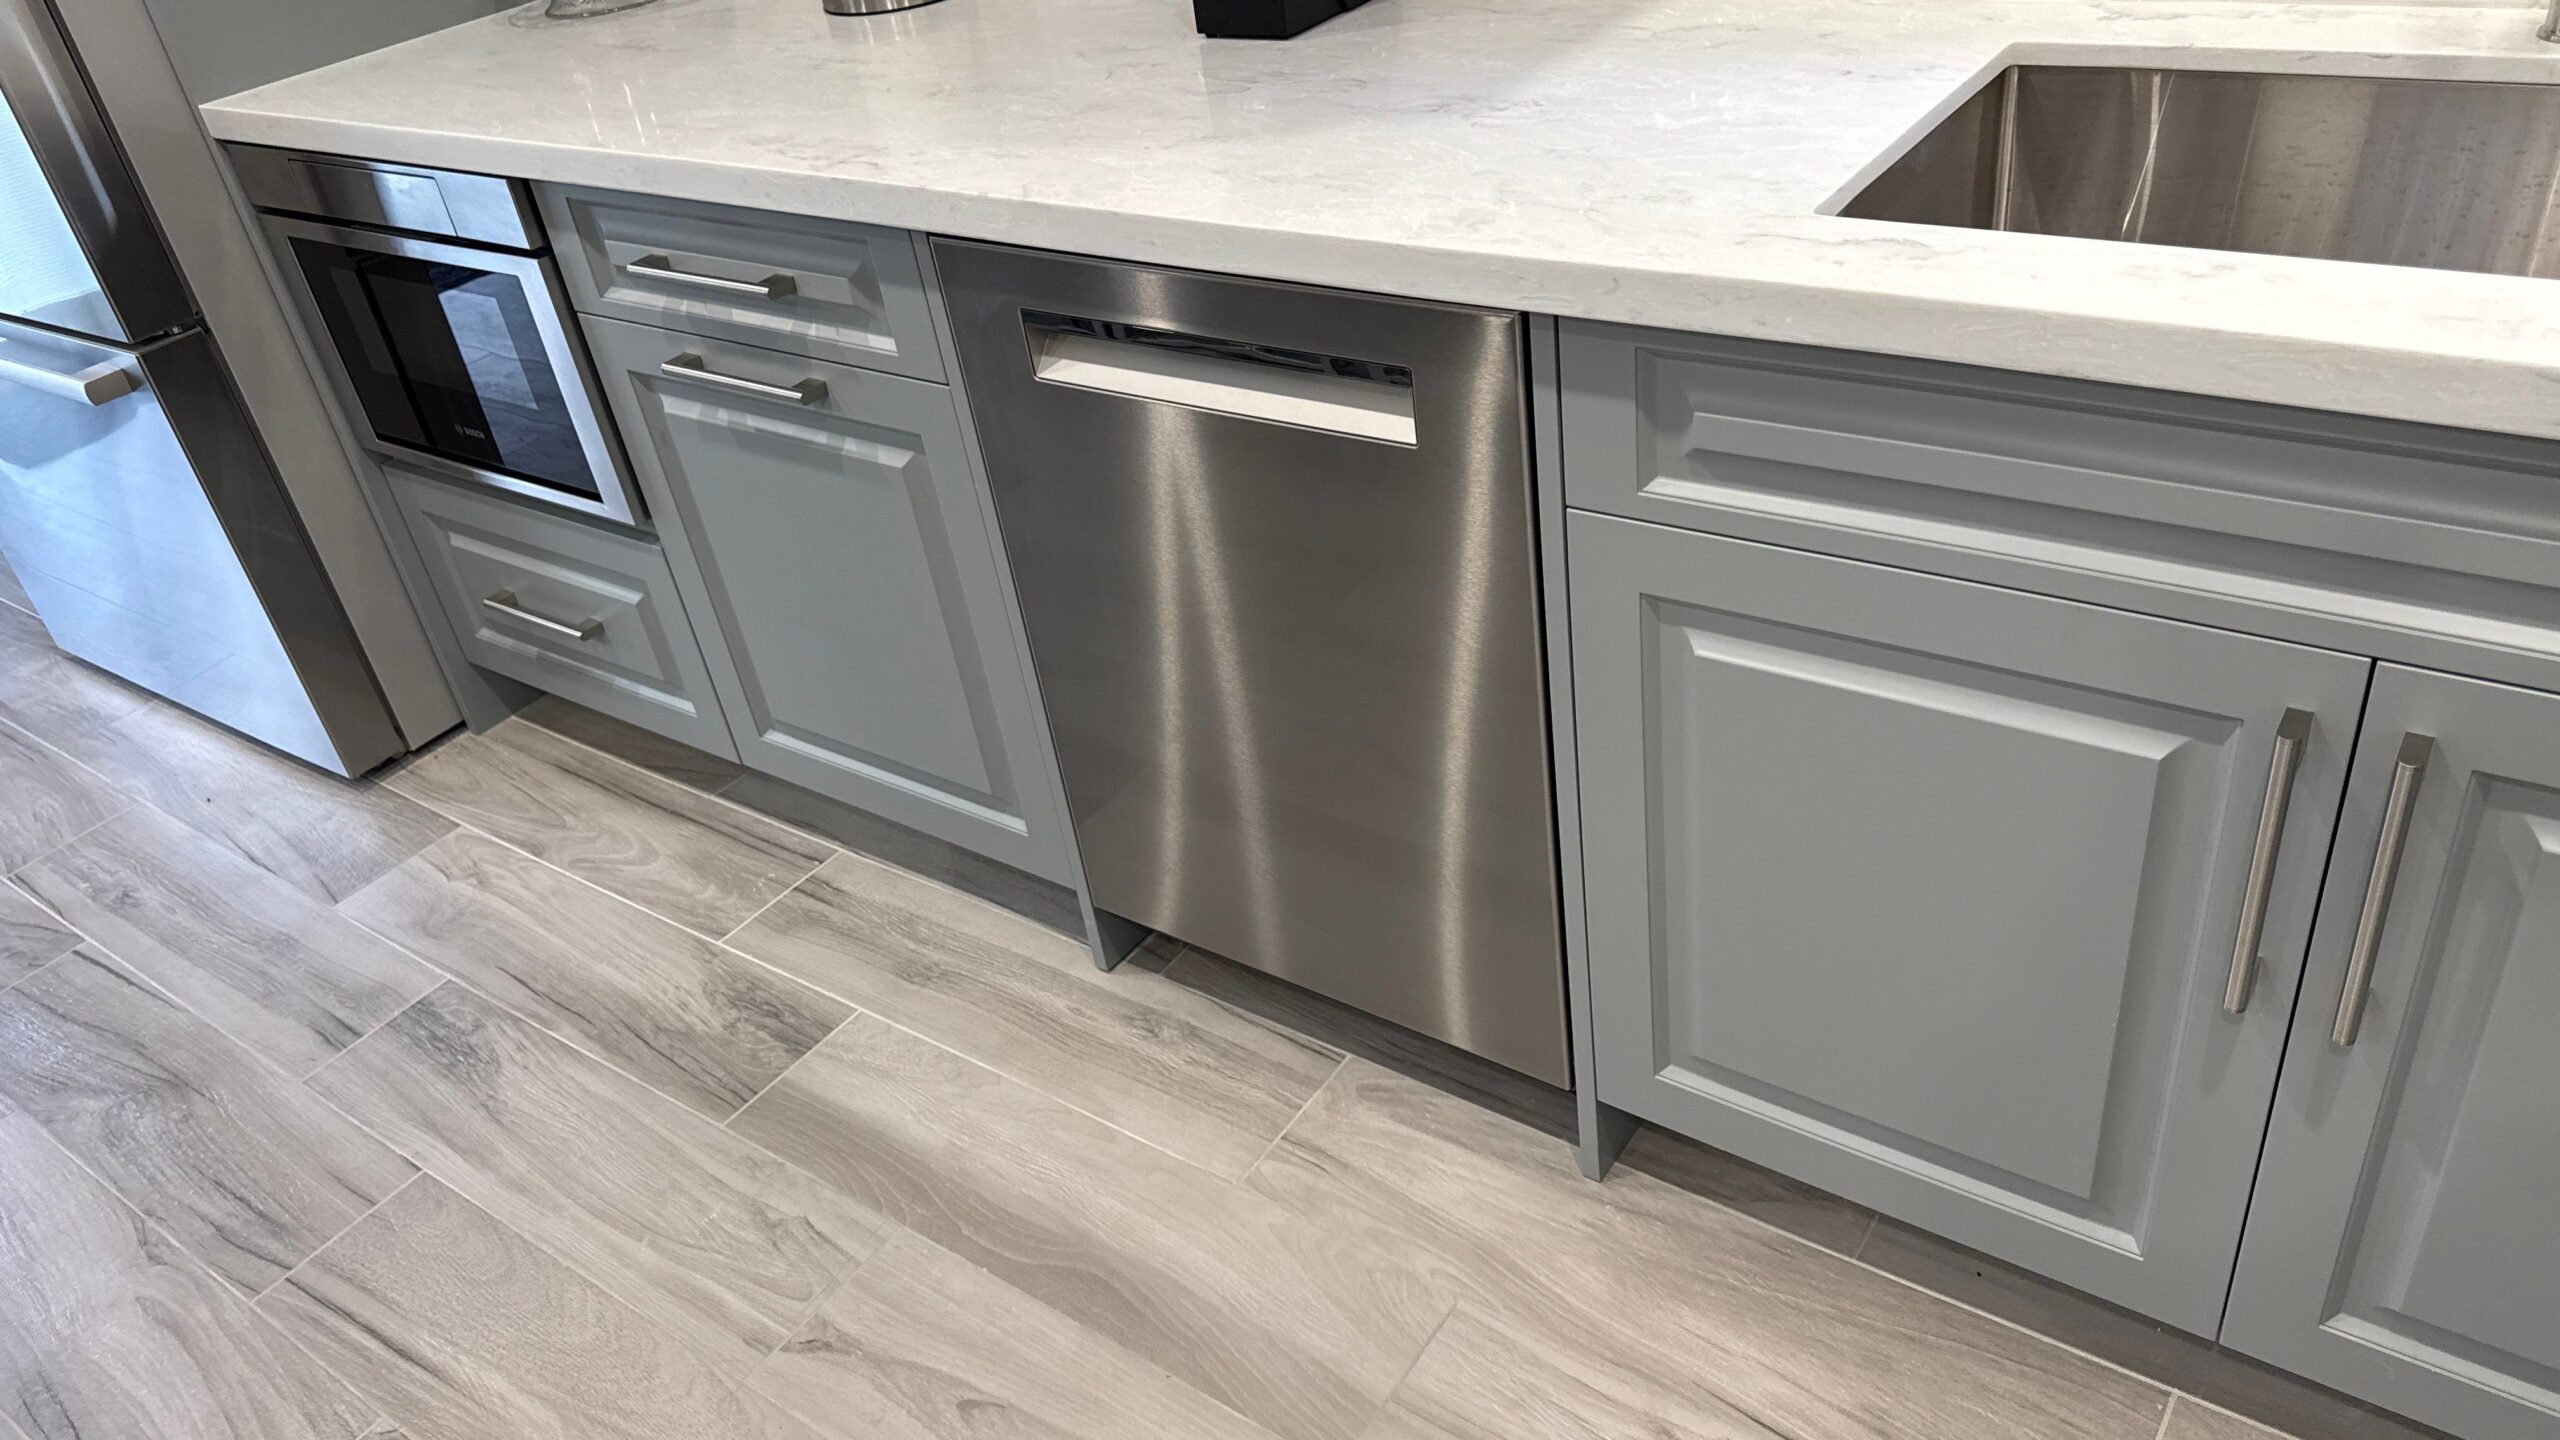
Day one we sealed off the living space to contain dust, then took the kitchen down to a clean slate. From there: the new 12" range vent run out through the brick, the bulkhead bumped out for a cohesive line, walls skim-coated smooth, a pot filler roughed in, and then the floor — a demanding 7"×40" porcelain plank that needed uncoupling membrane, a dead-flat subfloor, and levelling clips throughout. This is the part most homeowners never see, and it's where the quality is built.


 1 / 27
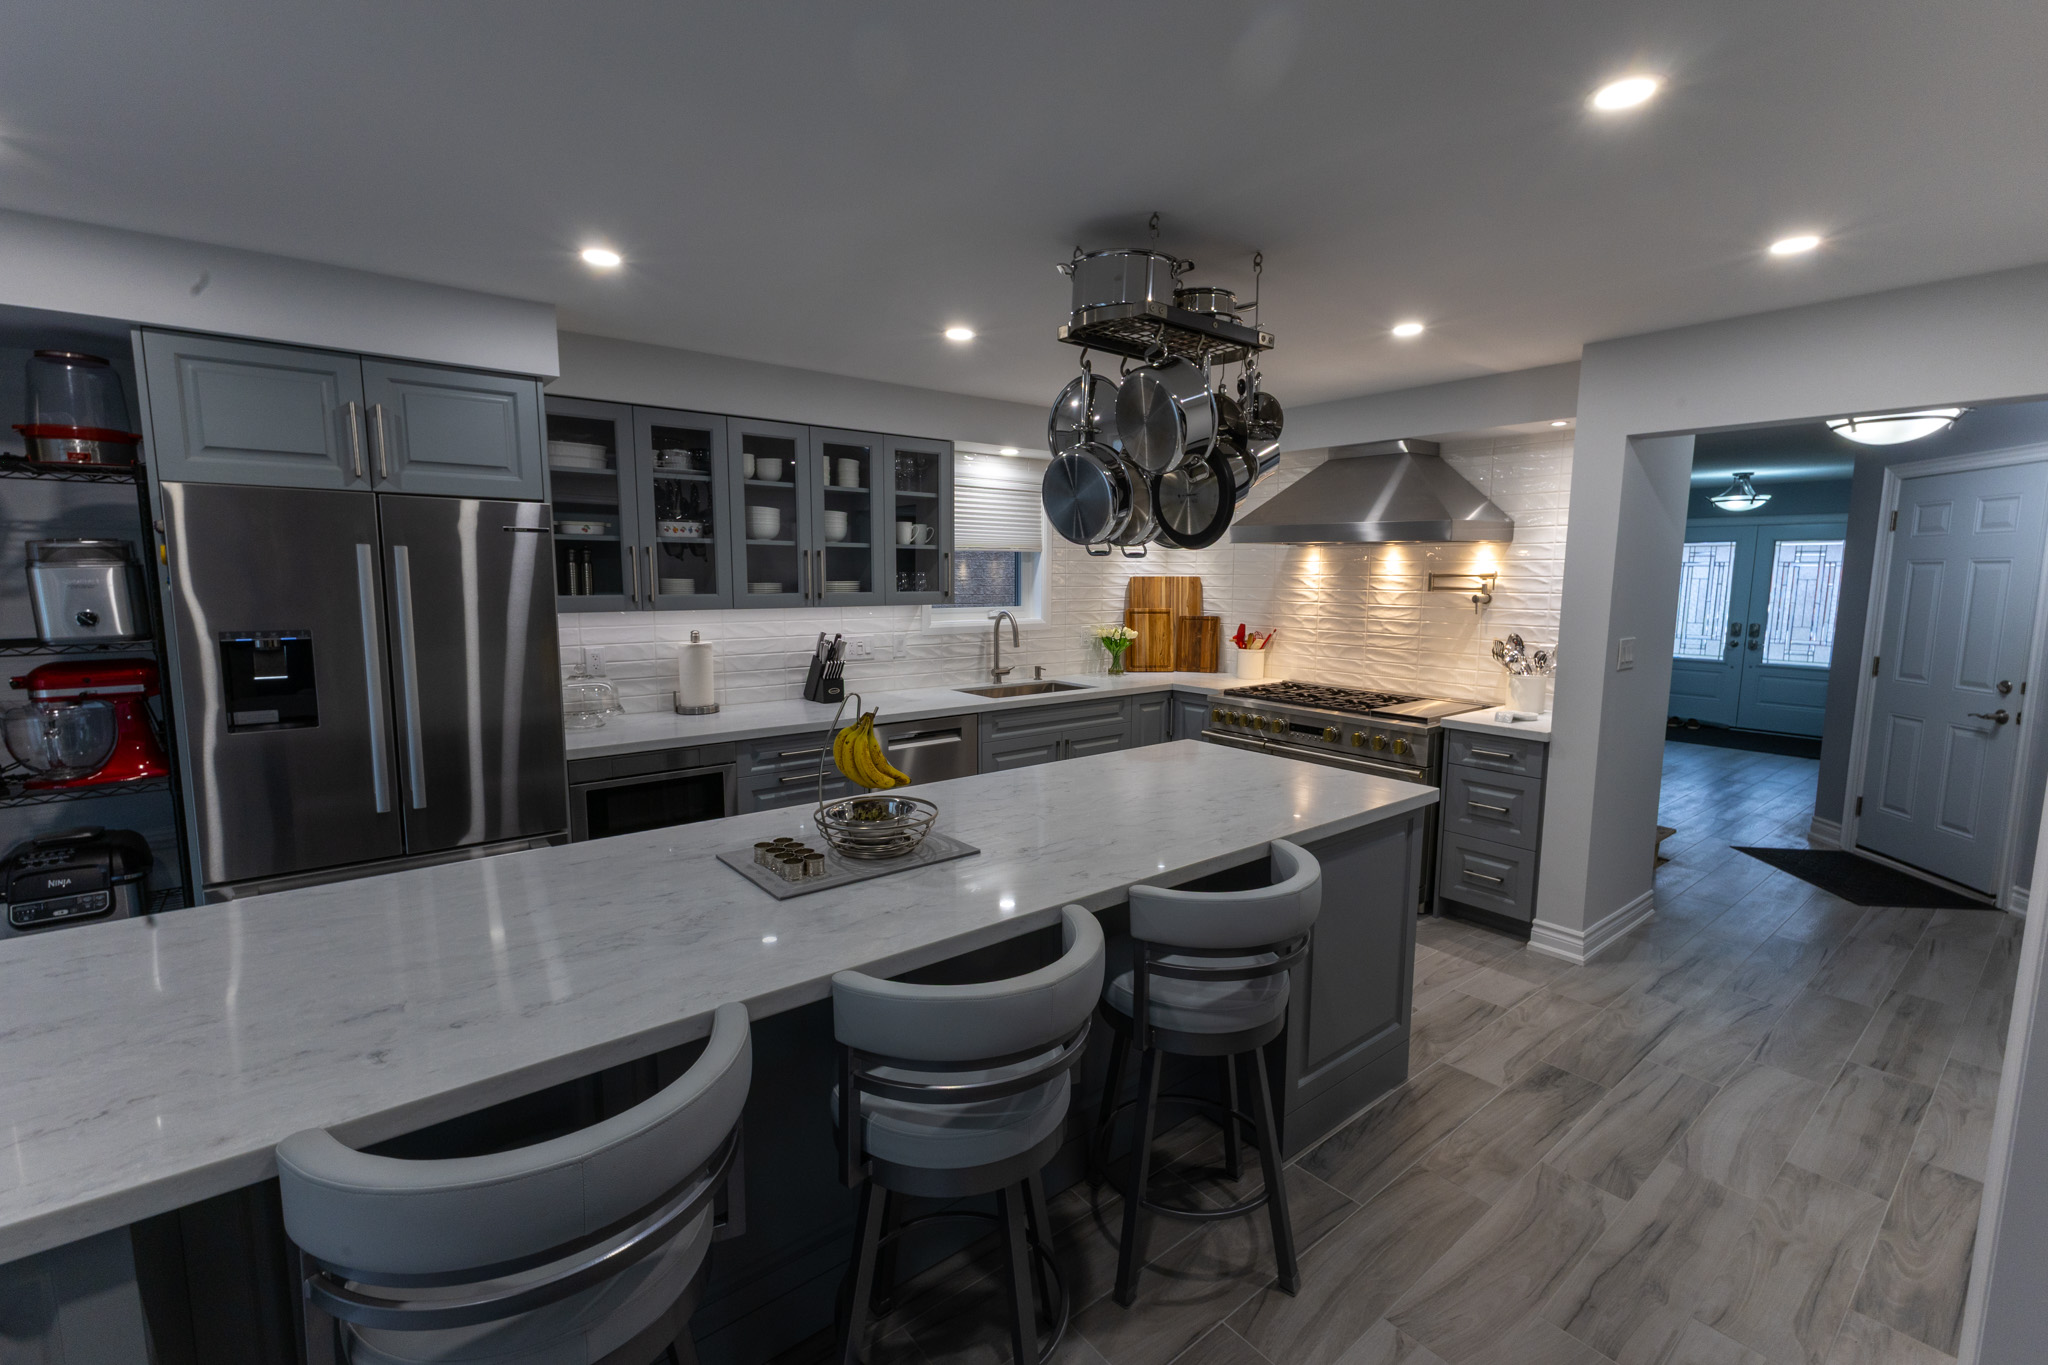
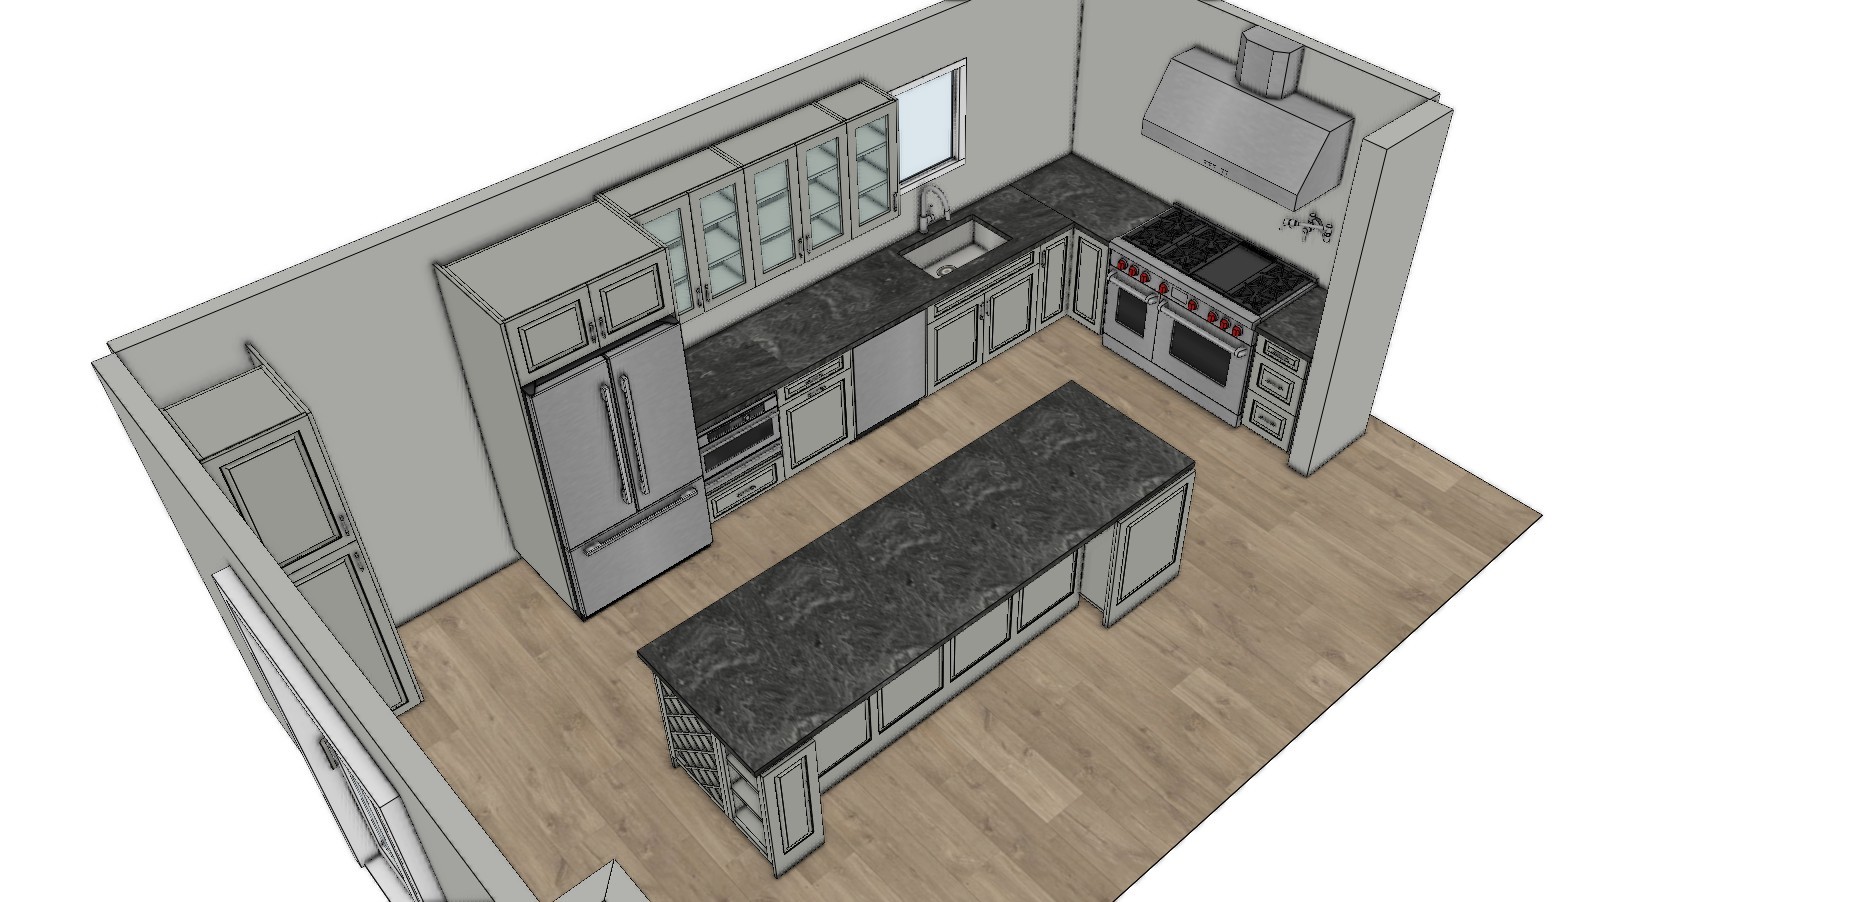
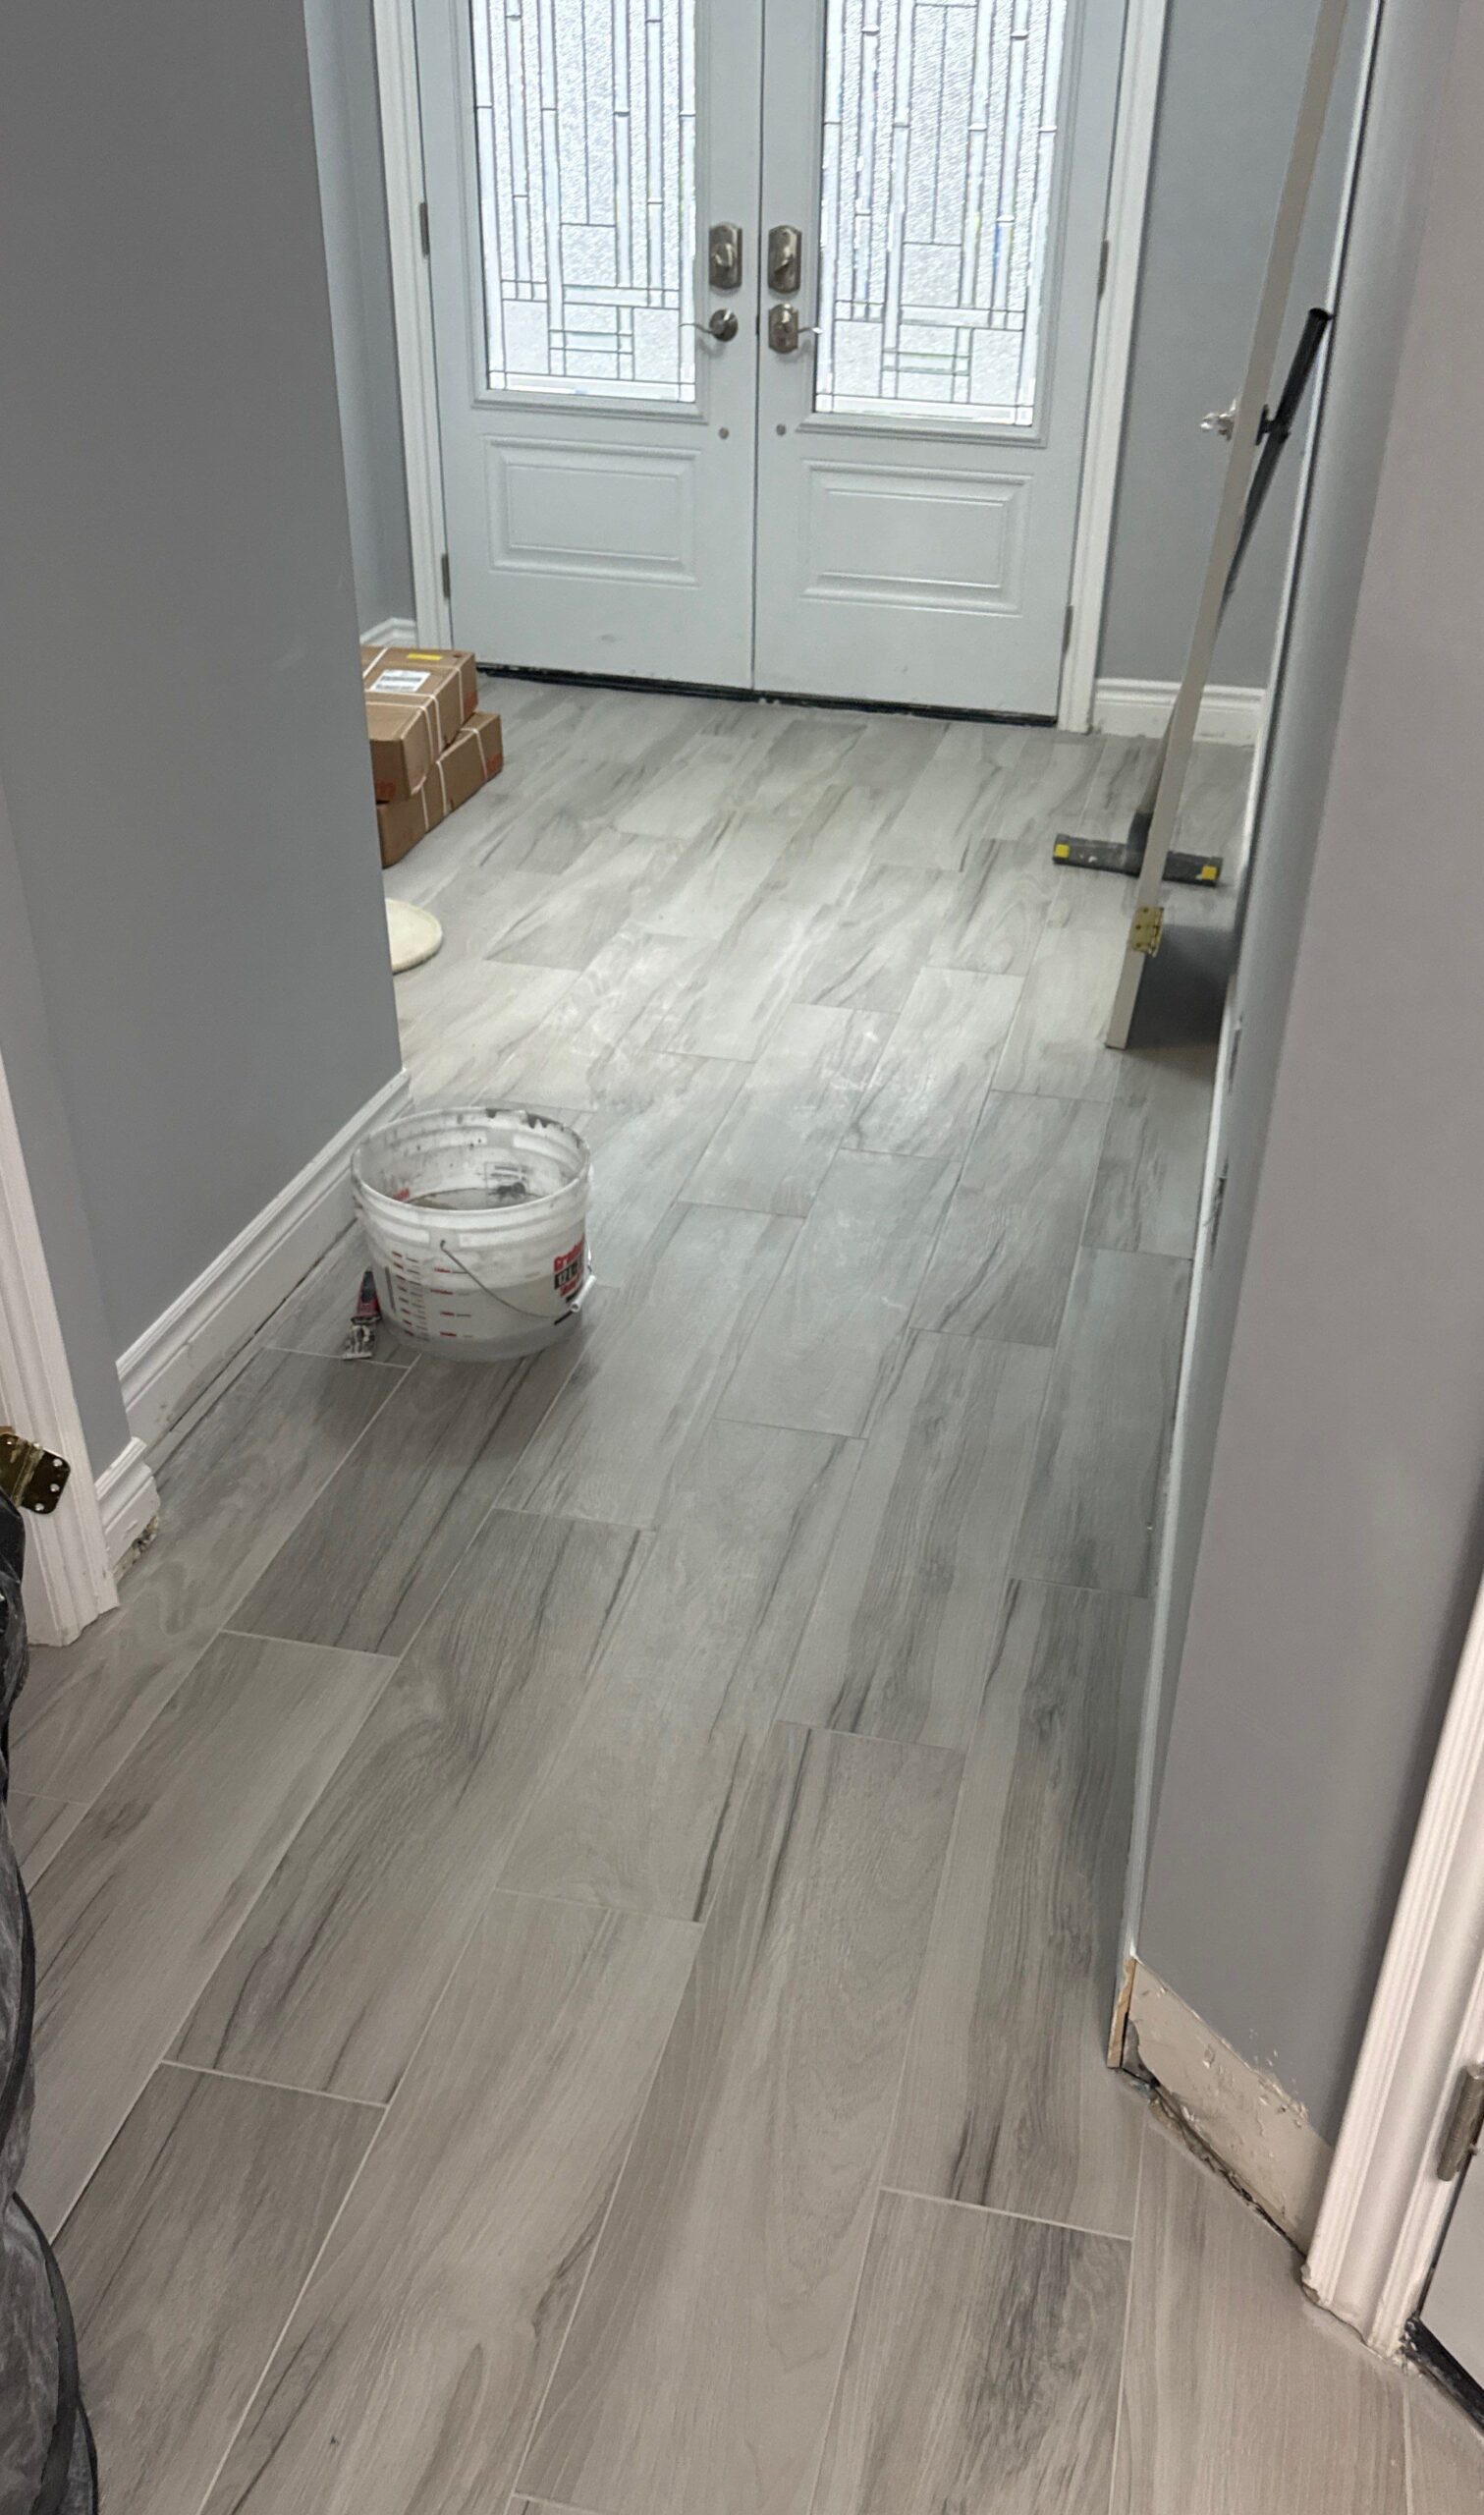
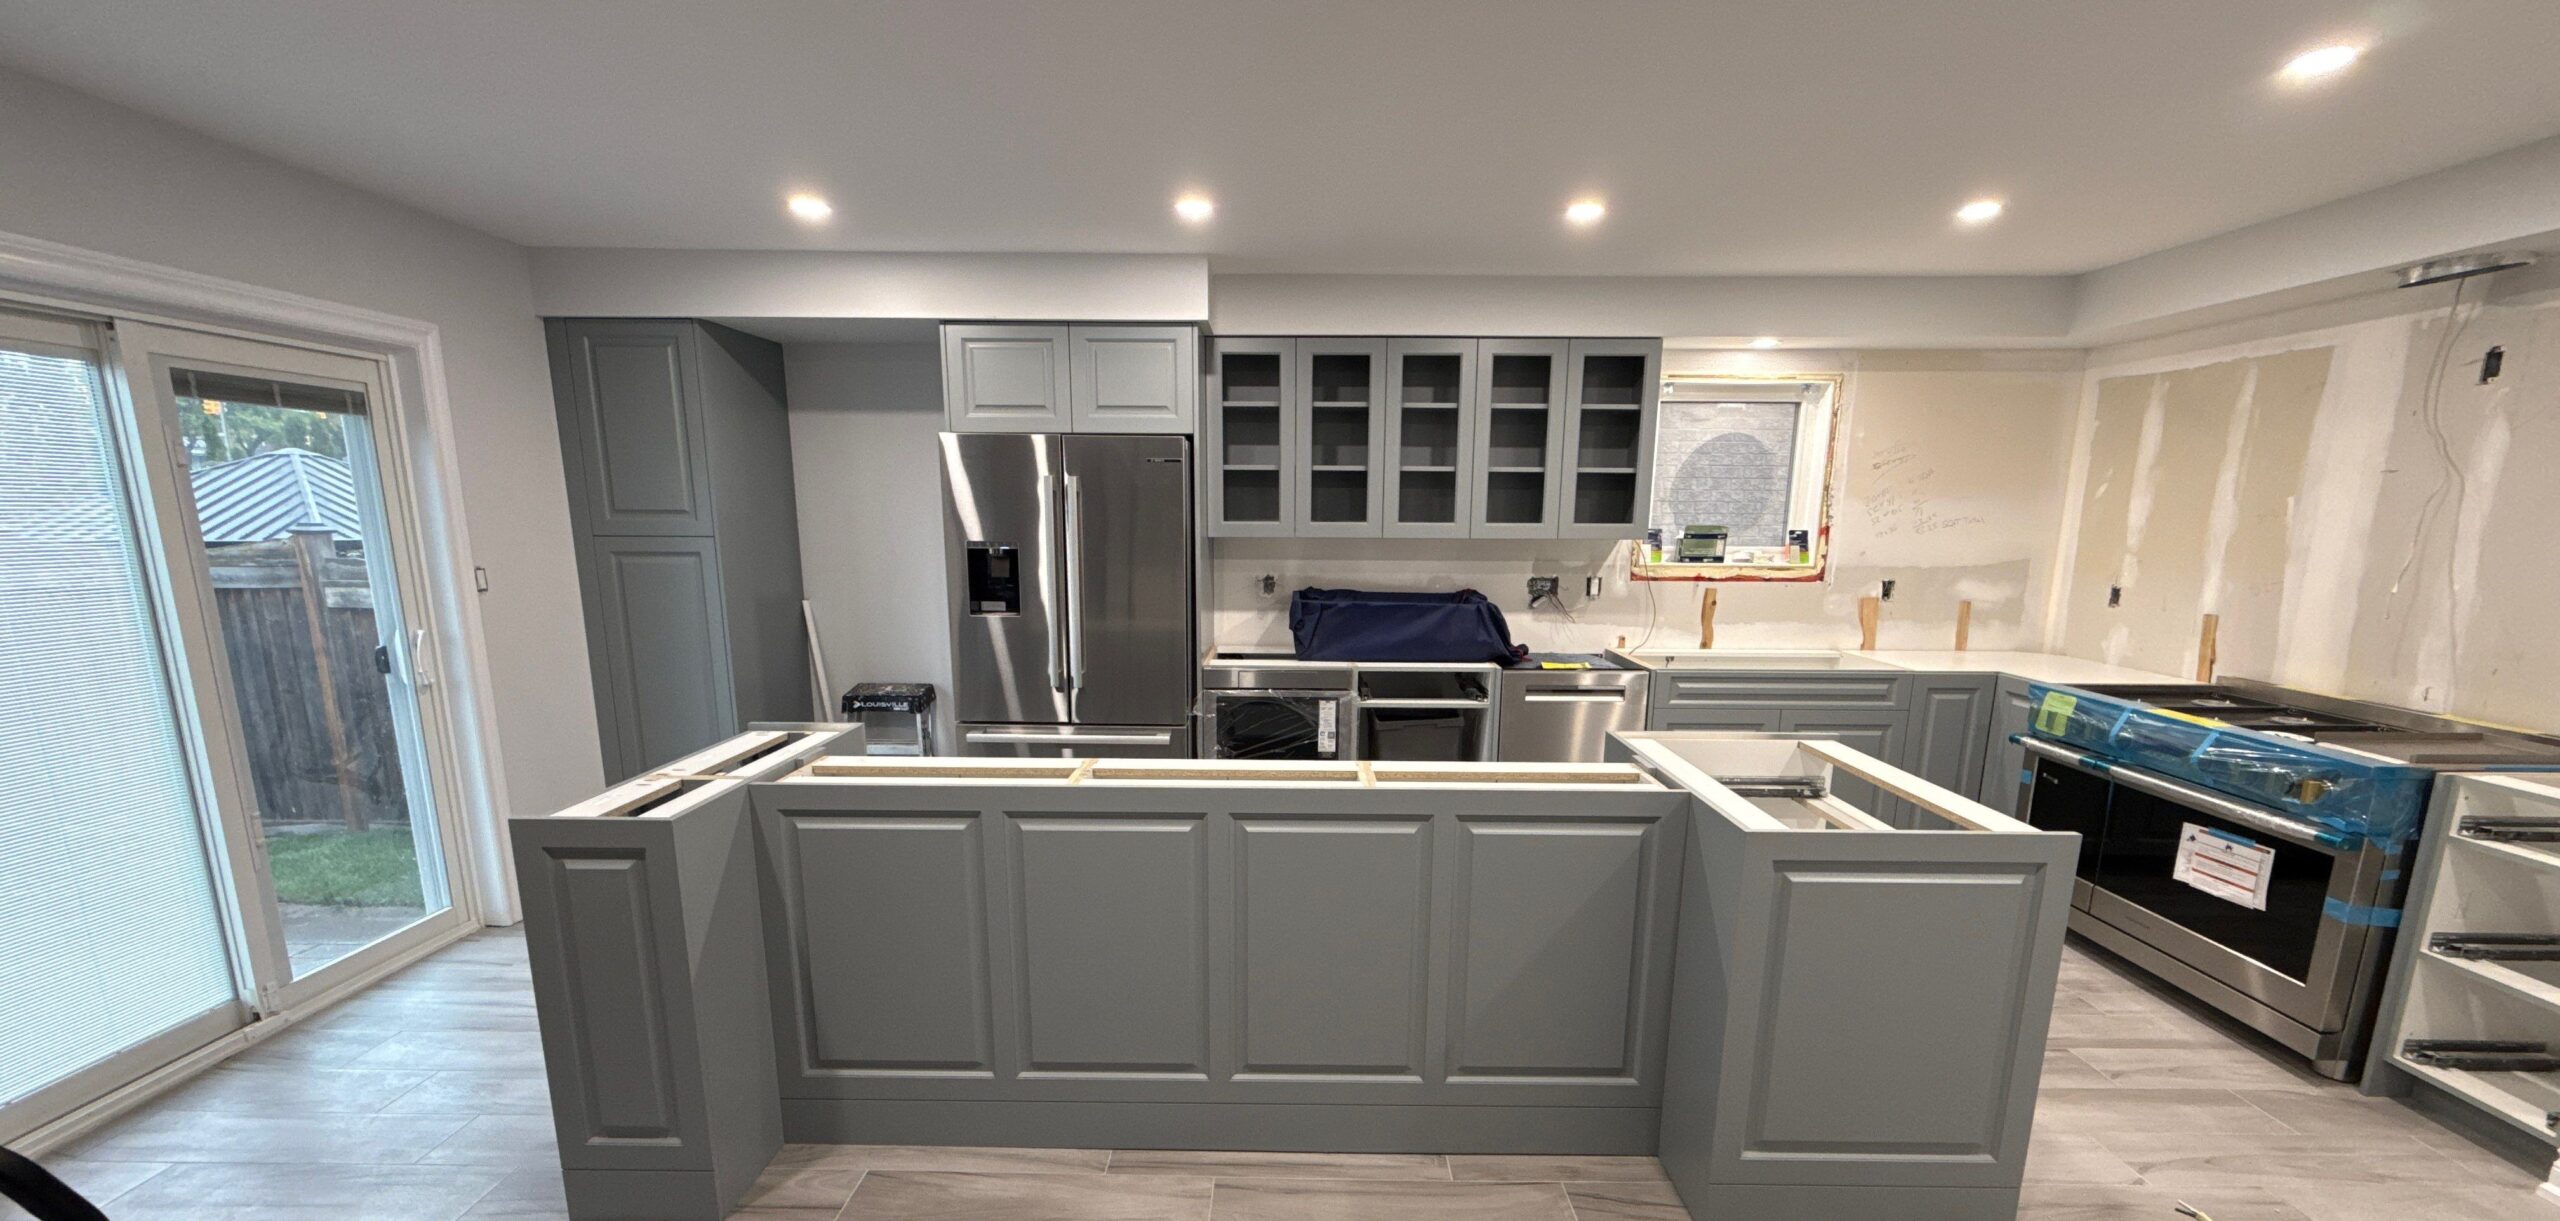
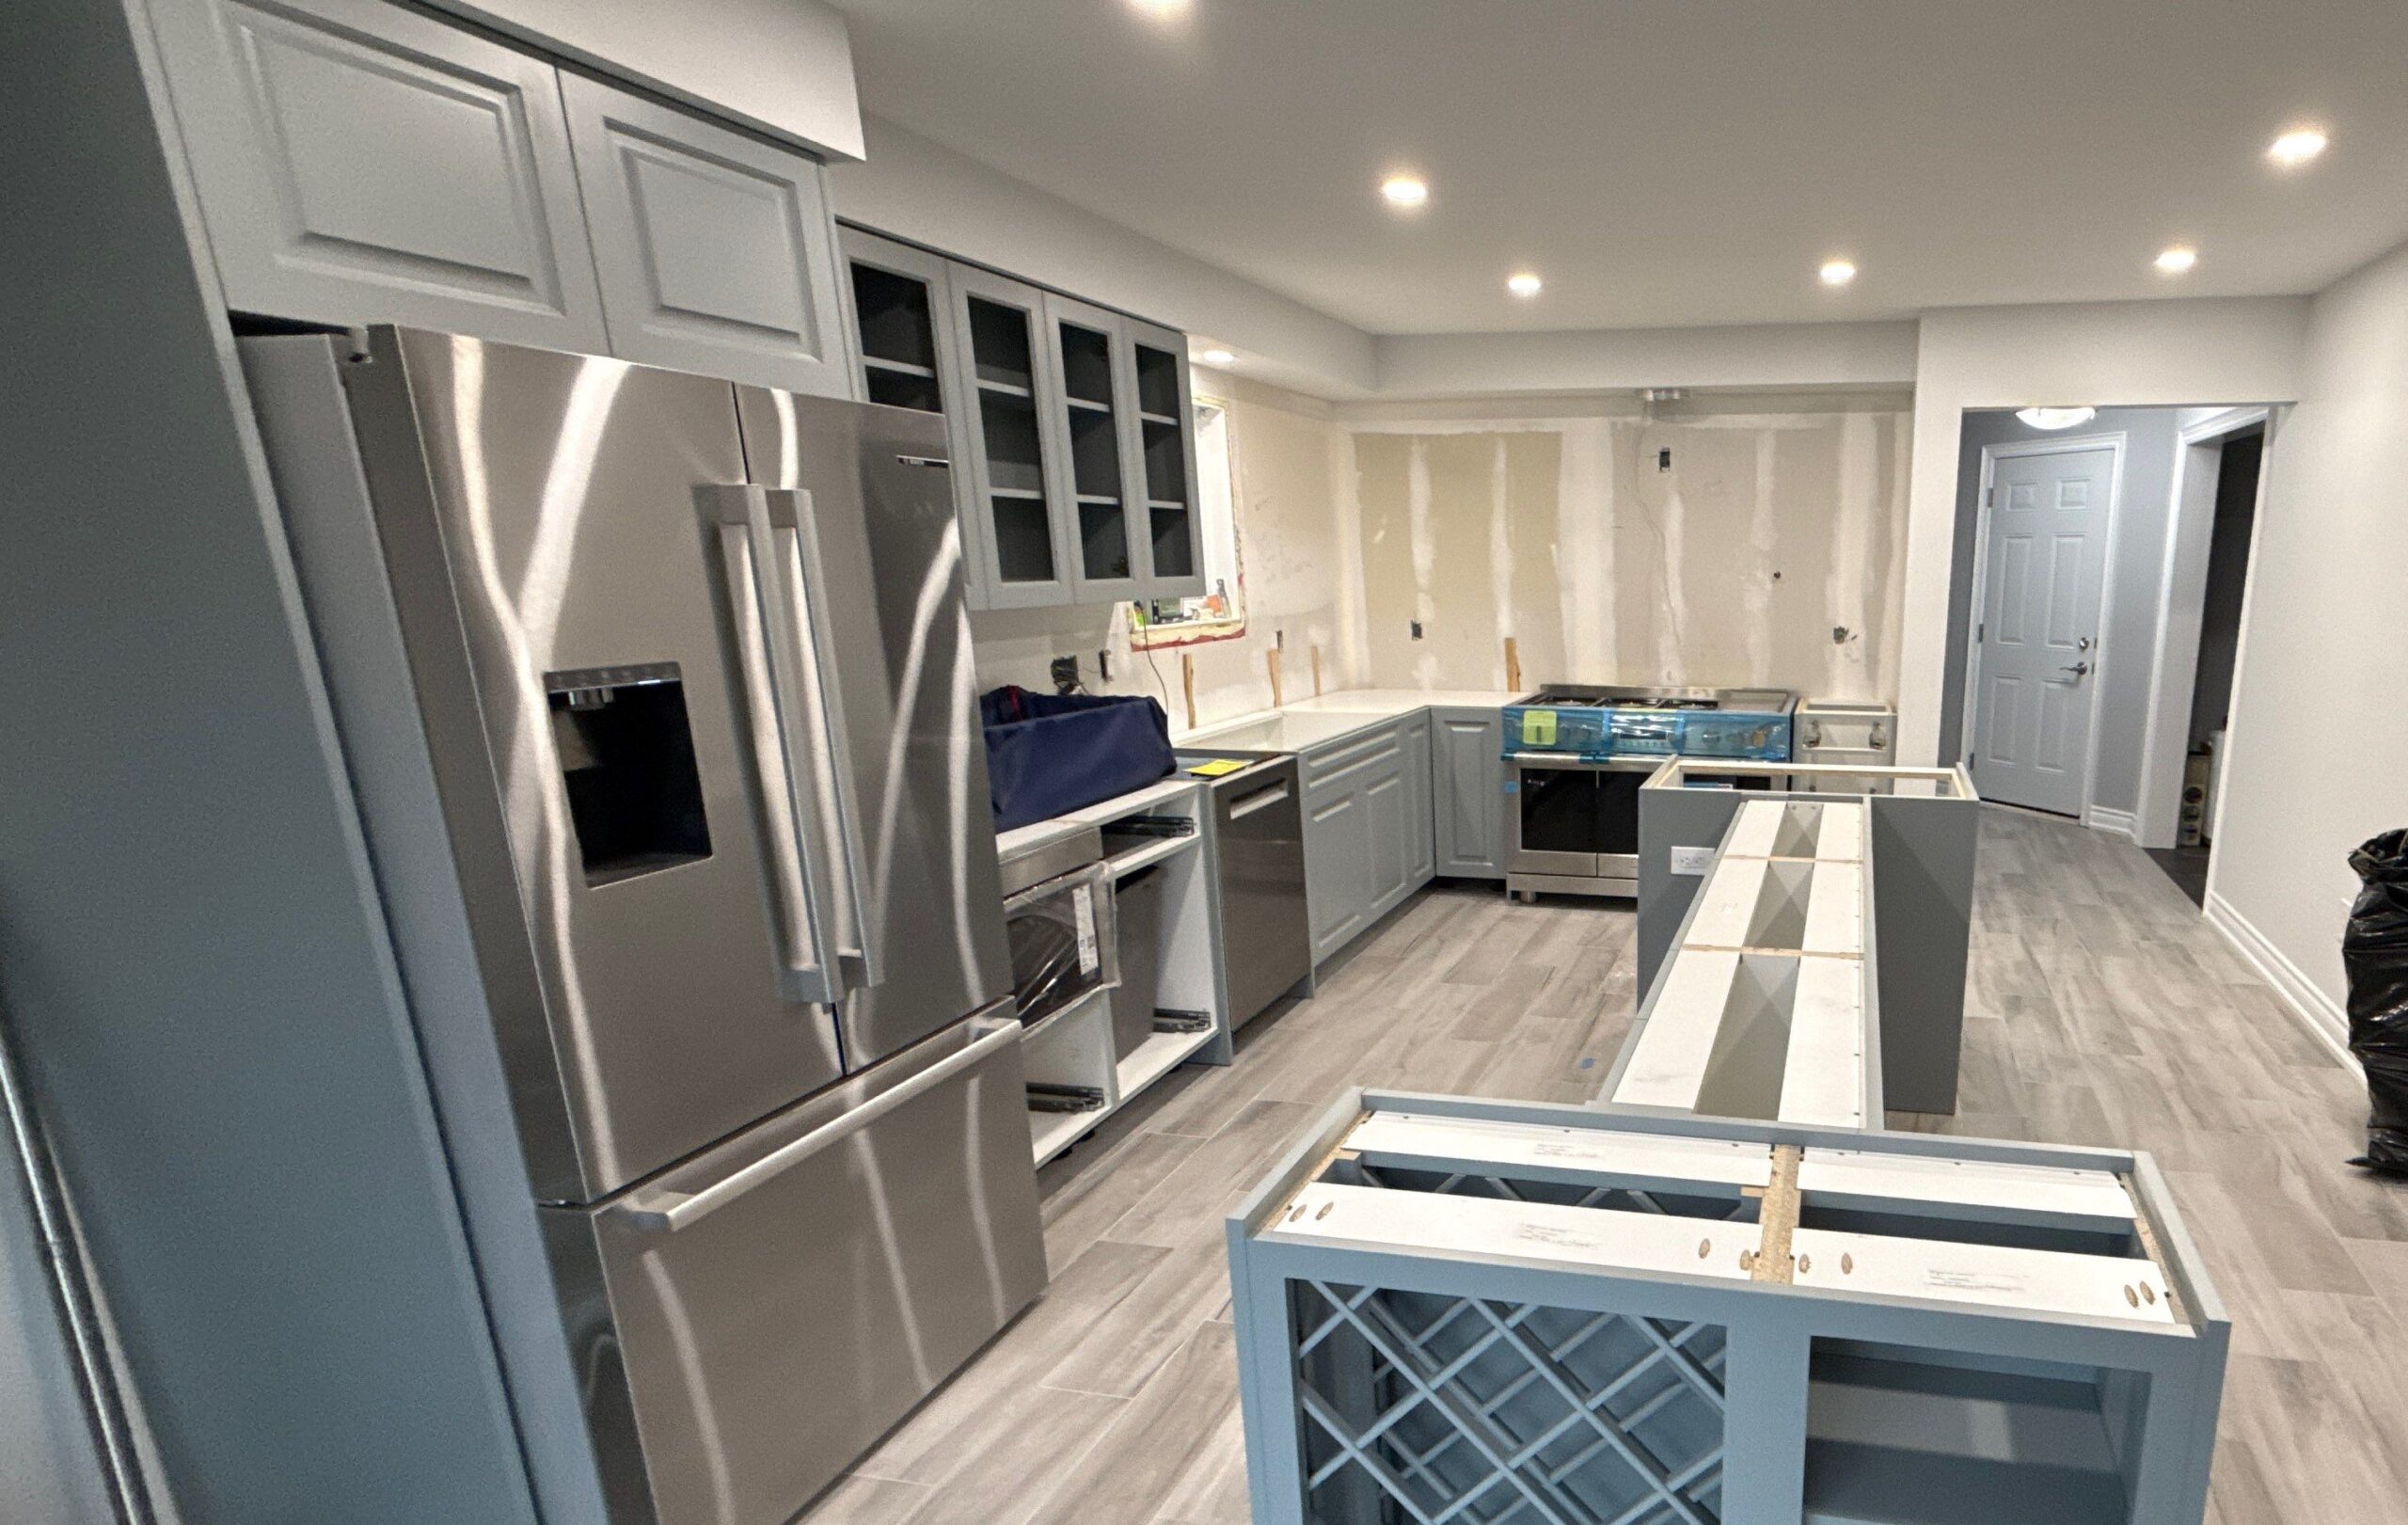
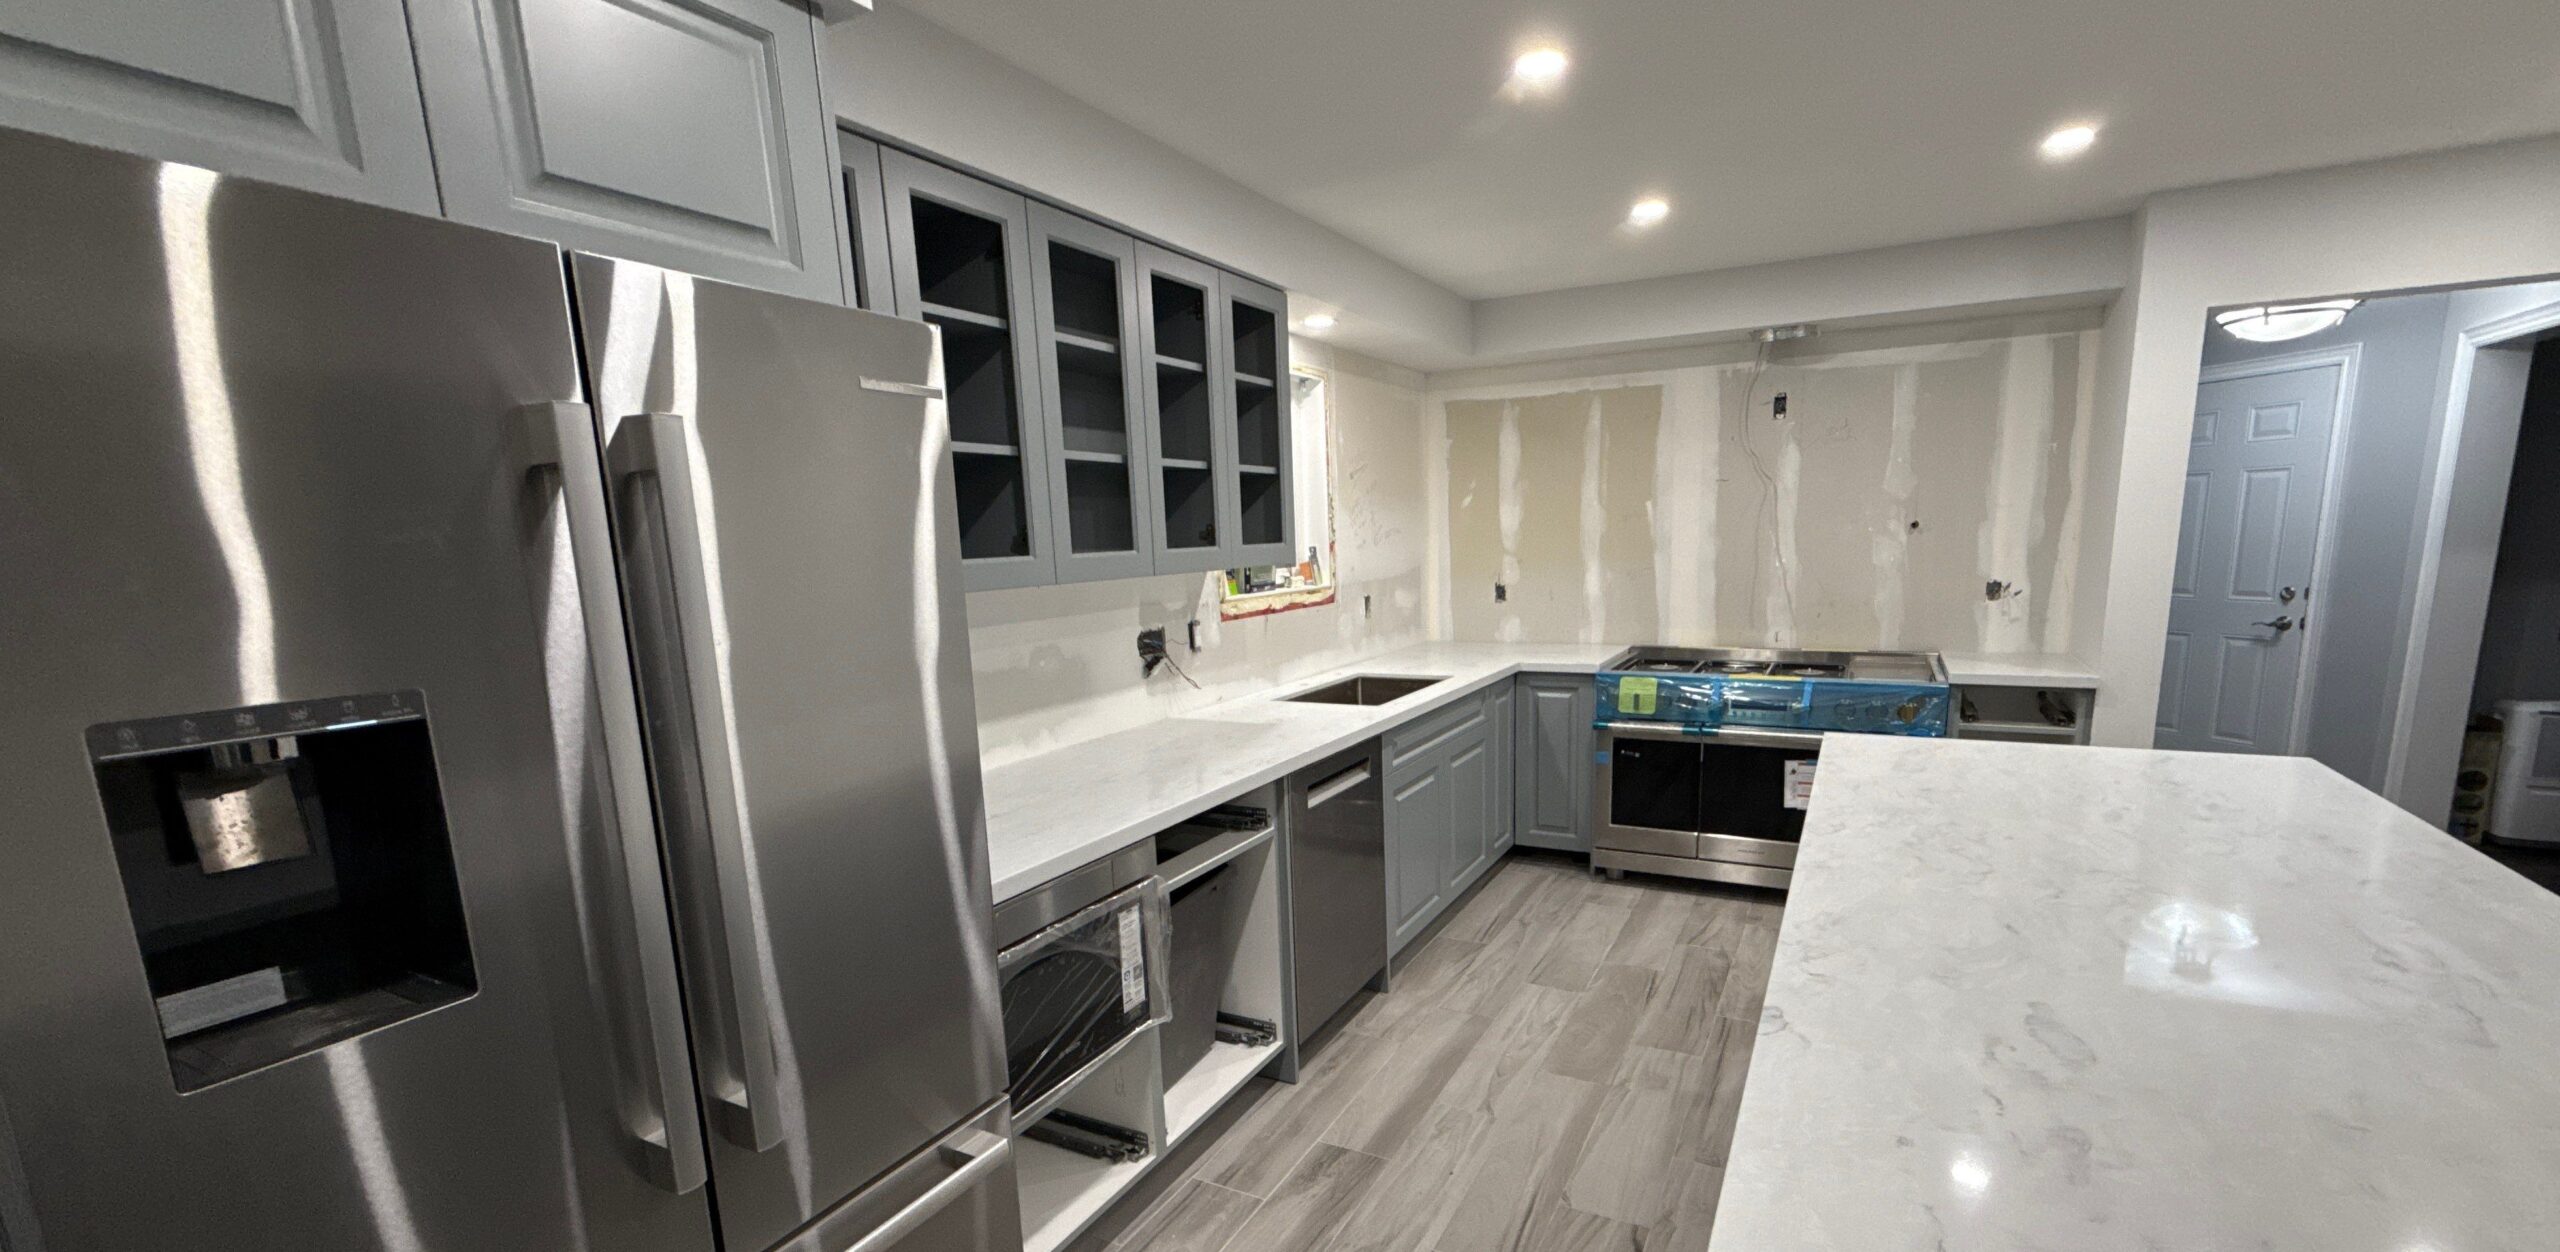
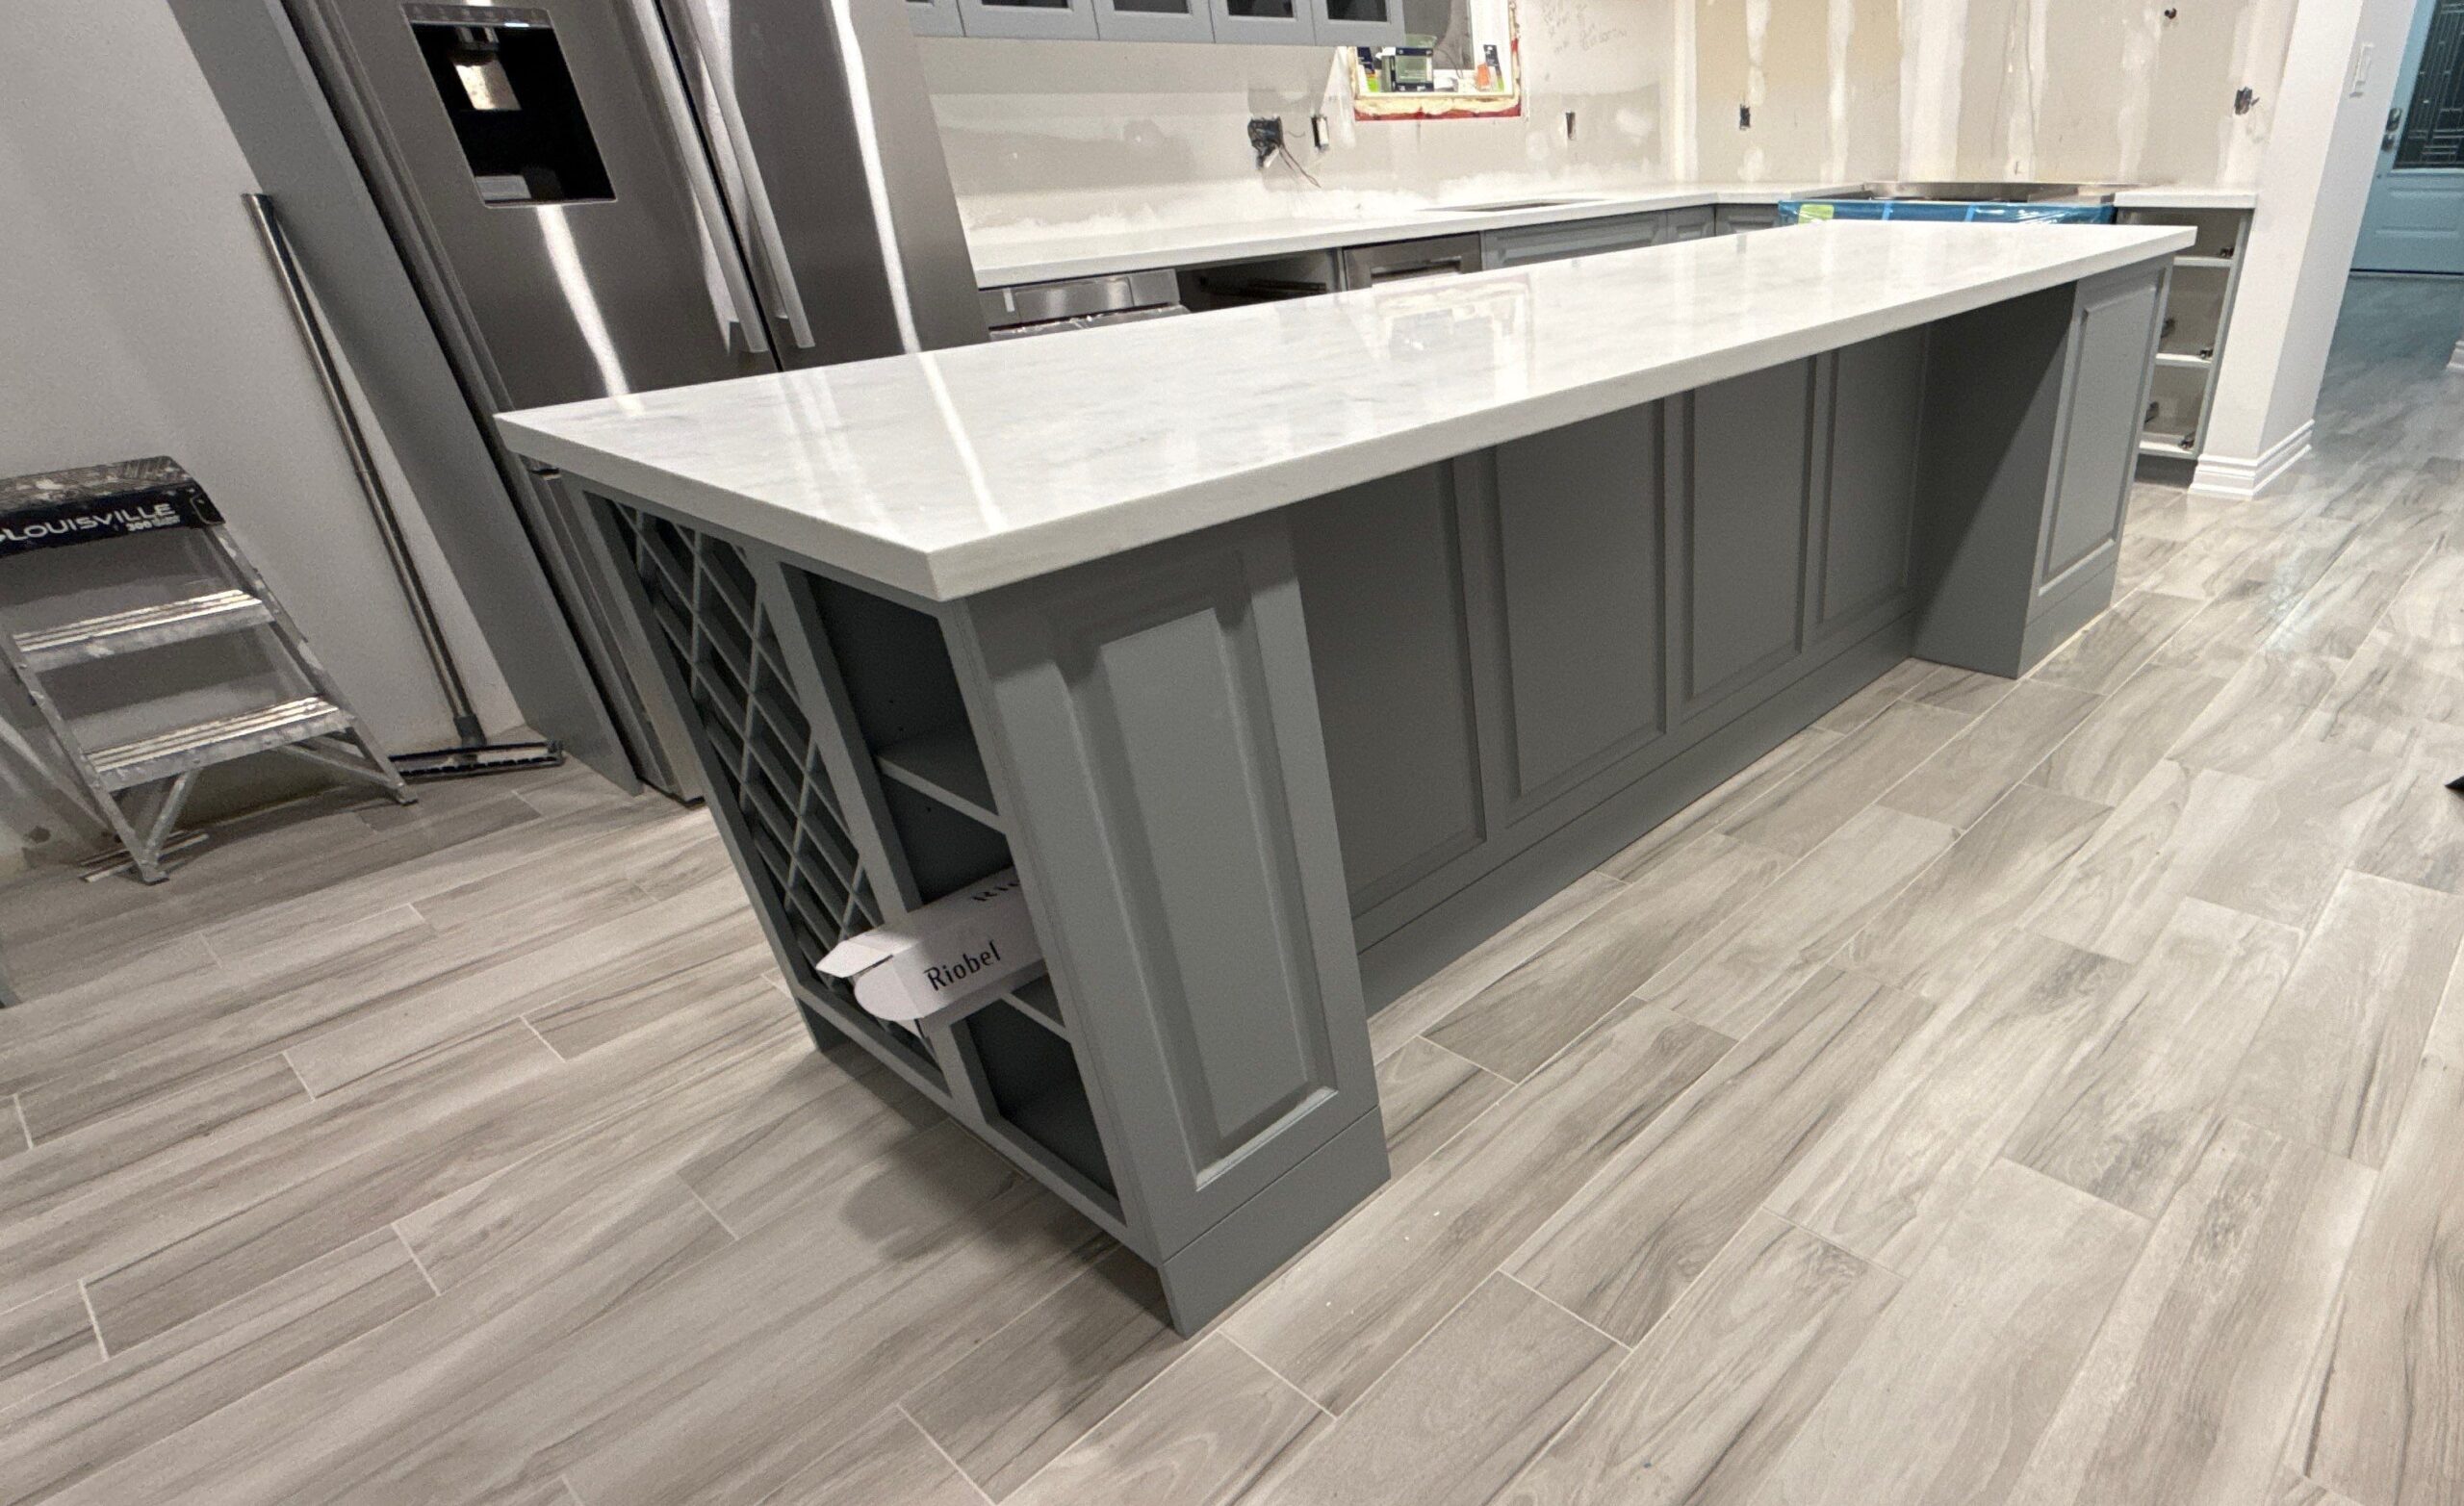
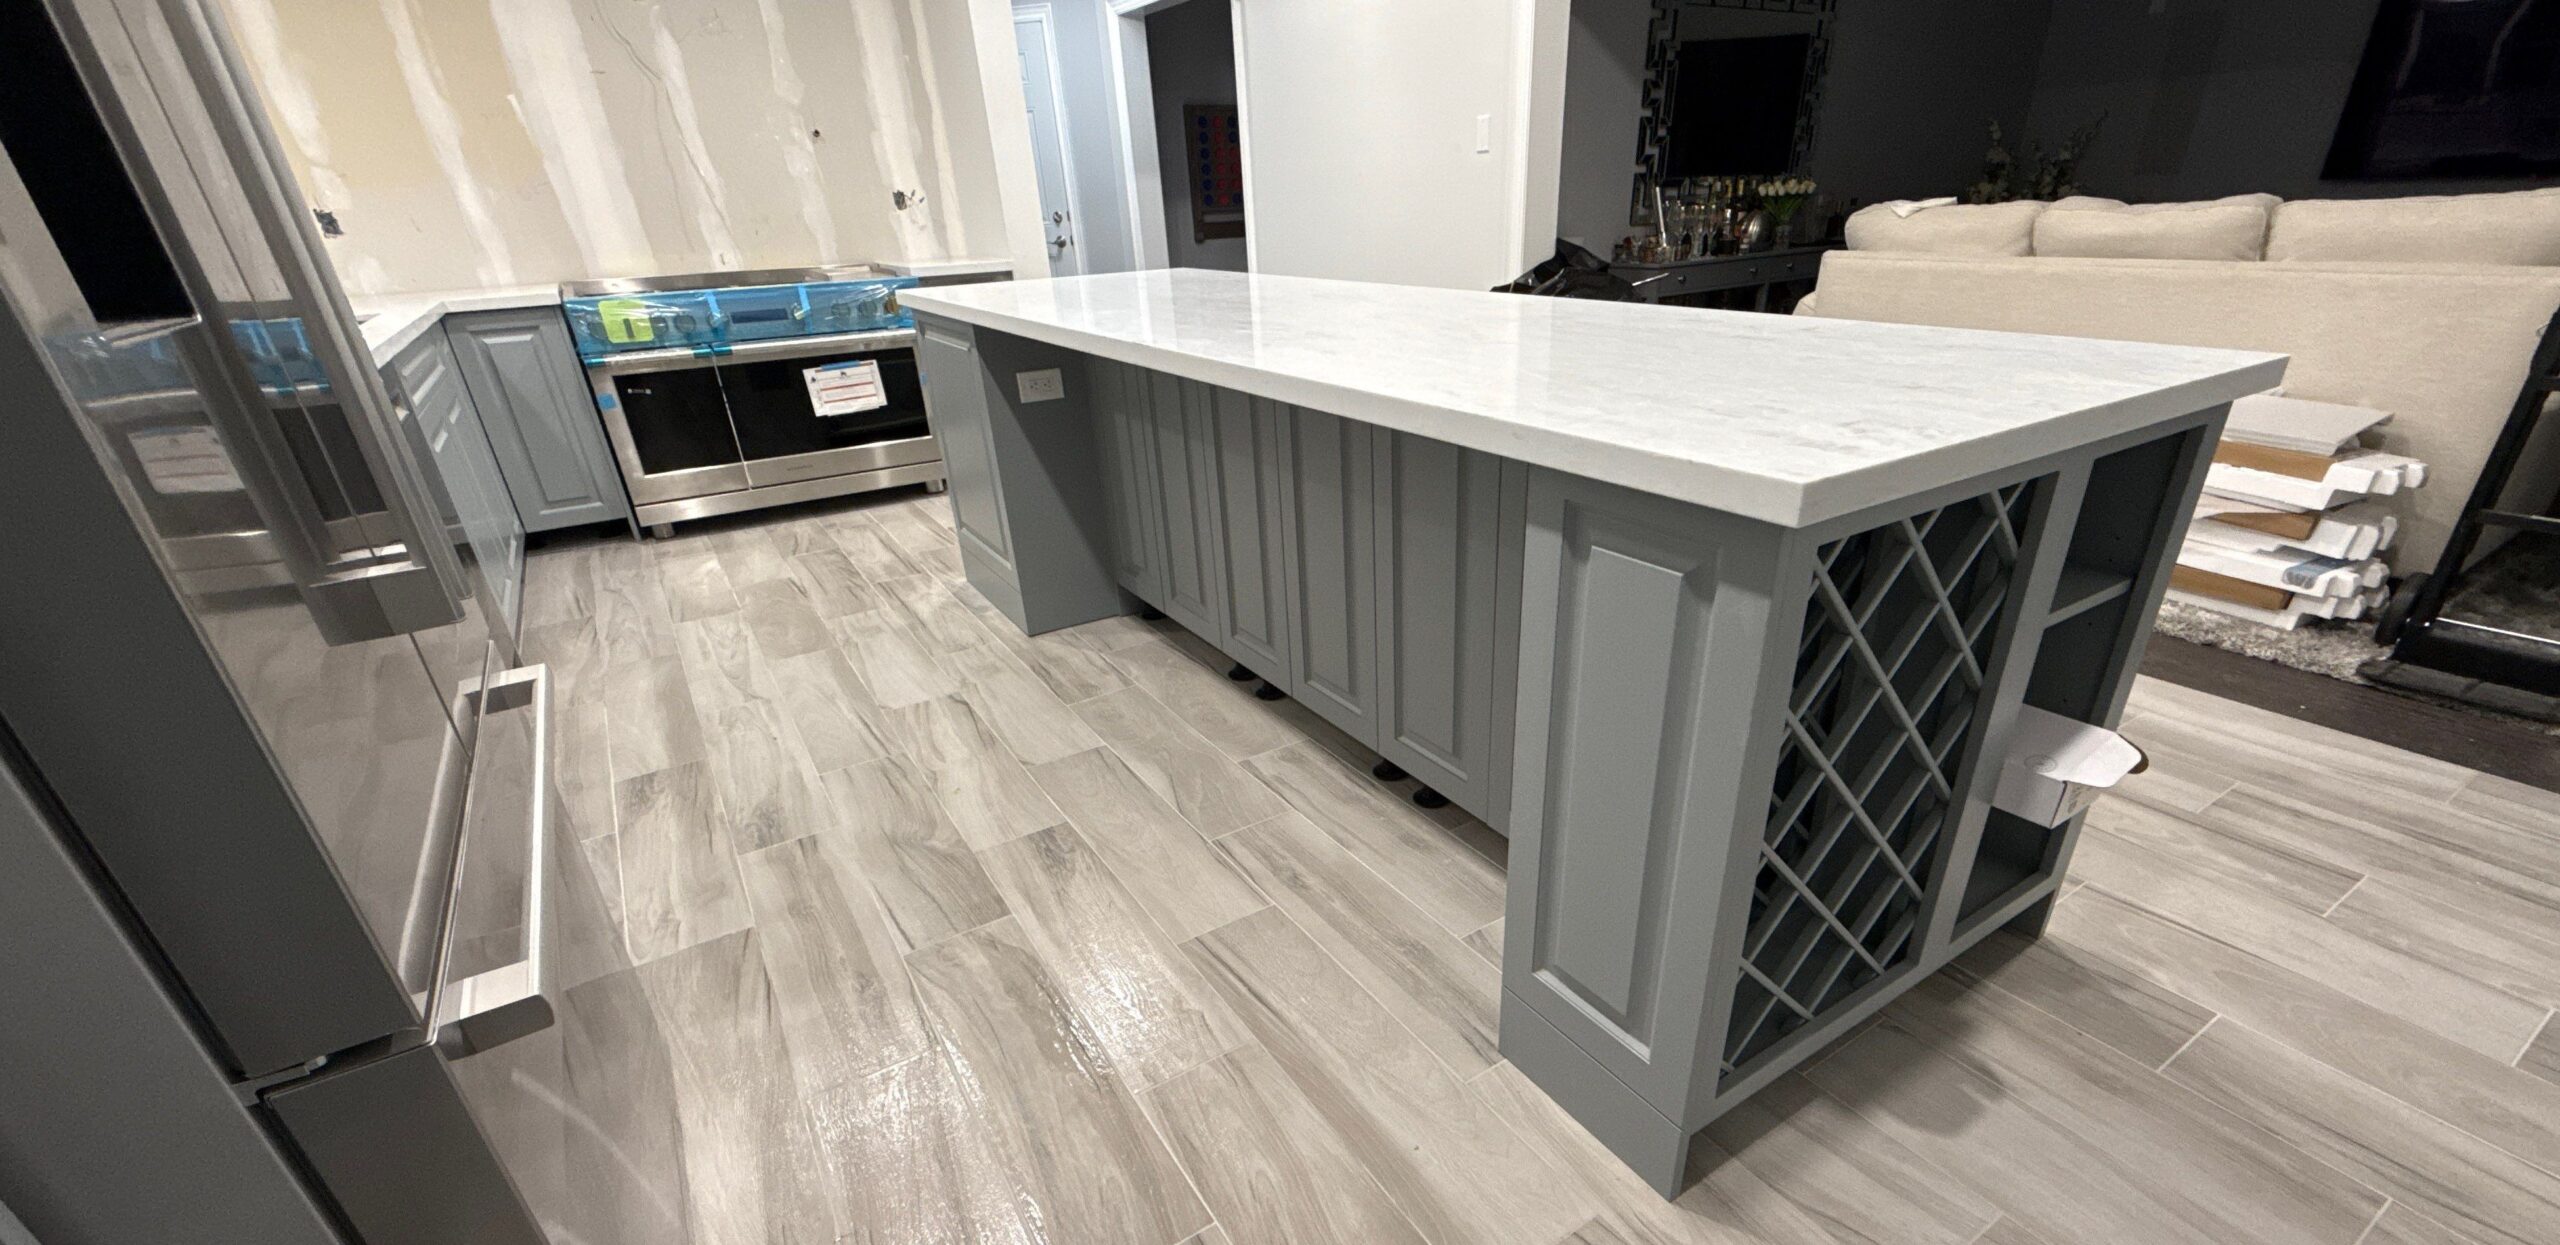
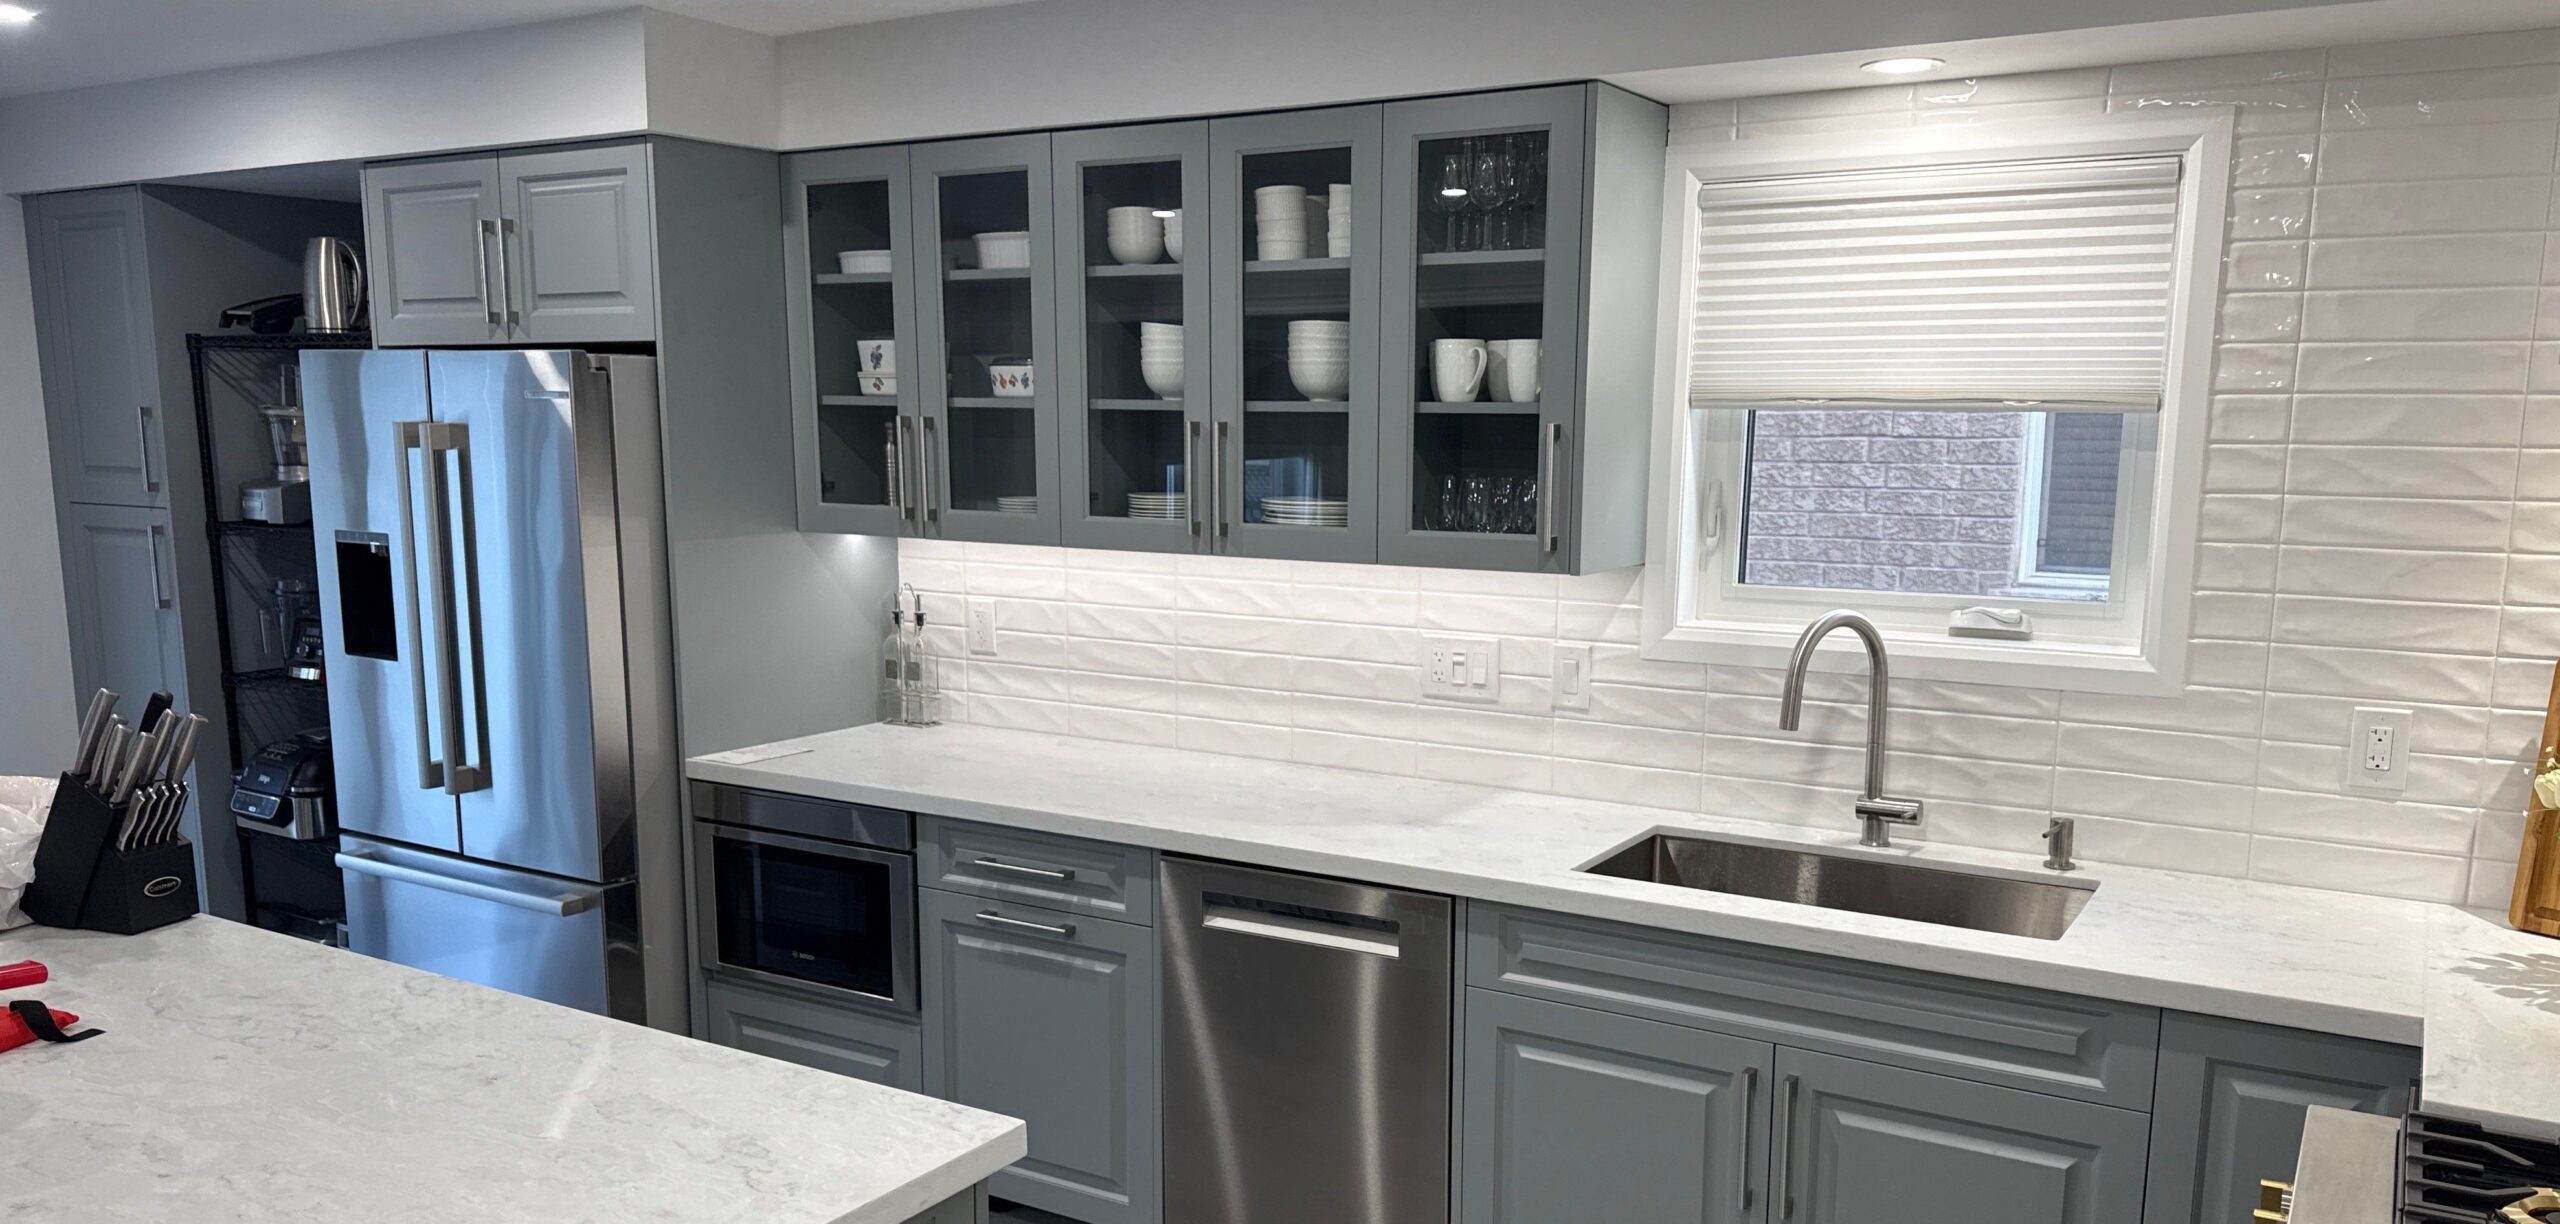
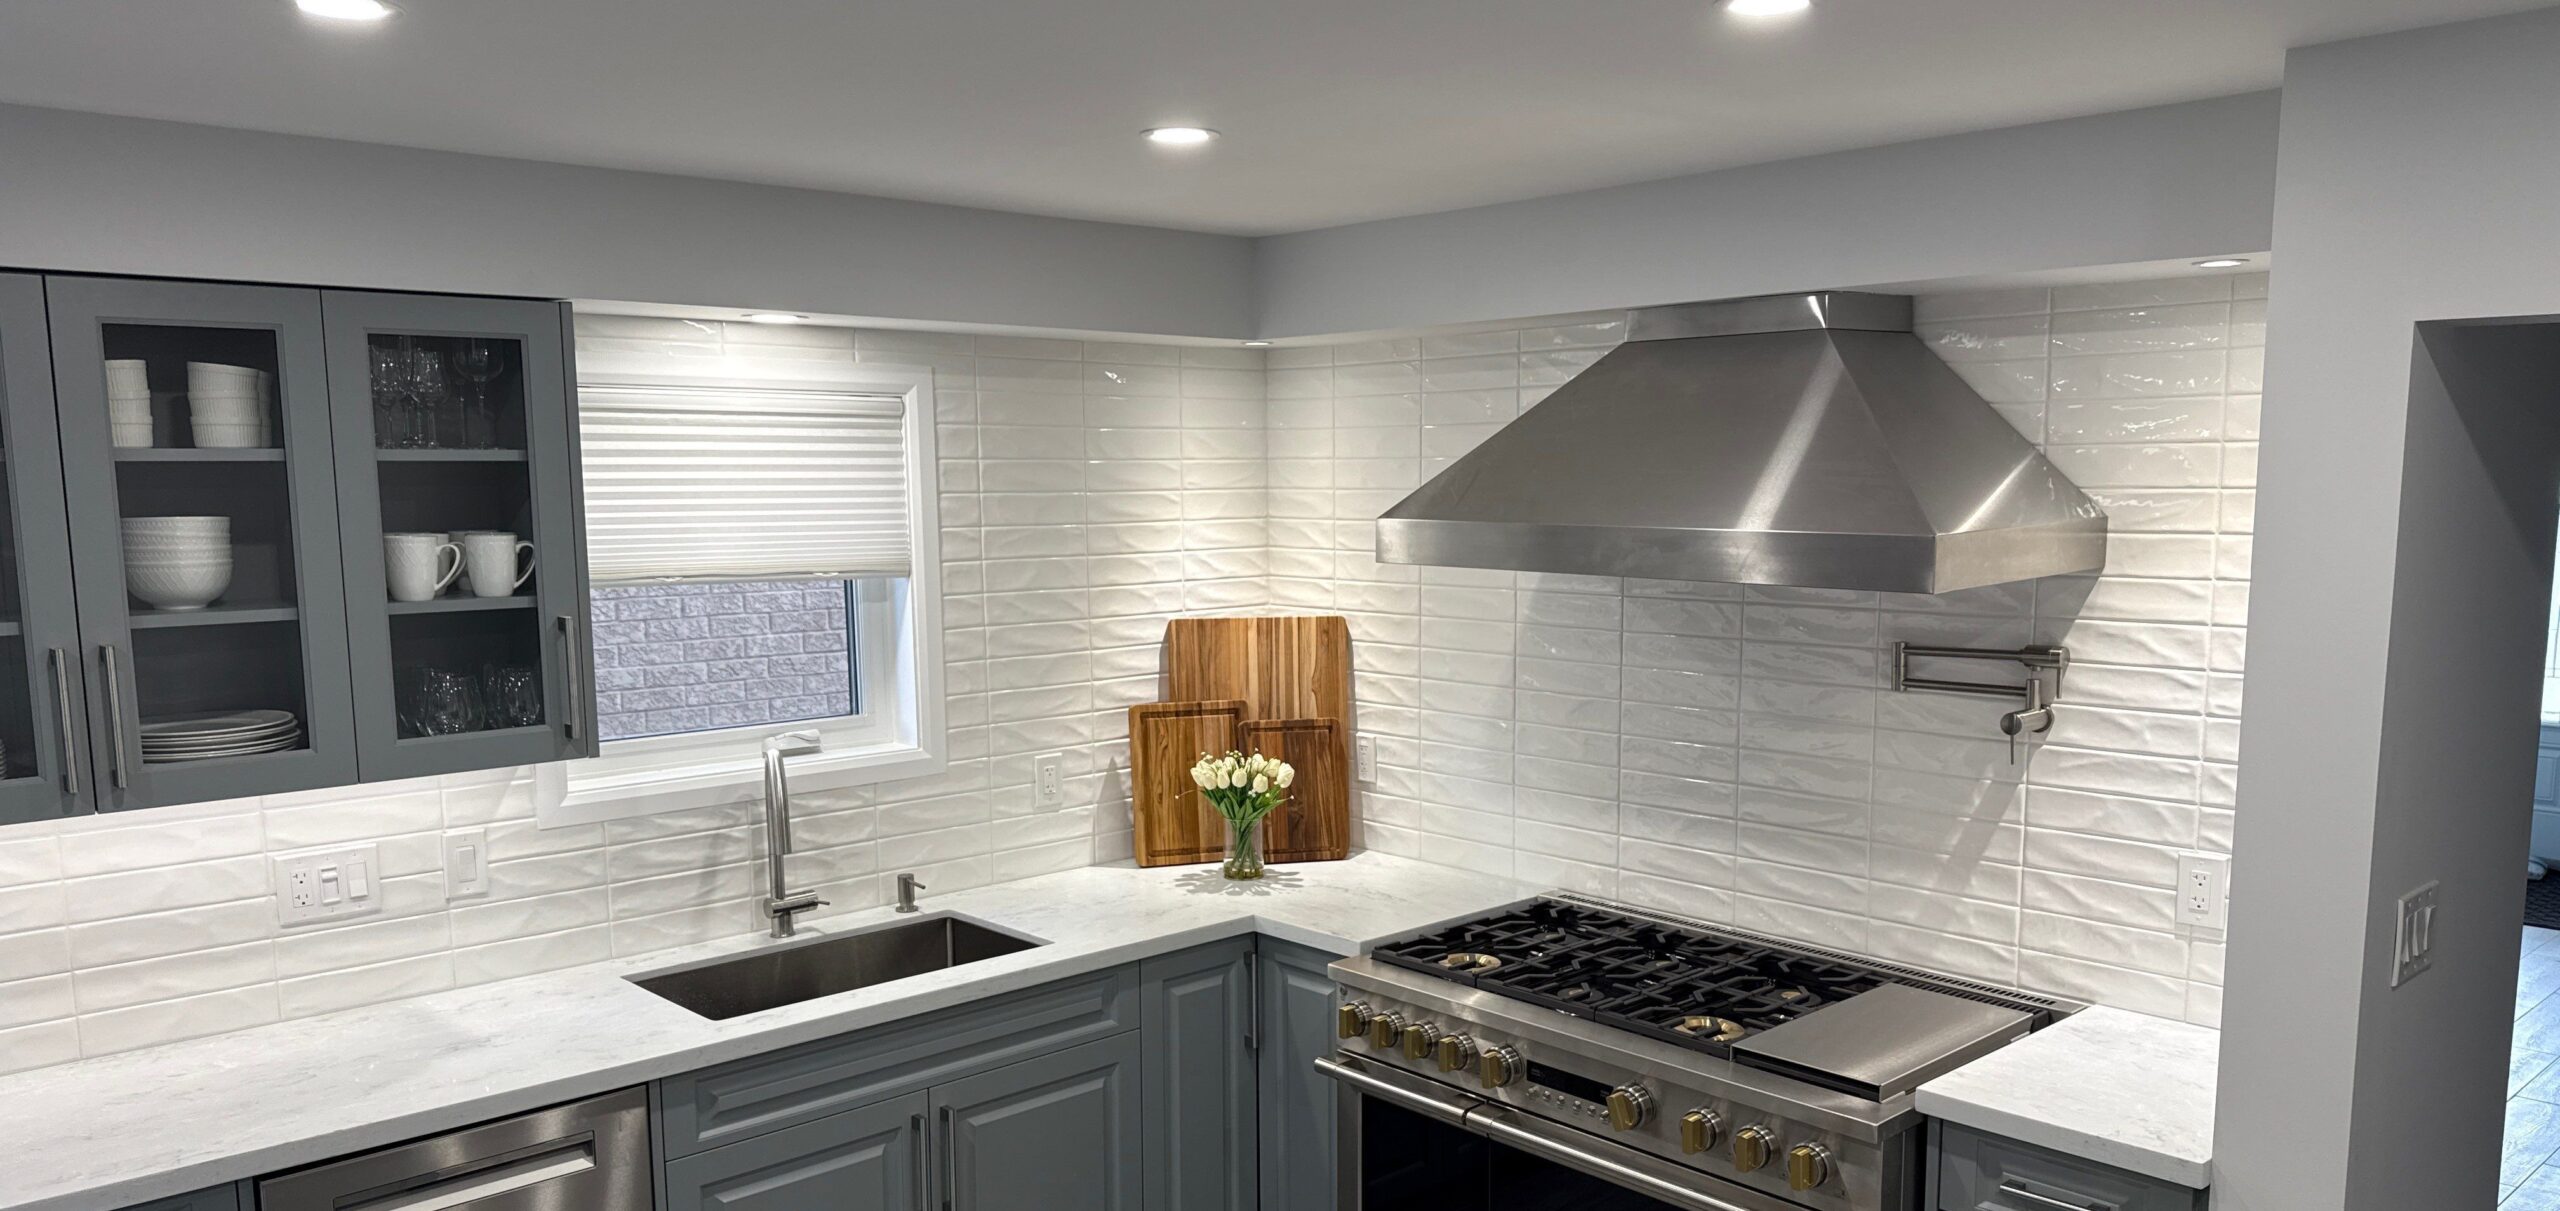
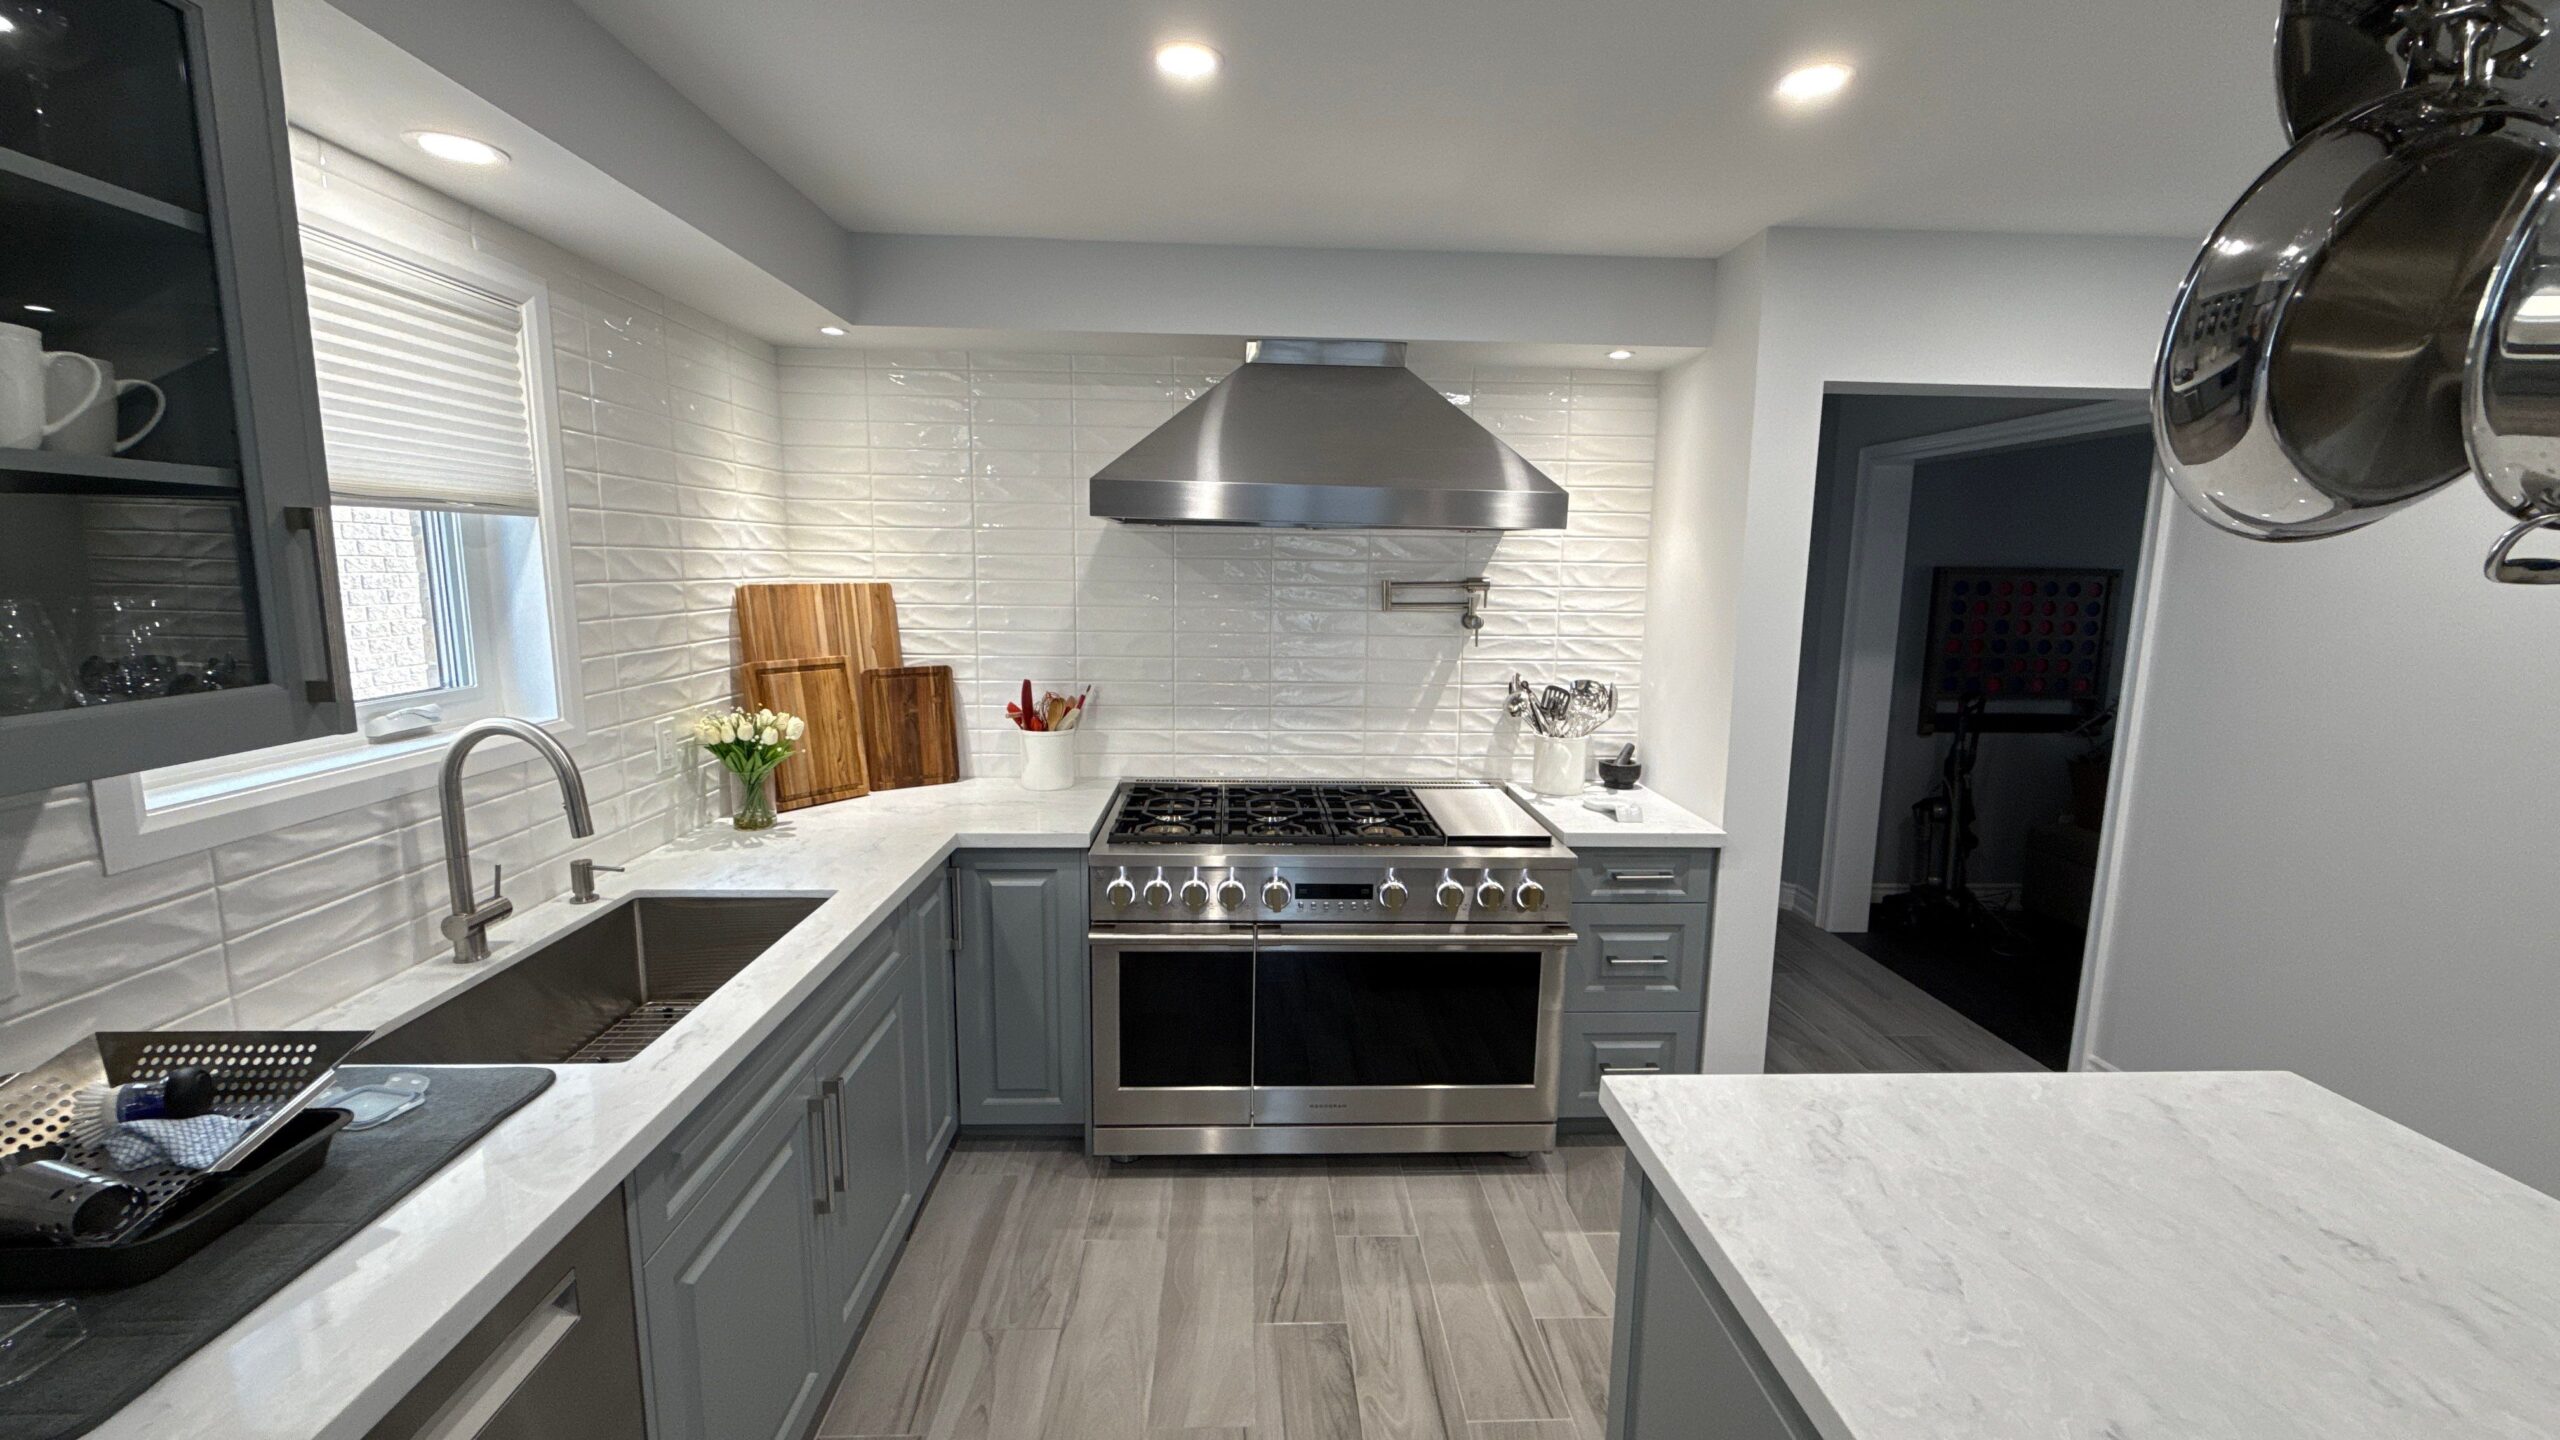
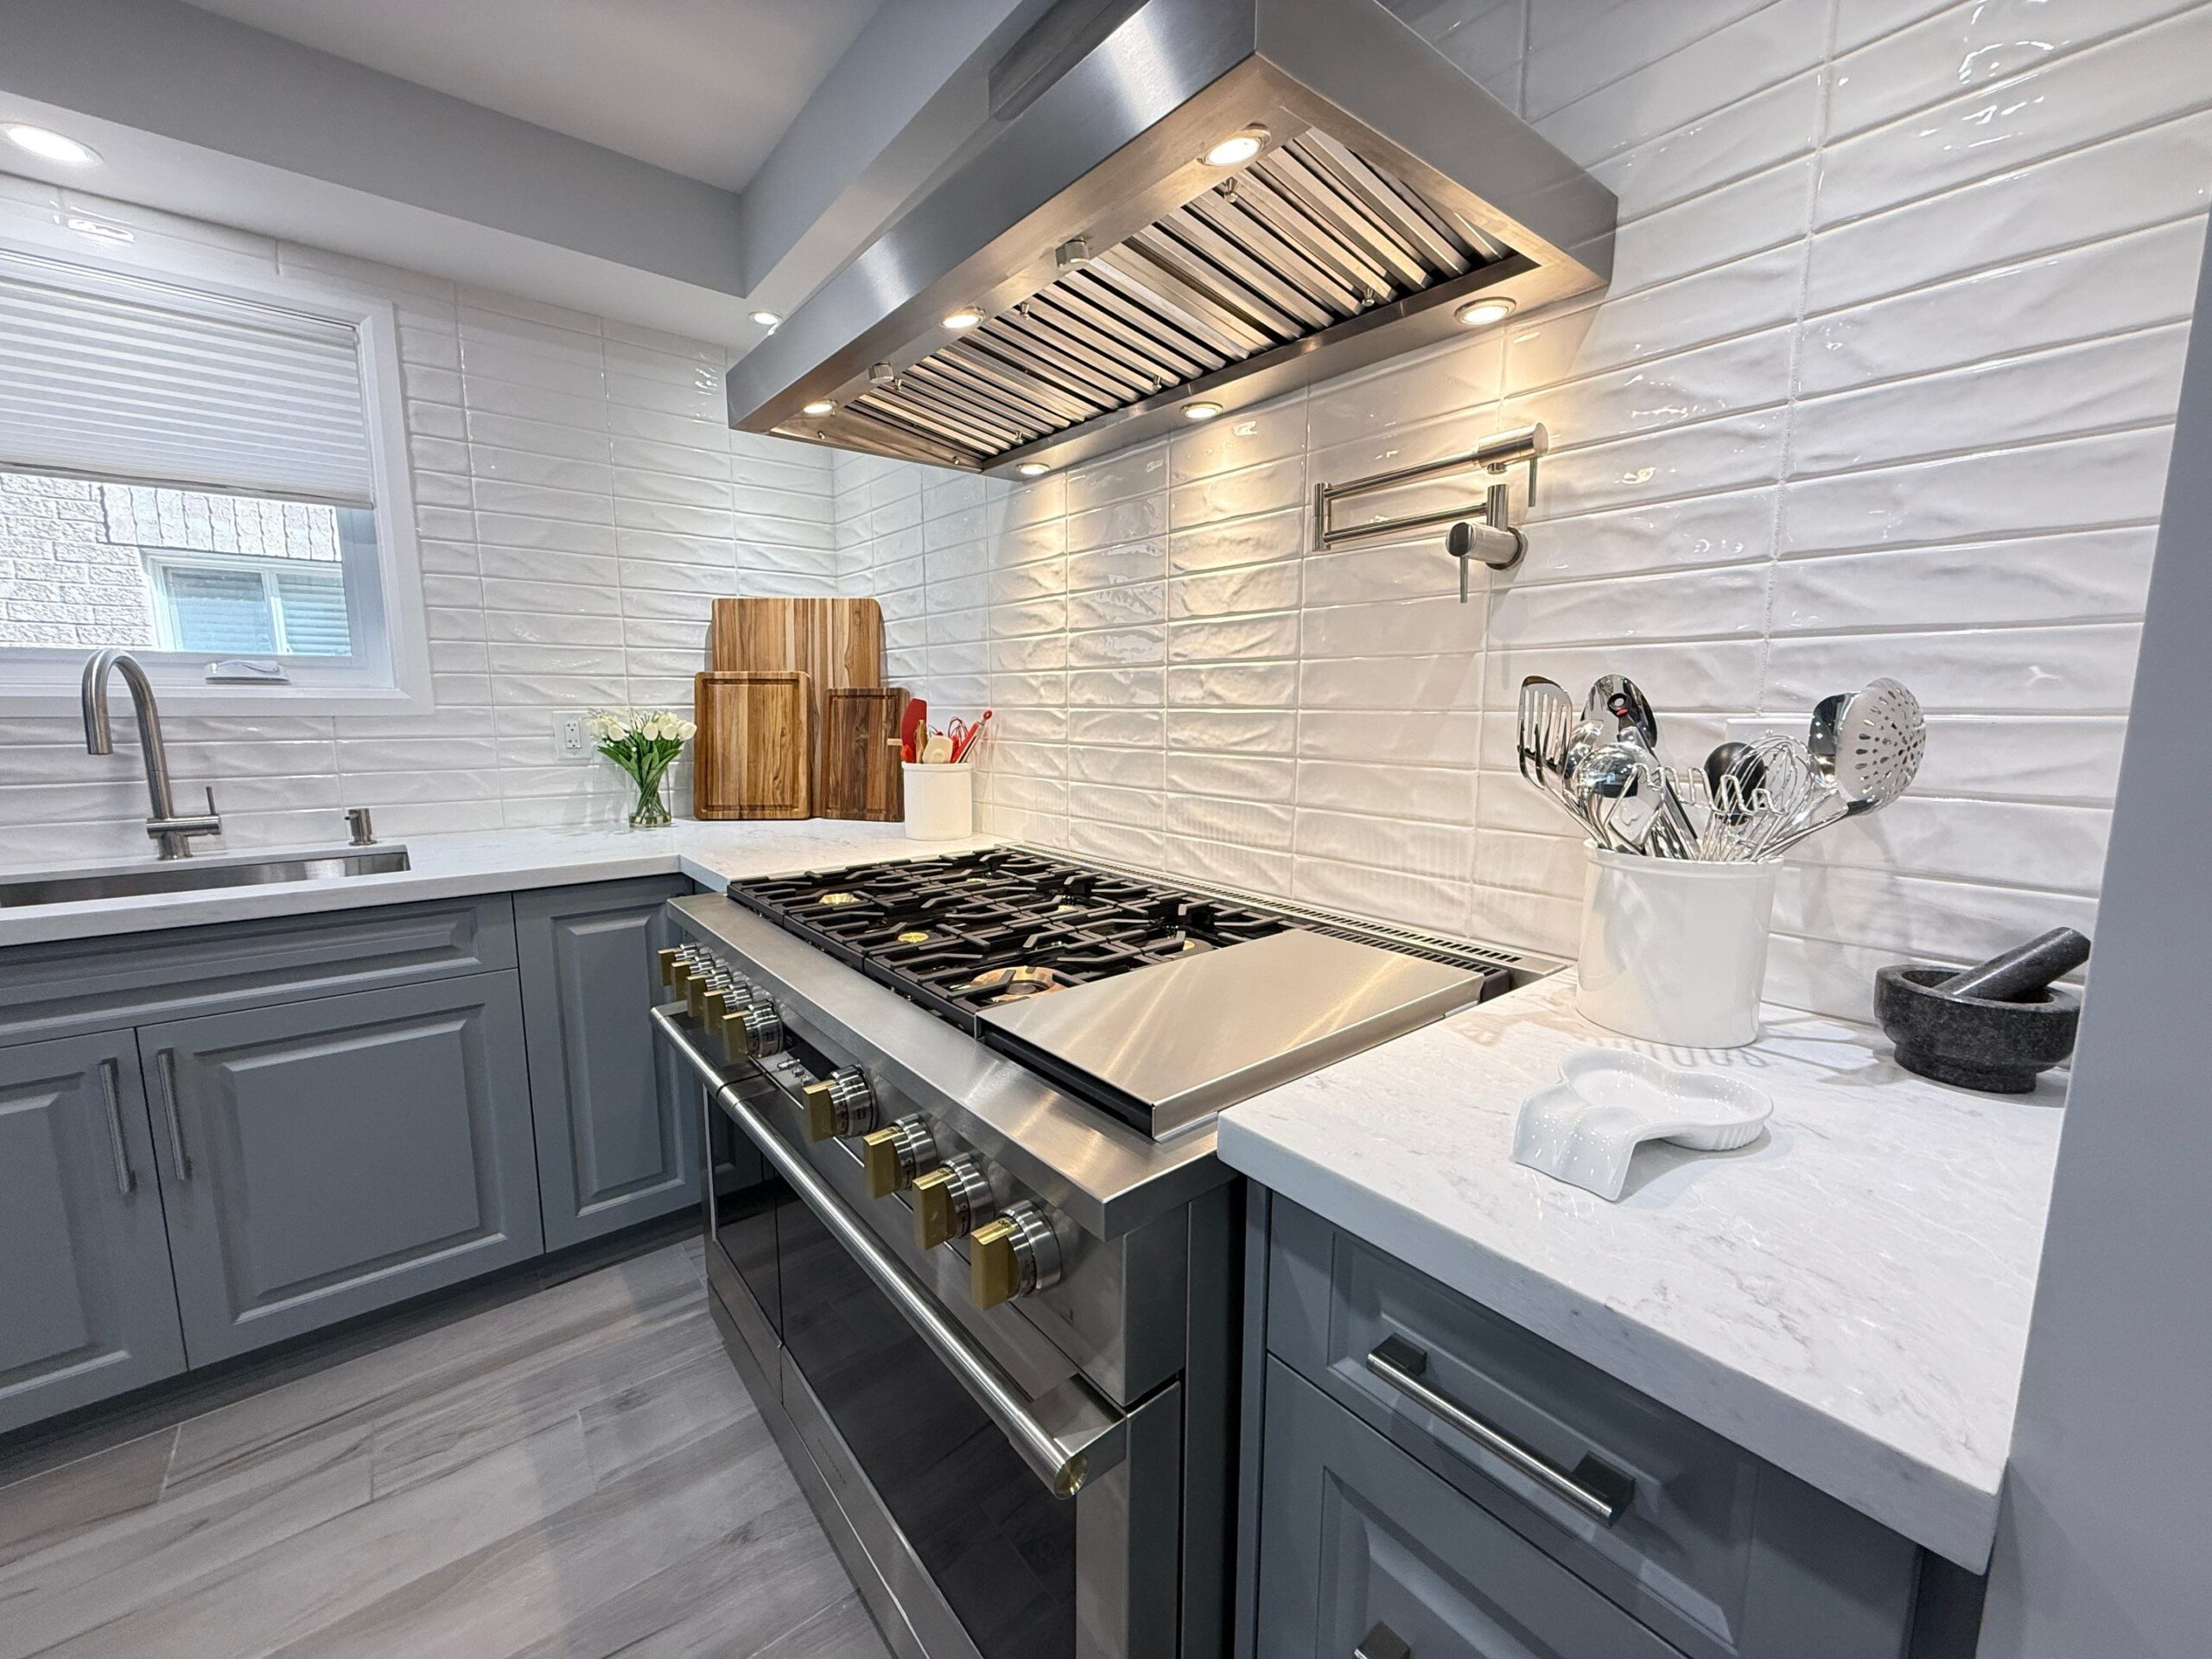
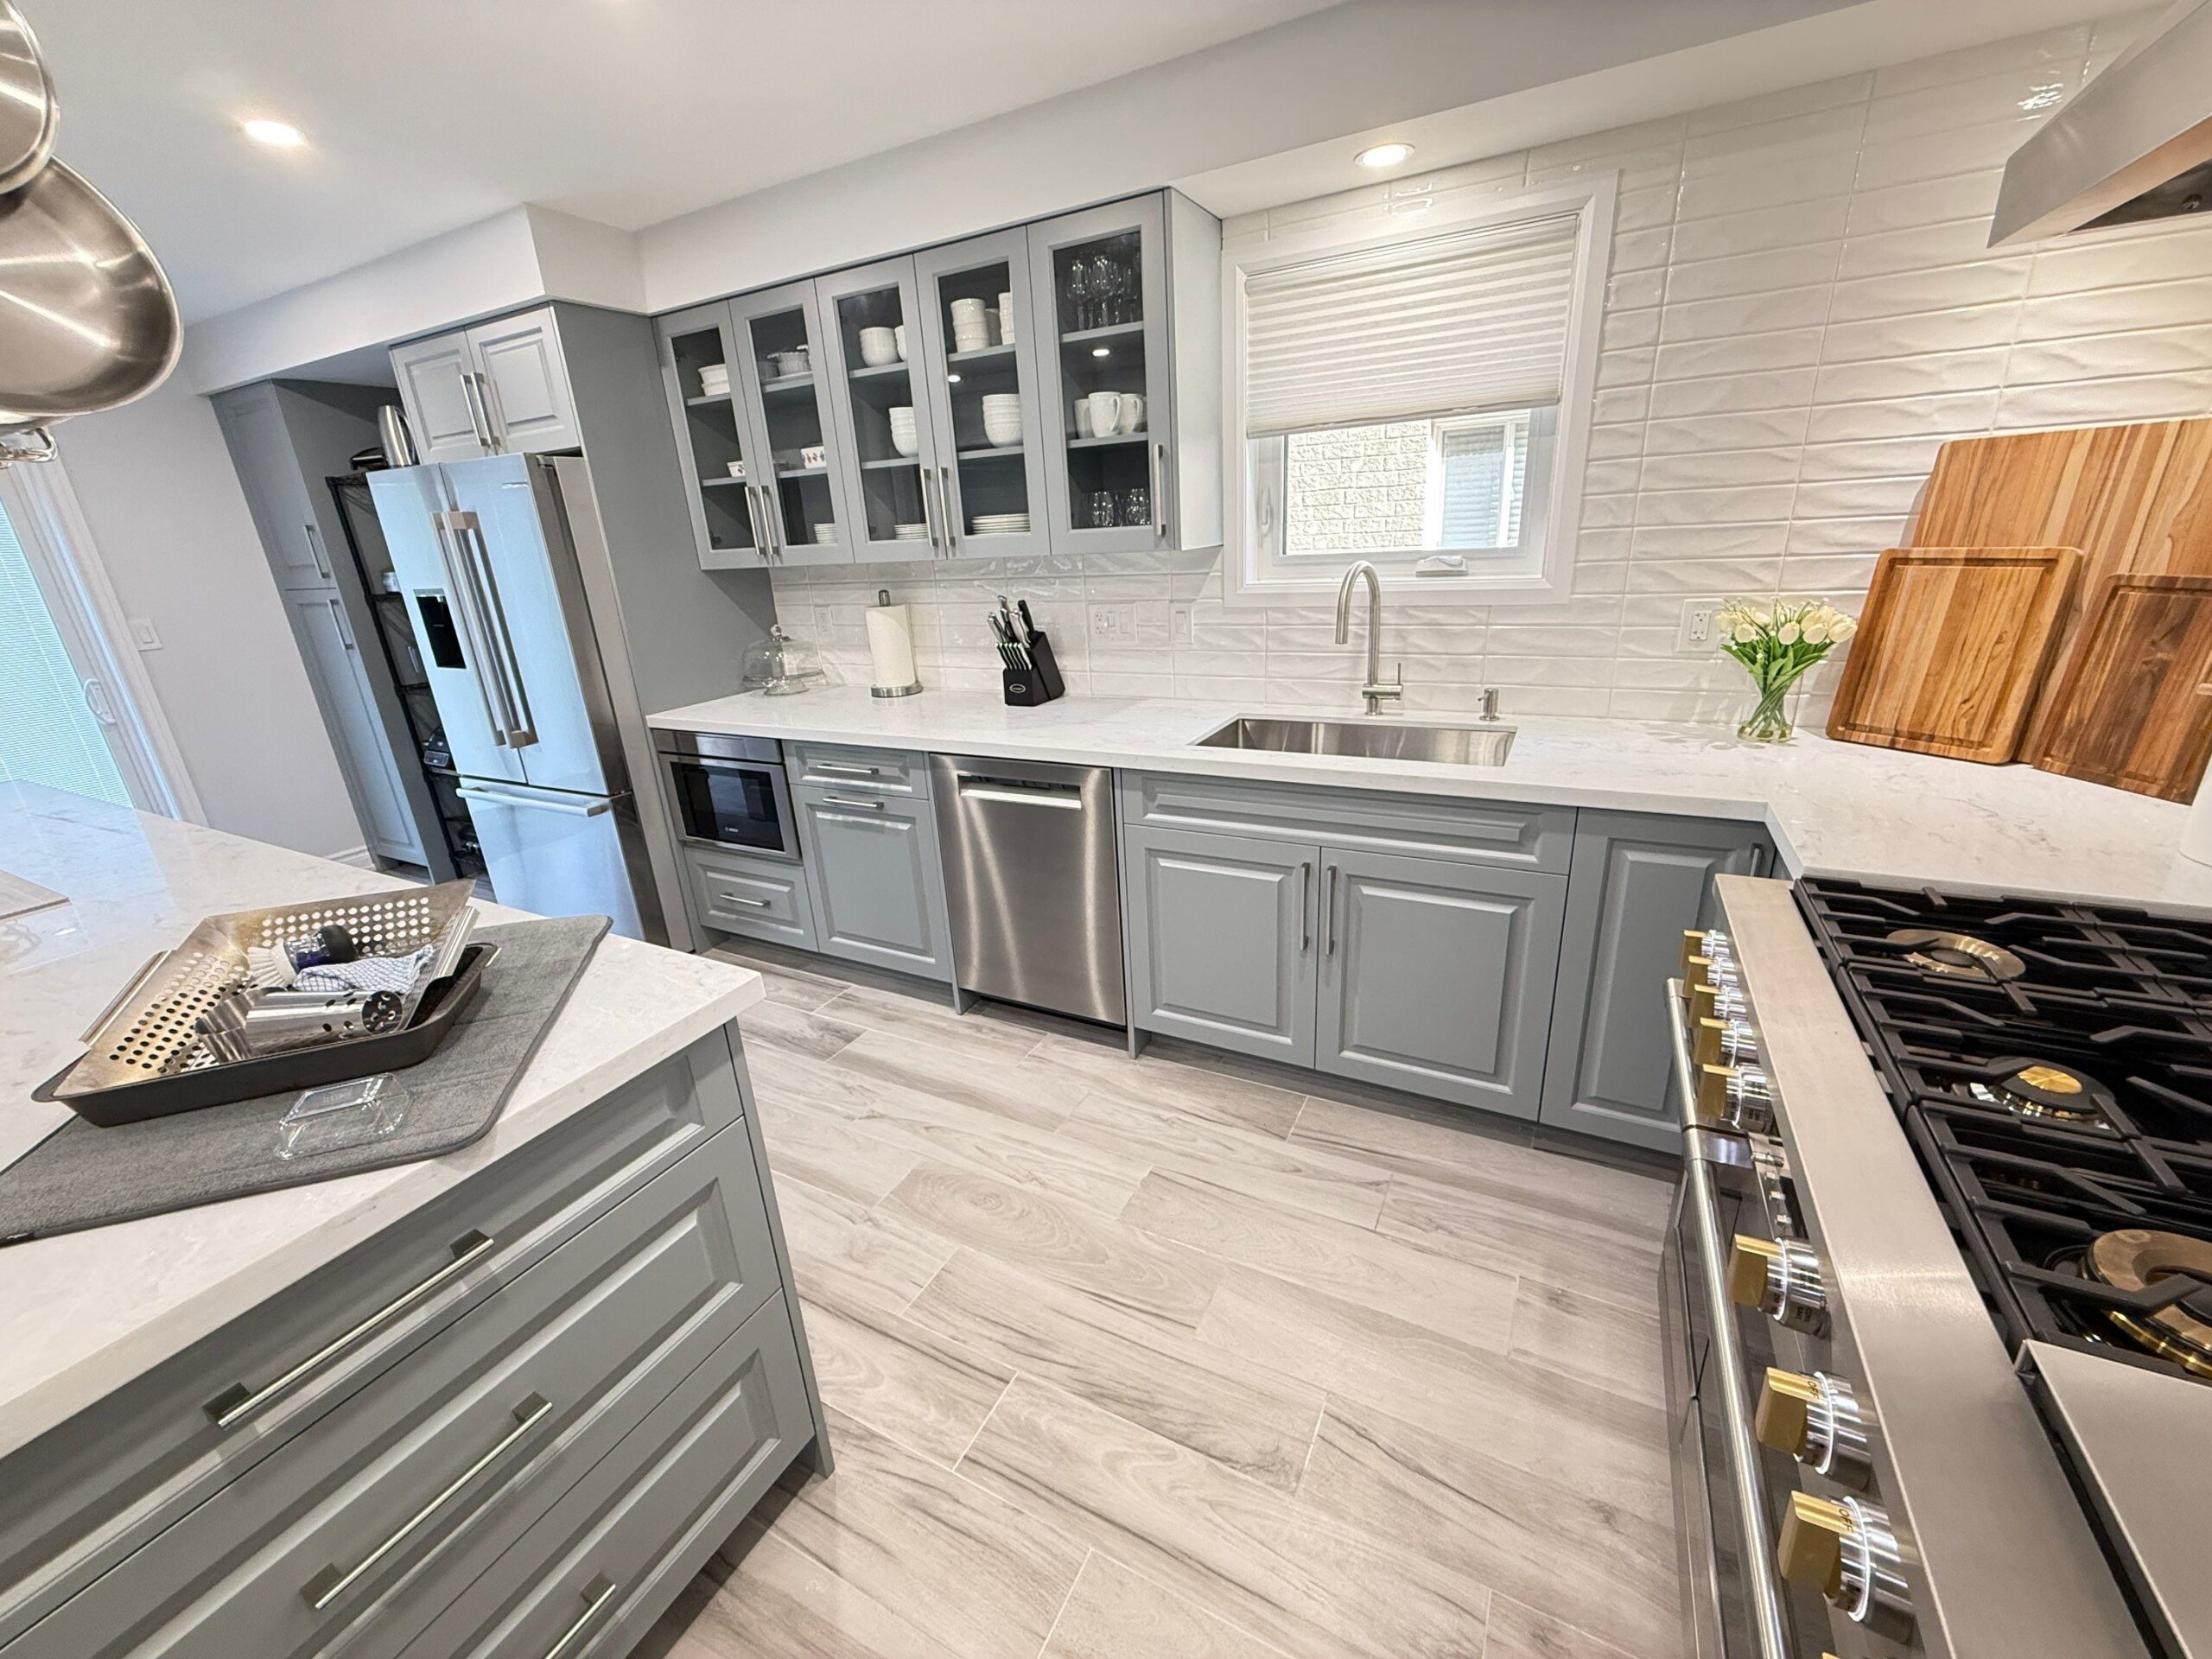
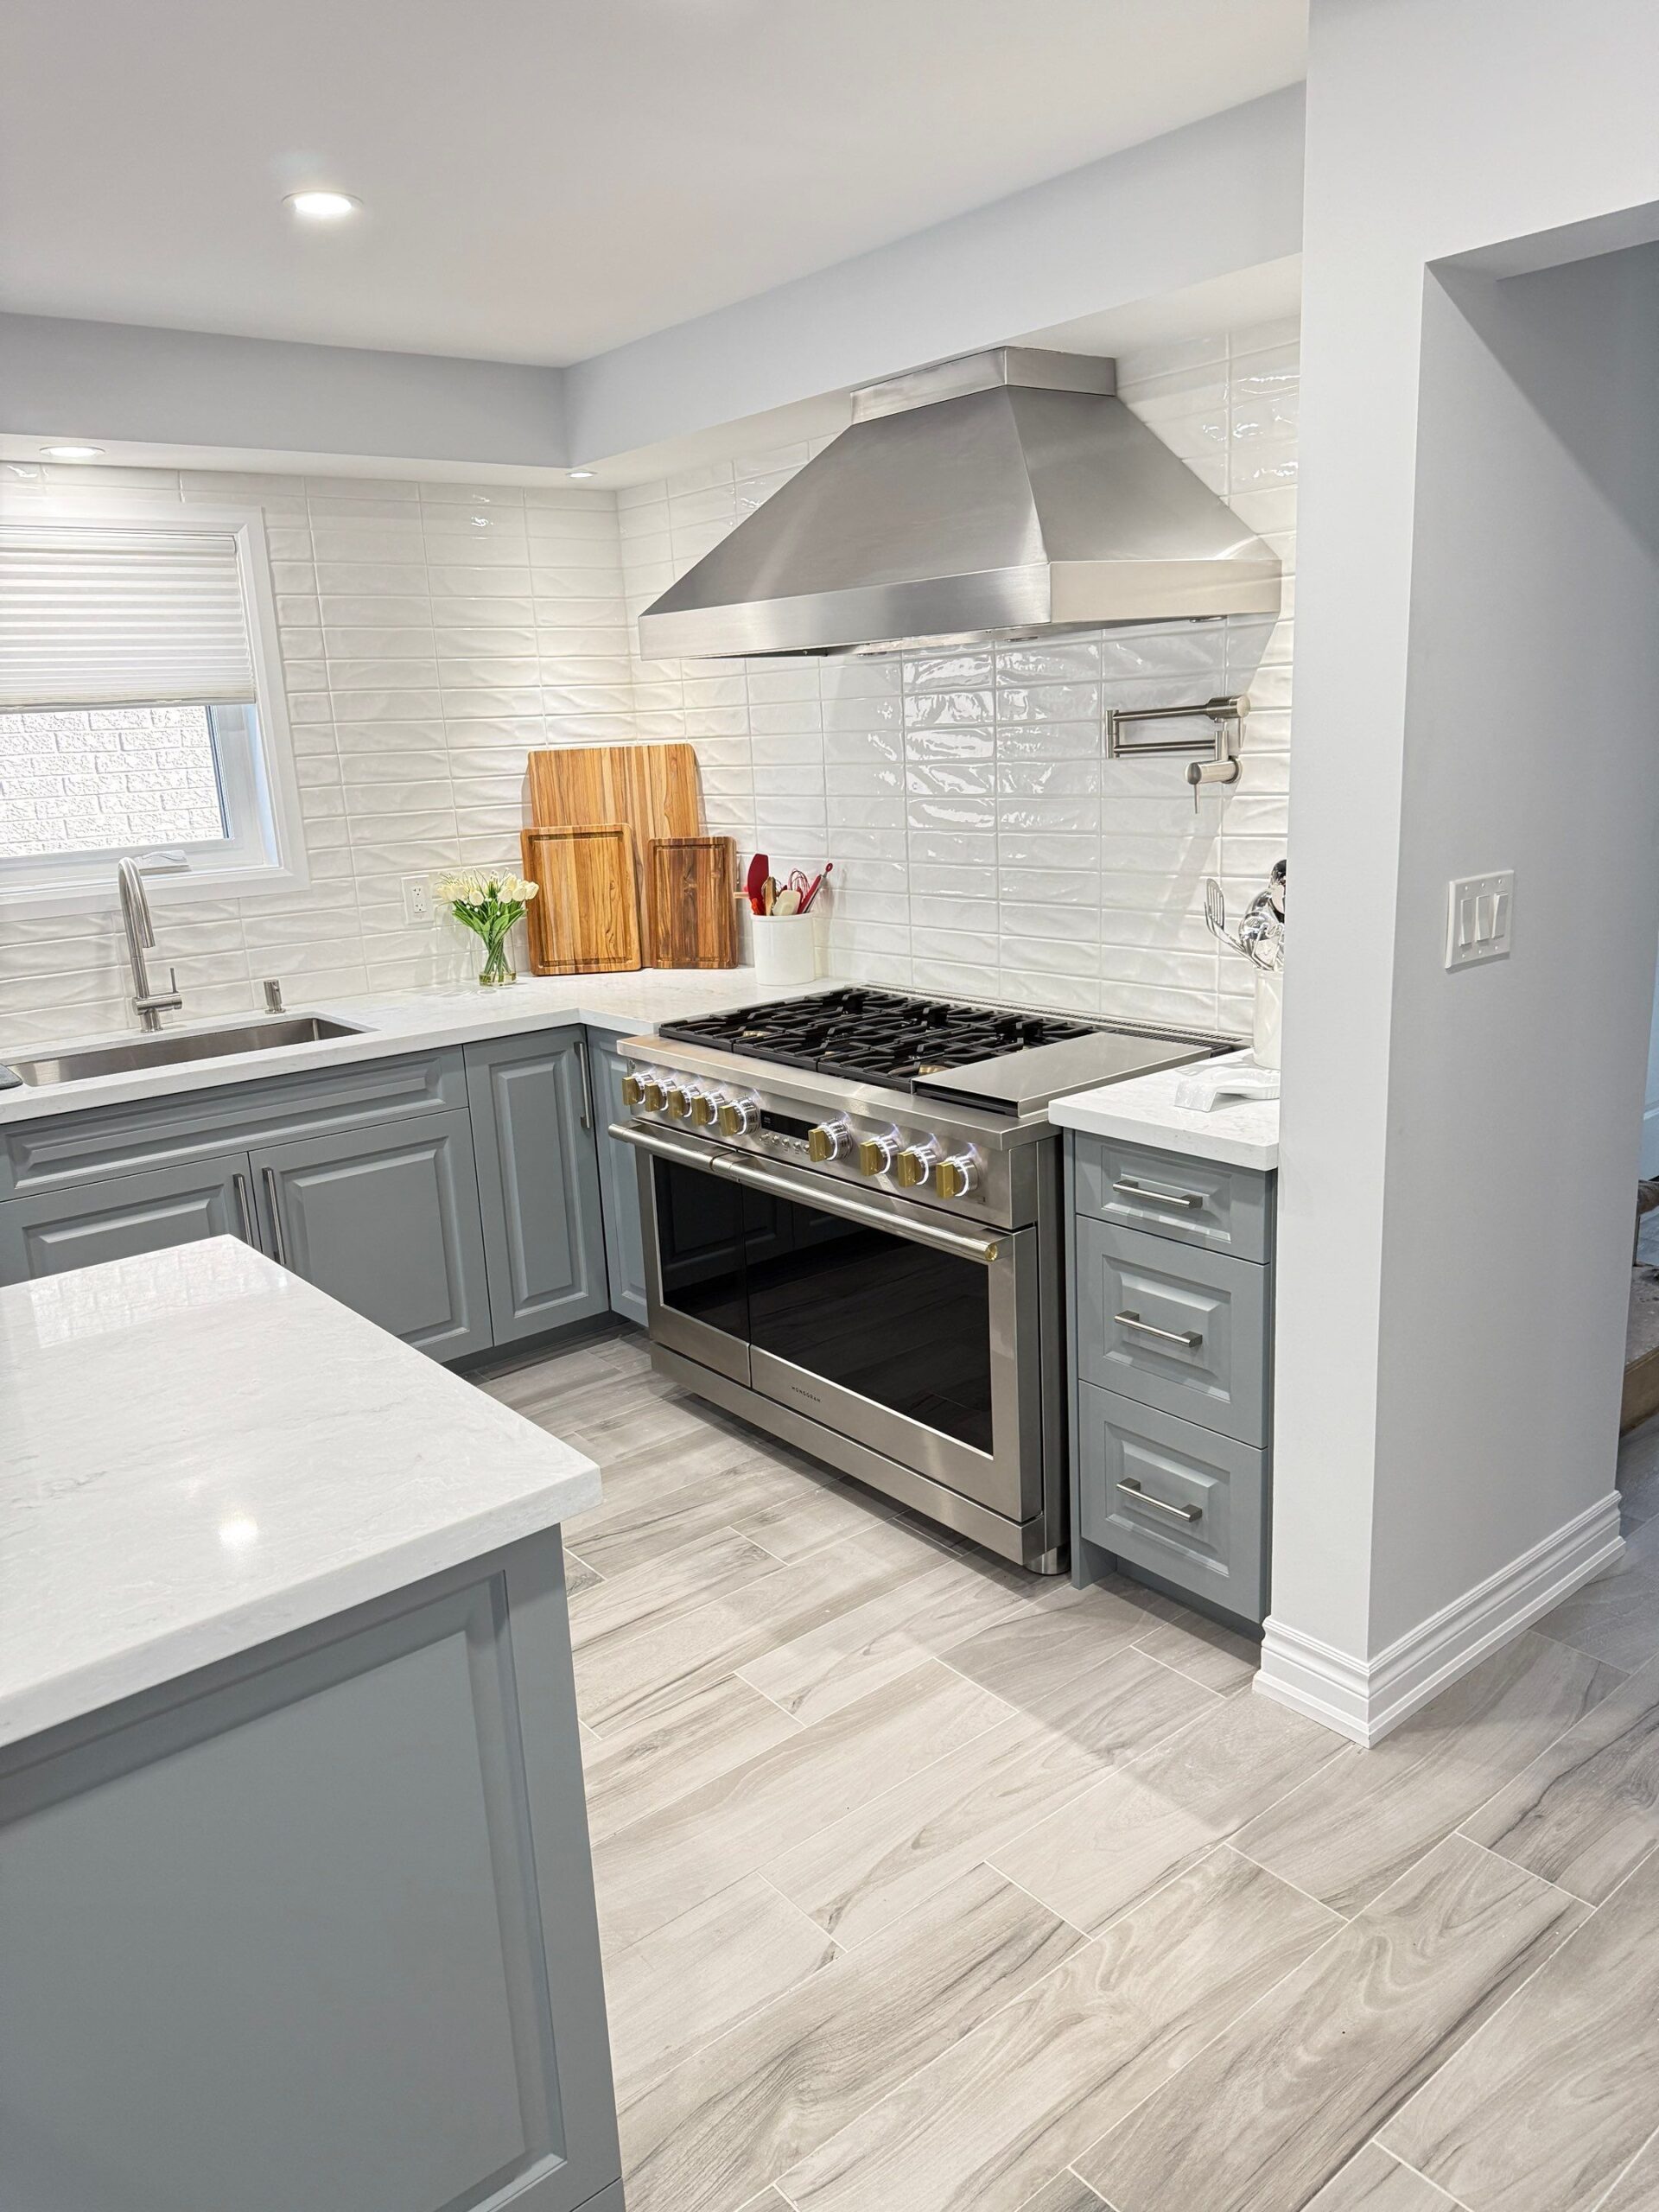
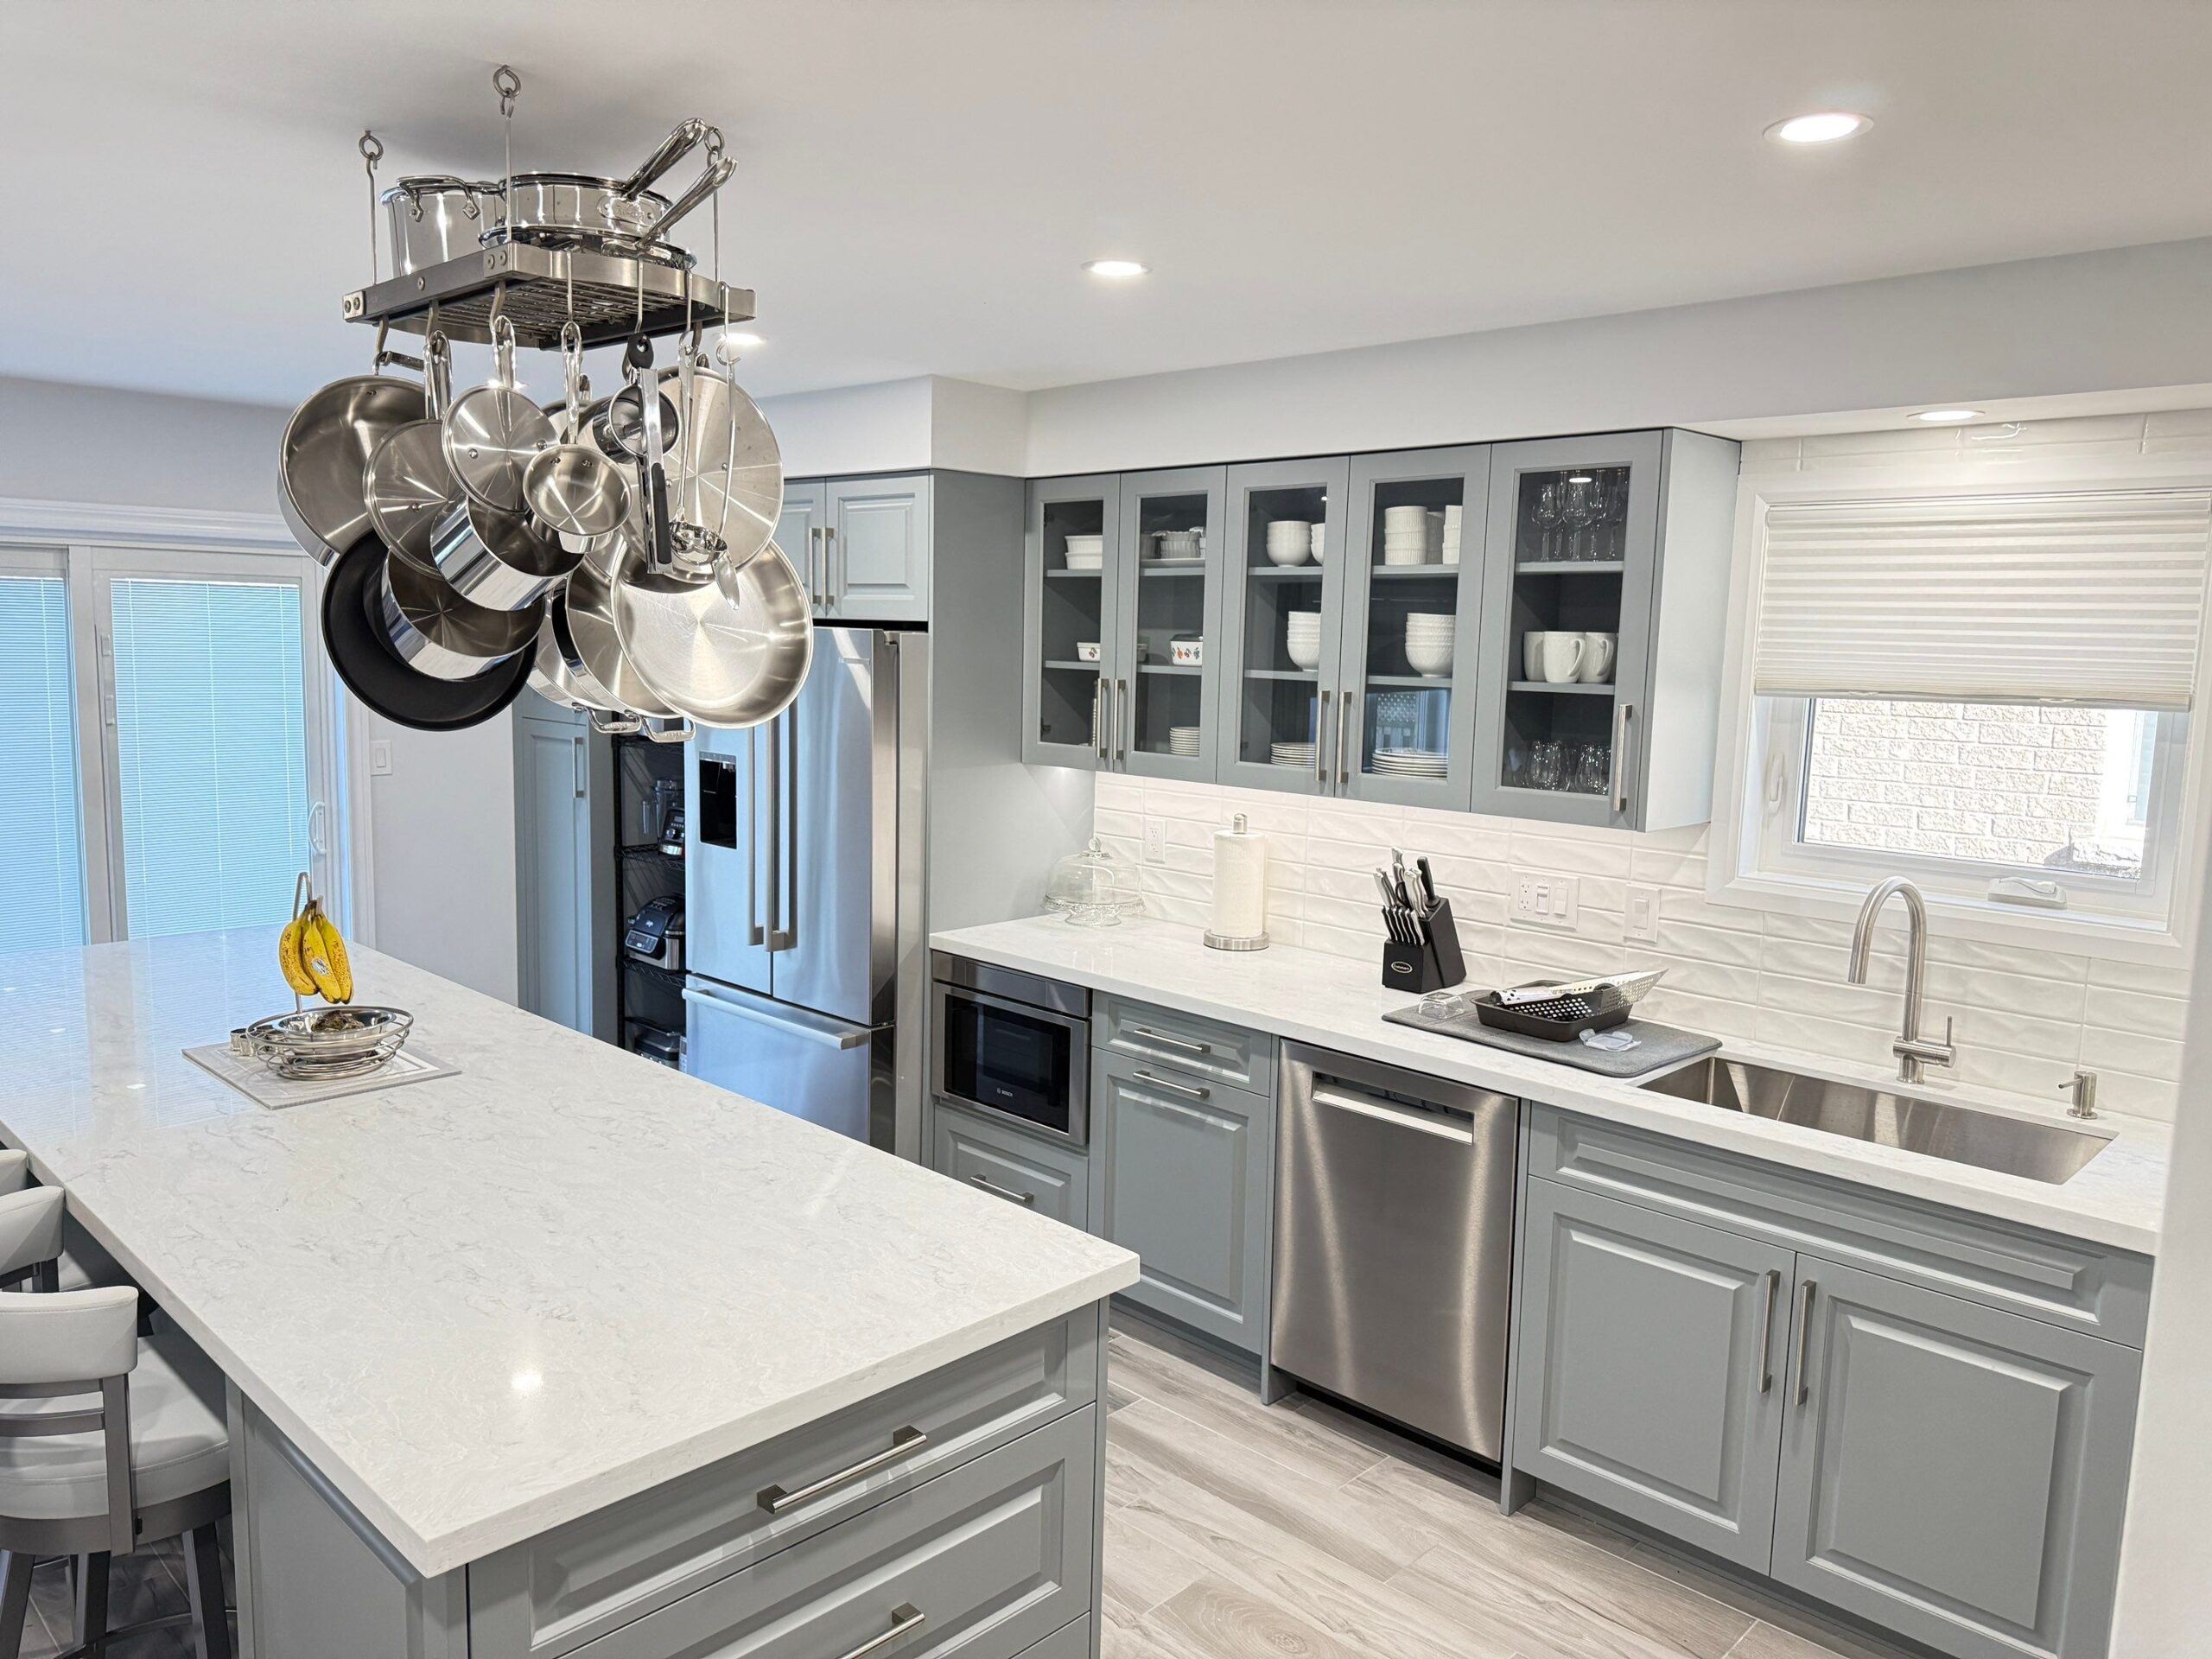
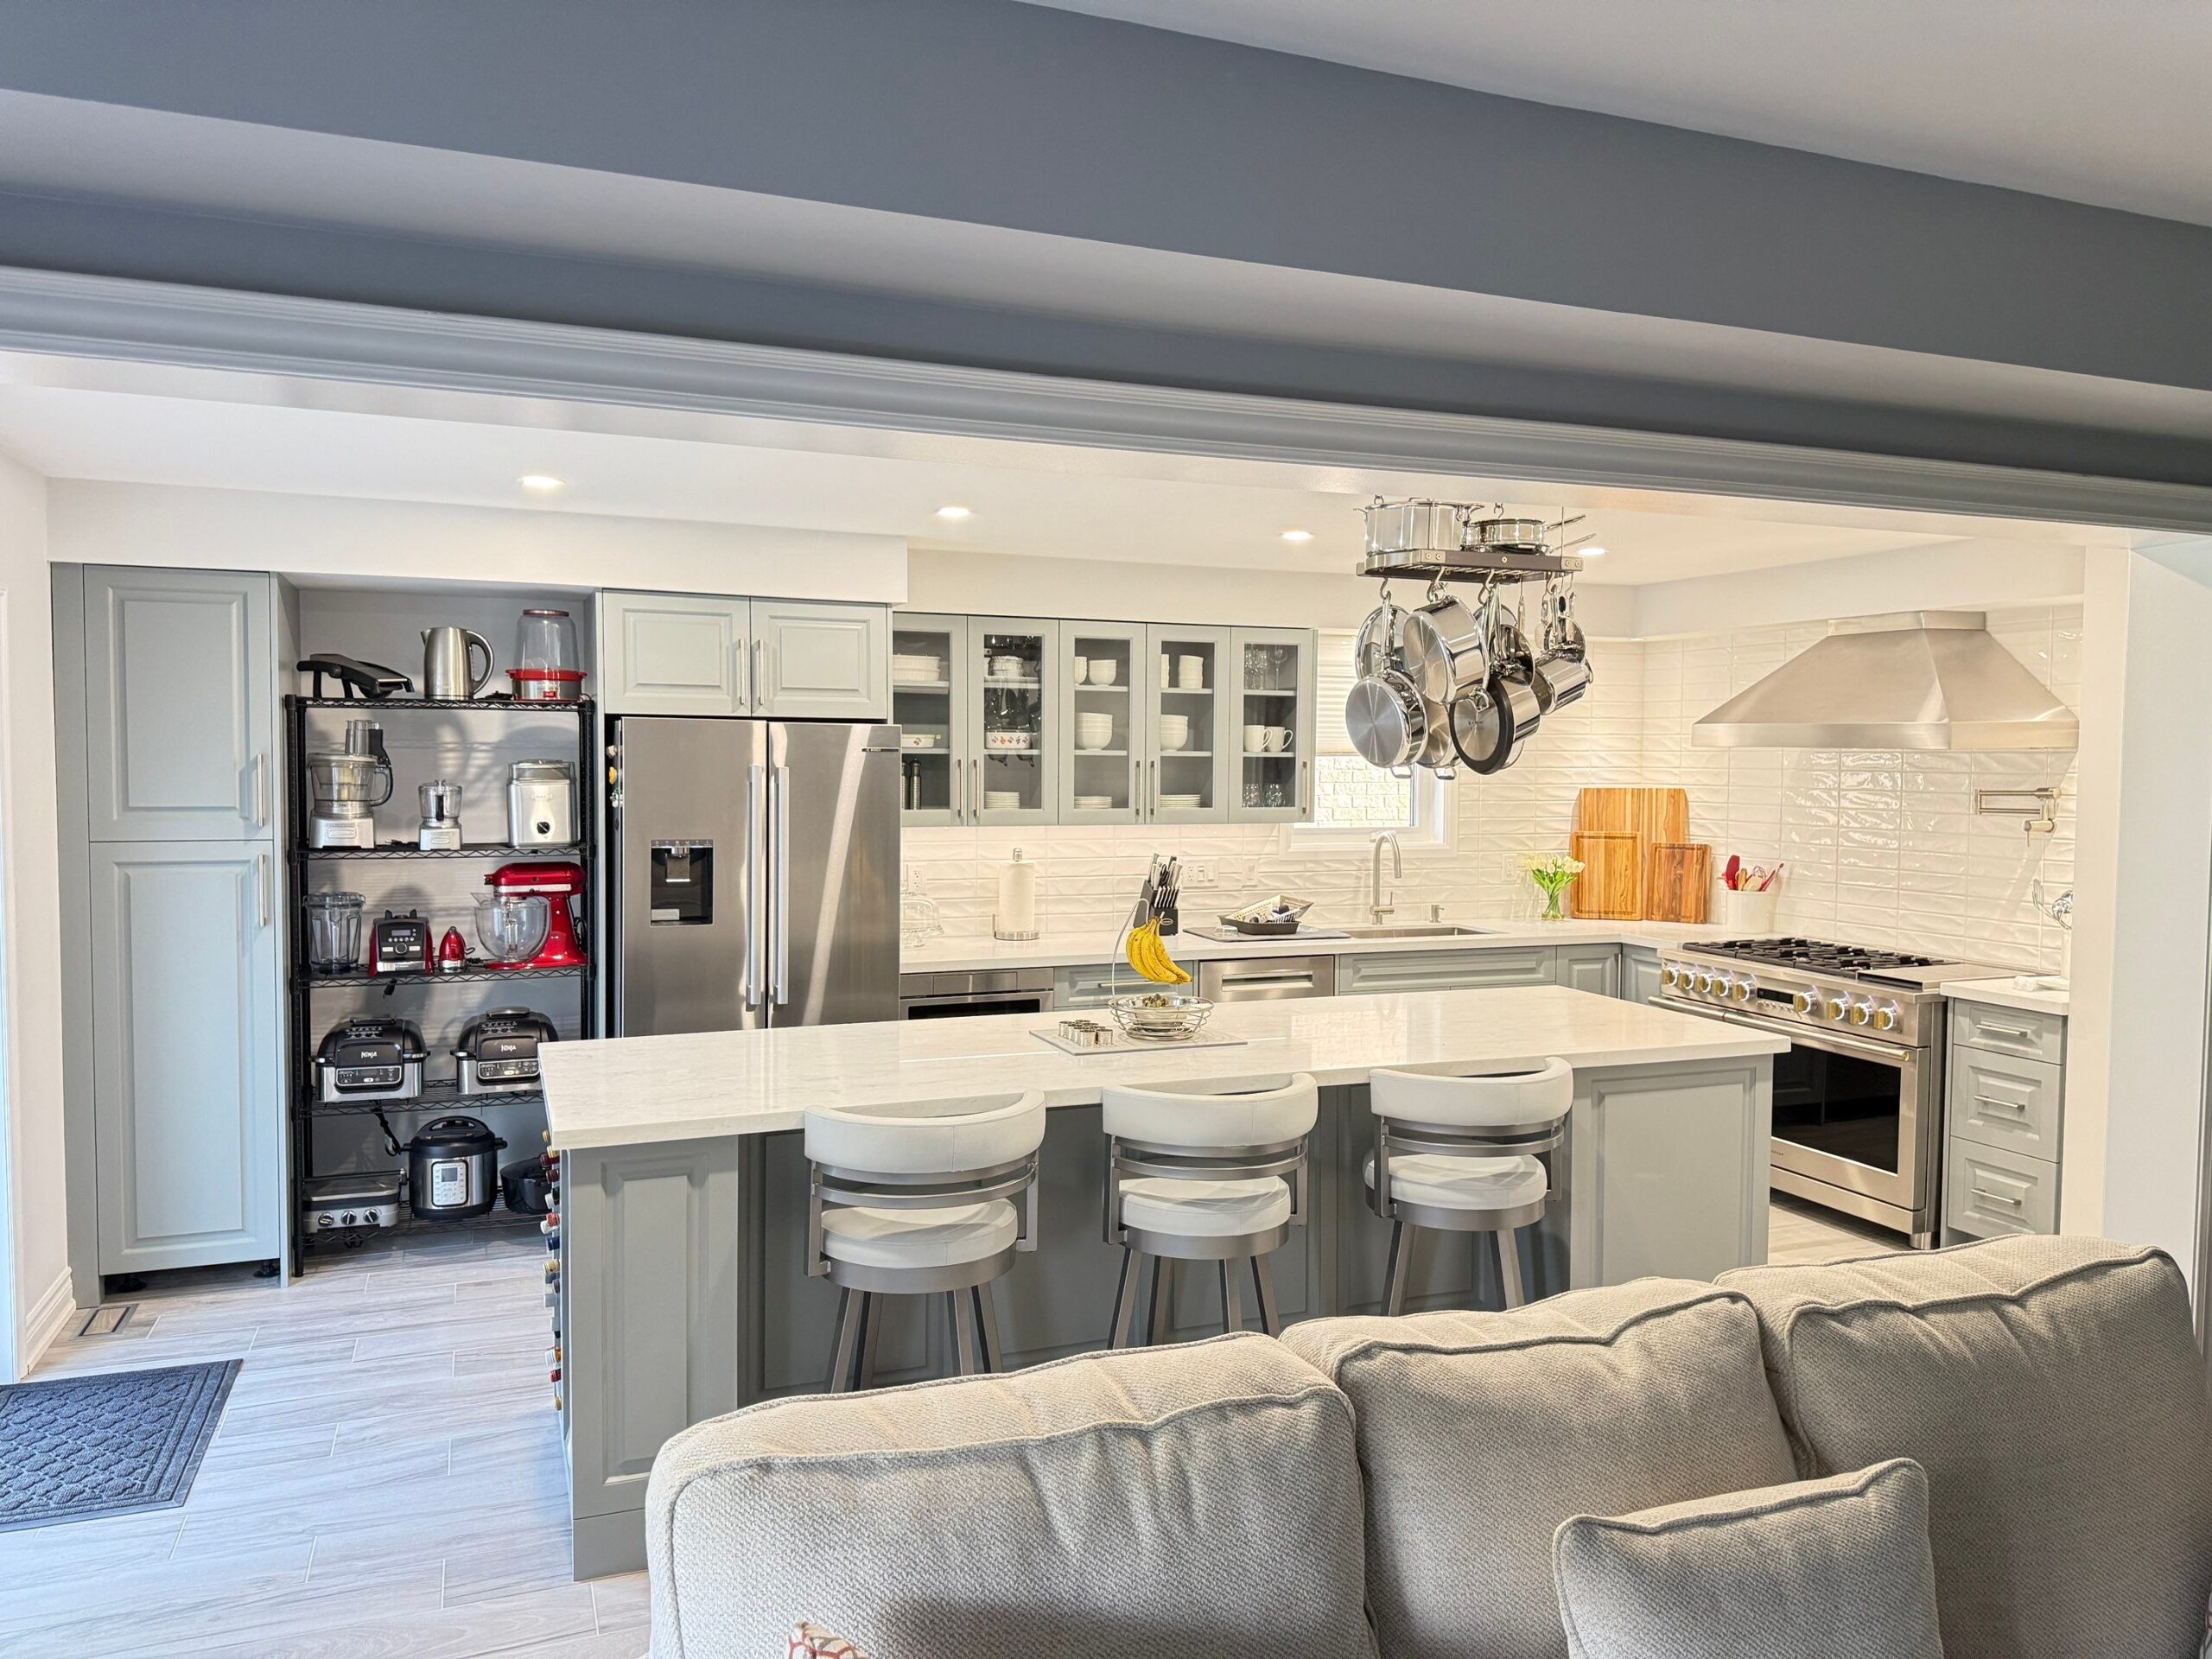
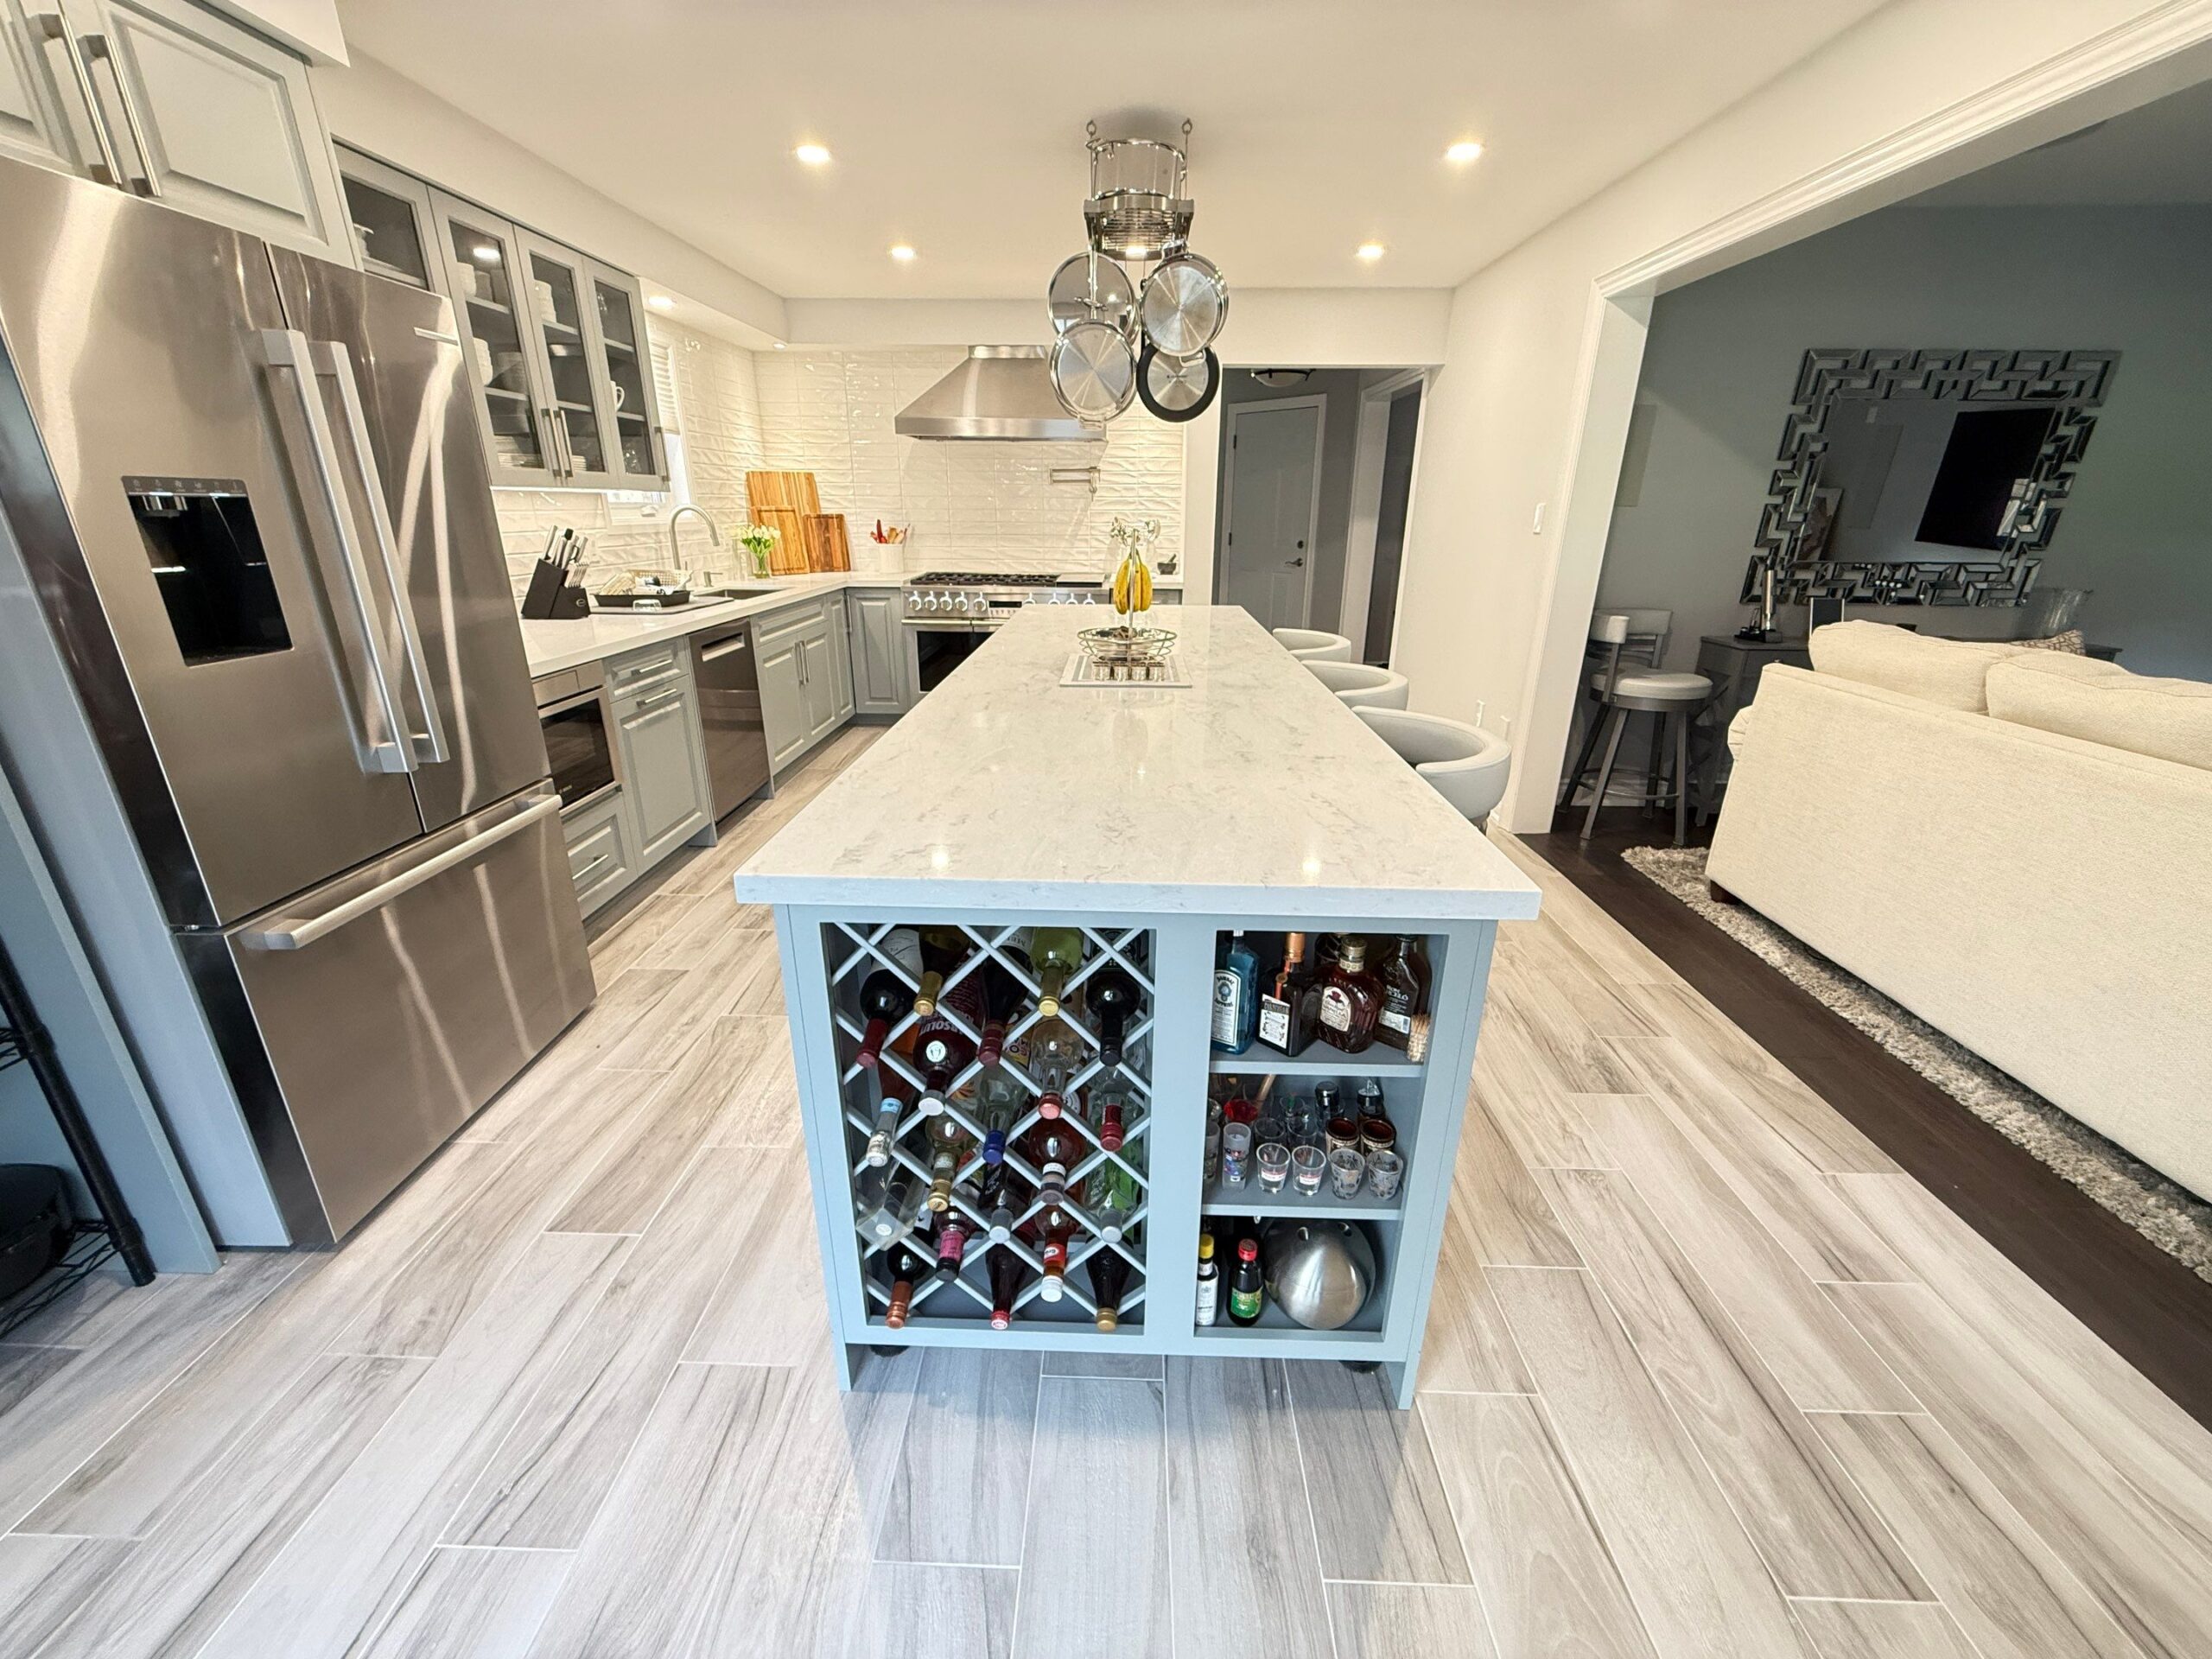
A Chef's Kitchen Built for Game Night
The space Jolette pictured for a decade, made real — a commercial-style range under a proper vent, a custom island built to gather around with seating on both sides, wine on one end and drawers on the other, and the porcelain plank she'd saved for years finally flowing through the whole main floor. Clean, functional, and built to host.


 1 / 27
A Home She'll Host In for Years
The kitchen Jolette had imagined for a decade is now the heart of her home — the gathering spot for game nights, the chef's kitchen she always wanted, at a fair price, in the forever home she's poured herself into.
At the final walkthrough she had tears in her eyes. We went through everything — including the extras, like the main-floor doors and trim I painted on my own dime just so the whole space would finish right. Then I handed her The Cornerstone Owner's Manual — the DNA of her renovation — every product, finish, warranty, paint colour, and tile code documented in one binder, plus her client-portal login with every photo, daily log, and financial record in one place. And because every Cornerstone project deserves a proper send-off, a thank-you basket to welcome her into the space we built together.
Looking for a home renovation contractor in Oshawa and across Durham Region? See how we run full main-floor and whole-home renovations from start to finish.
"He understood how to bring my 10-year-in-the-making vision into reality. If it's not straight, then it's not correct — and he will make sure that it is. He will now be the only contractor to touch ANY part of my house… HOME."

Every Cornerstone project ends with The Cornerstone Owner's Manual and a thank-you — the relationship doesn't end at the invoice.